Ford Mustang GT 1996-2004: How to Change Differential Fluid
Replacing your differential fluid on your Mustang is not only easy, but it provides good insurance against wear against your gears and bearings. Follow your manual's recommended service interval and you should be set!
This article applies to the Ford Mustang GT (1996-2004).
Your differential is a key component to your vehicle's drive system. It transmits the energy from the driveshaft to the rear wheels. After years of wear and tear, your differential fluid starts to wear out and warrants changing. If you have a leaky differential, follow this DIY to get the job done right to prevent future leaks. Using the correct gear oil is essential, because every car manufacturer builds their differential around a specific fluid and this insures proper performance. Find out how you can replace your own differential fluid below!

Materials Needed
- 1/2" ratcheting wrench or ratcheting socket
- 3/8" male socket extension
- Flat head screwdriver
- Drain pan
- Shop rags
- Permatex Black silicone
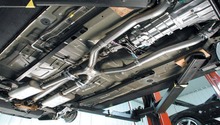
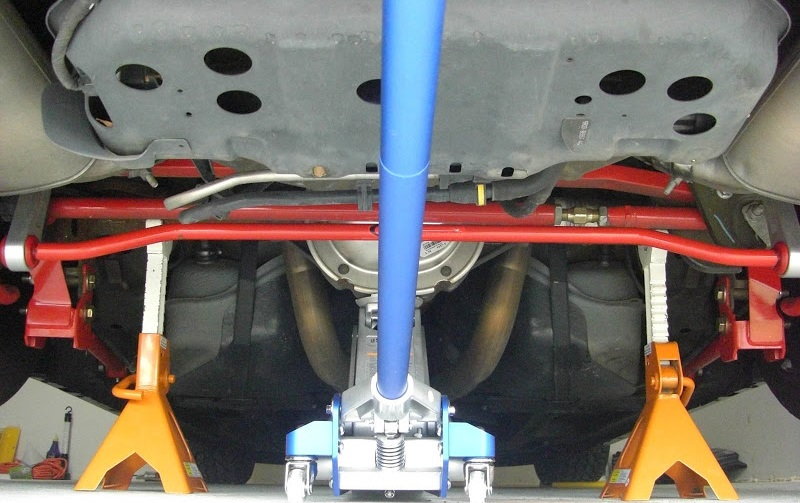
Step 1 – Lift rear of vehicle and support on jack stands
Carefully lift the rear of the vehicle by the differential and secure with jack stands on the car's chassis.
Pro Tip
Make sure to position the jack stands under the chassis. This will insure that the car is secure and no damage is done to the body.
Step 2 – Remove fill plug
With rags and a catch pan underneath the rear differential, take a 3/8" extension socket and remove the fill plug from your Mustang's differential. The magnetic drain plug will catch any metal shavings in the differential, so be sure to inspect it for unusual wear.

Pro Tip
Make sure you remove the fill plug before the differential cover. It does no good to drain the differential without being able to fill it up!
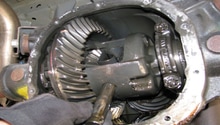
Step 3 – Remove differential cover and drain fluid
Carefully remove the bolts around the differential cover with a 1/2" ratchet with an extension. Leave the top bolt on loosely to avoid dropping the differential cover. Now, slowly pry the bottom of the differential cover off without bending anything and fluid will start to drain out. This step will get really messy, so have a drain pan and plenty of rags ready! Once most of the fluid is drained, you can remove the top bolt and completely remove the differential cover.
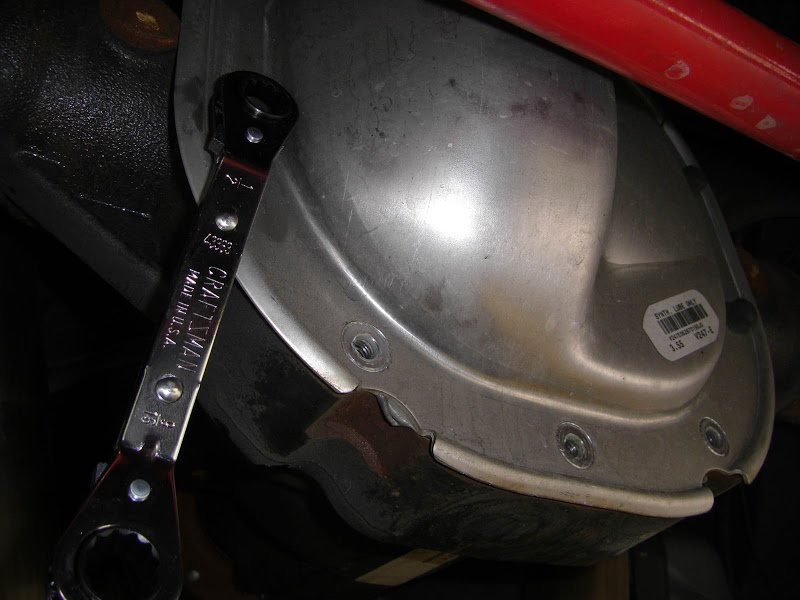
Figure 3. Removing differential cover bolts. 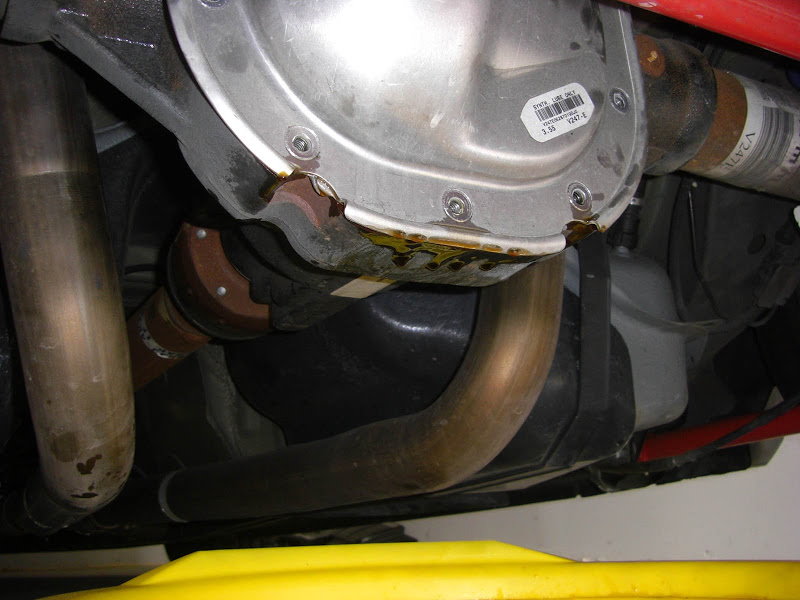
Figure 4. Draining differential fluid.
Pro Tip
Take your time when the fluid is draining. This will make the whole process cleaner.
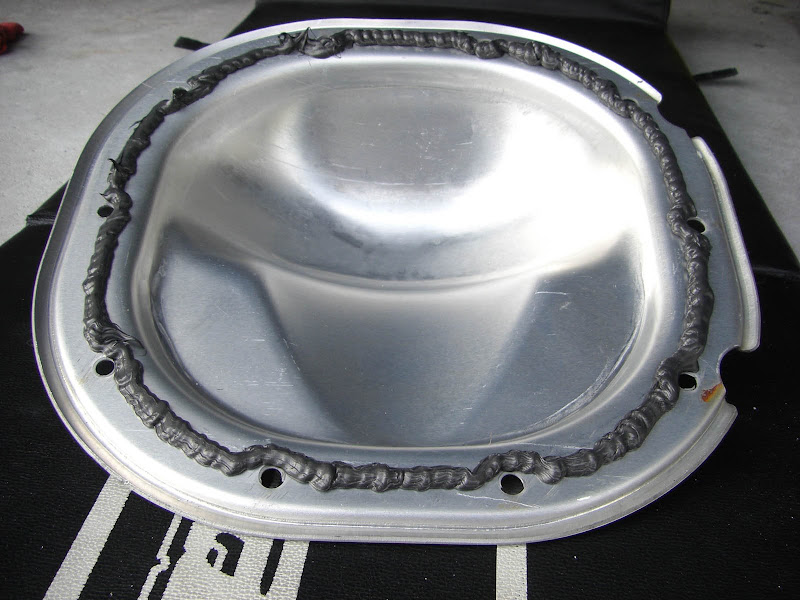
Step 4 – Clean differential cover and differential mating surface
First, use your shop rags to clean the differential cover thoroughly. Extra effort should be given to the mating surfaces to ensure a proper seal. Then, use a gasket scraper to clean off any residue on the differential mating surface.
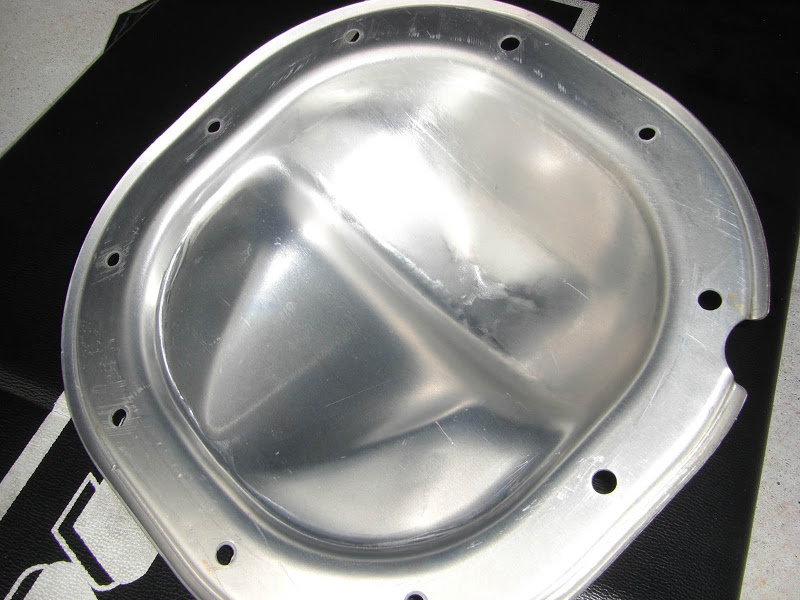
Figure 5. Clean differential cover. 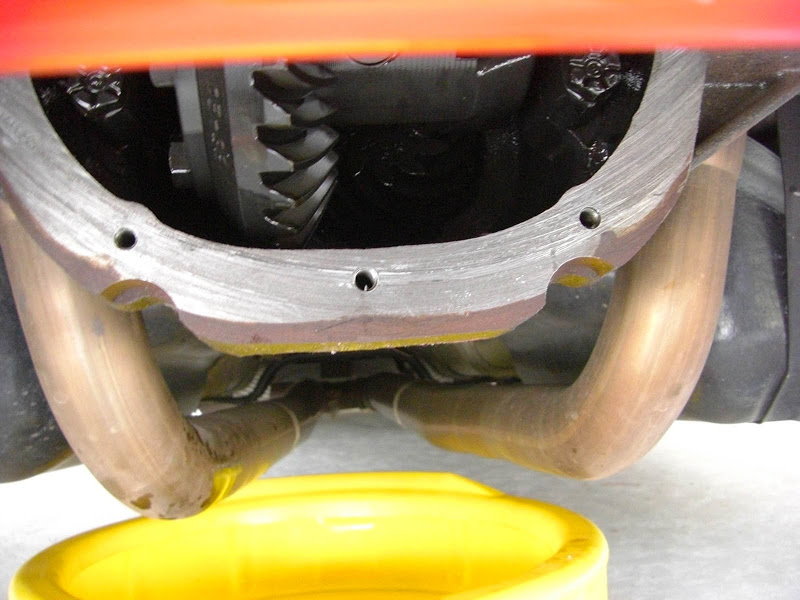
Figure 6. Clean mating surface on differential.
Pro Tip
This step will save you from future leaks if you take your time and do it right!
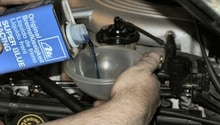
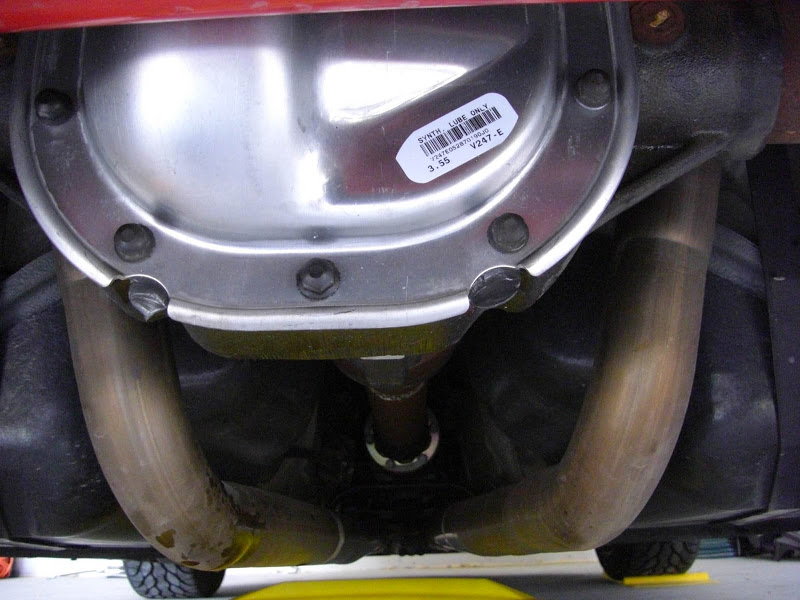
Step 5 – Install differential cover
First, you must prepare a silicone gasket for the differential cover. Use a silicone gasket maker like Permatex Black and make a 1/8" bead around the entire differential cover, as shown in Figure 7. Then, the differential cover can be placed onto the differential and you can screw the bolts in loosely. The silicone should start to ooze out of the mating surface as you tighten the bolts with your hands. After all of the bolts are hand-tight, wait one hour to torque the bolts to 32 ft/lbs using an cross pattern.
Step 6 – Fill differential and clean up
First, determine if your differential requires a friction modifier. If so, add that first through the fill plug. Then, add the gear oil of your choice until the fluid starts to drip down from the fill plug hole. Now, install the fill plug back onto the differential and you are finished! Congratulations. Now, you can clean up your mess and move on to the next job!
Featured Video: How to Change Ford 7.5 or 8.8 Differential Fluid
Related Discussions
- How to Change Differential Fluid- MustangForums.com
- What Differential Fluid to Use in 2002 GT 8.8 Rear end - MustangForums.com