Ford Mustang V6 2005-2014: How to Install H-Pipe
Installing an aftermarket H-pipe on your Mustang is a great way to increase power and get an awesome sound out of your exhaust system. Find out how to install one in the following article.
This article applies to the Ford Mustang V6 (2005-2014).
The Ford Mustang is known for sounding aggressive and scaring the cars around it. In stock form, there is little to brag about when it comes to your Mustang's sound. However, since the Mustang has some of the best aftermarket H-pipe choices, you can find what sounds best to you and end up with an amazing sounding Mustang. Depending on your emissions' laws, you can either go with an off-road (cat-less) H-pipe or a catted H-pipe. To choose what H-pipe to go with, consult YouTube to find how a particular exhaust system will sound. You will also enjoy a nice power gain, since you are replacing the restrictive stock exhaust.

Materials Needed
- 22mm wrench
- Penetrating oil
- 13mm socket and ratchet
- Breaker bar, swivel and straight extensions
- Jack stands
- Anti-seize
Step 1 – Lift and secure car on jack stands
Lift your Mustang under the front K-member and secure front of car with jack stands. Now, locate your jack under the rear differential, lift rear of vehicle and secure with jack stands. You are ready to start work on your exhaust system!

Pro Tip
Make sure the jack stands are located under frame points to make sure the car is secure in the air.
Step 2 – Unplug and remove O2 sensors
Unplug the pigtail connectors on the O2 sensors. There are three total in the mid-pipe section that needs to be removed. The driver's side front O2 sensor is located in the exhaust manifold. (The locations are given in the figures below.) Use a 22mm wrench to loosen and remove the three O2 sensors below.
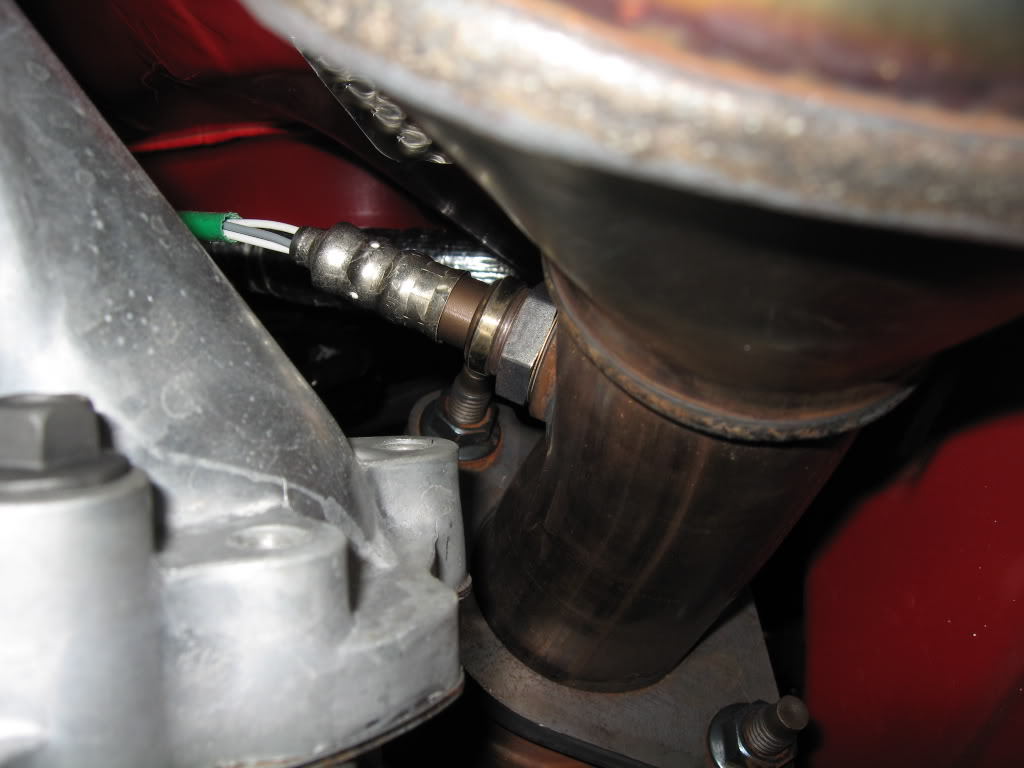
Figure 2. Passenger's side front O2 sensor location. 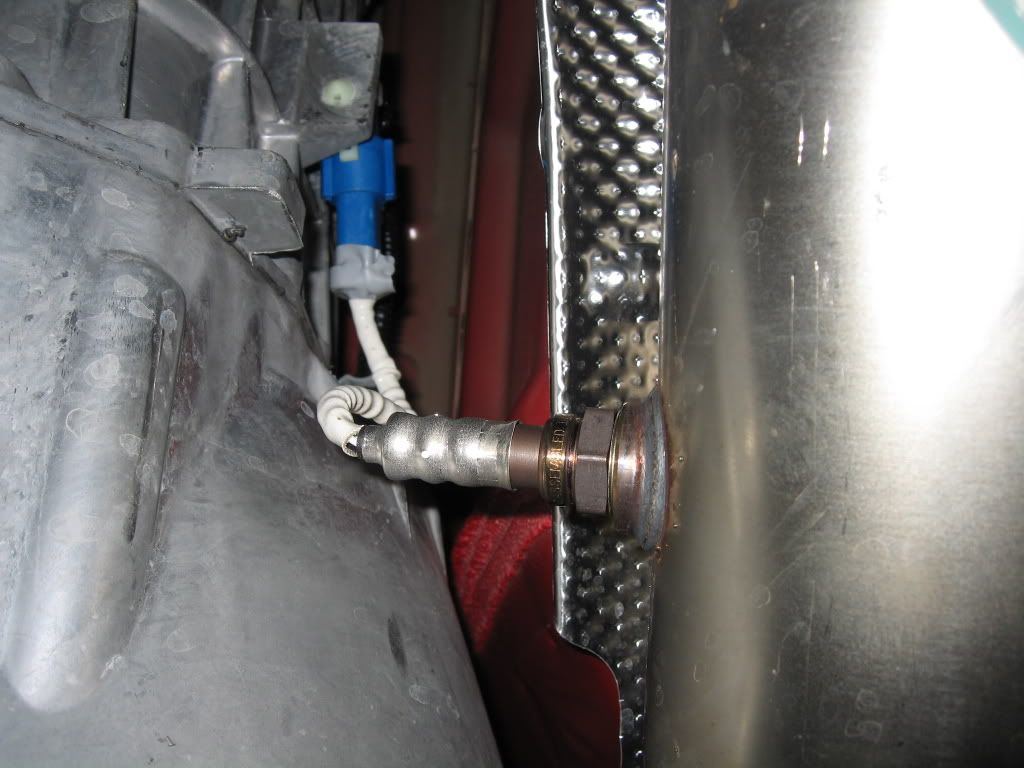
Figure 3. Passenger's side rear O2 sensor location. 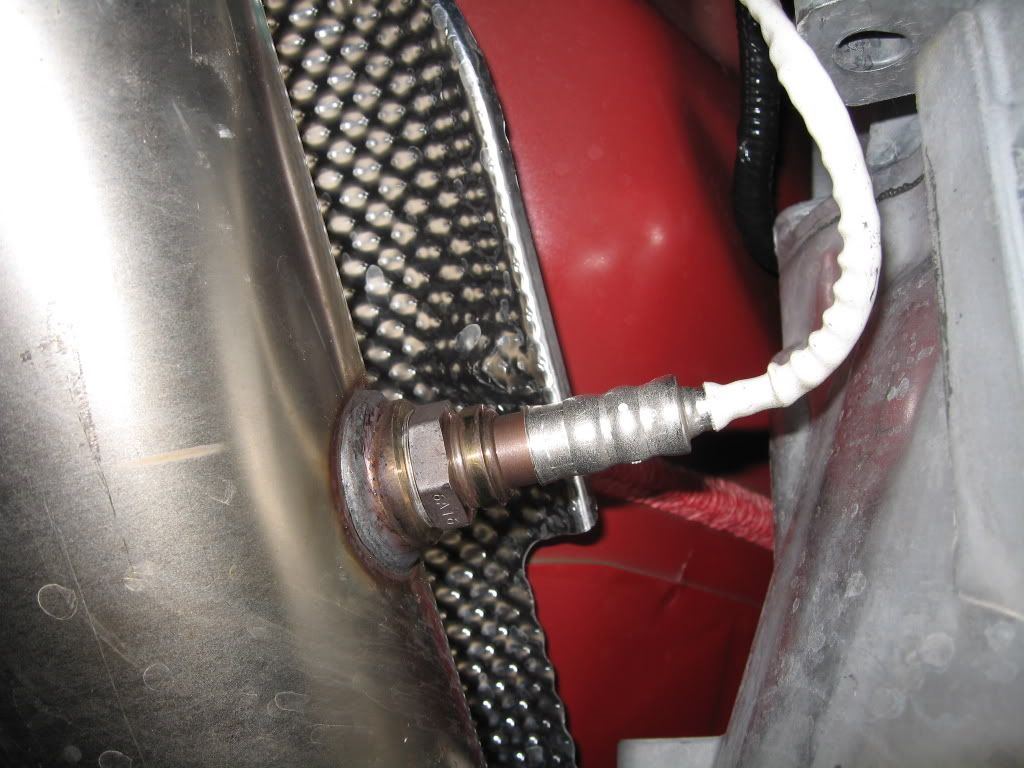
Figure 4. Driver's side rear O2 sensor. 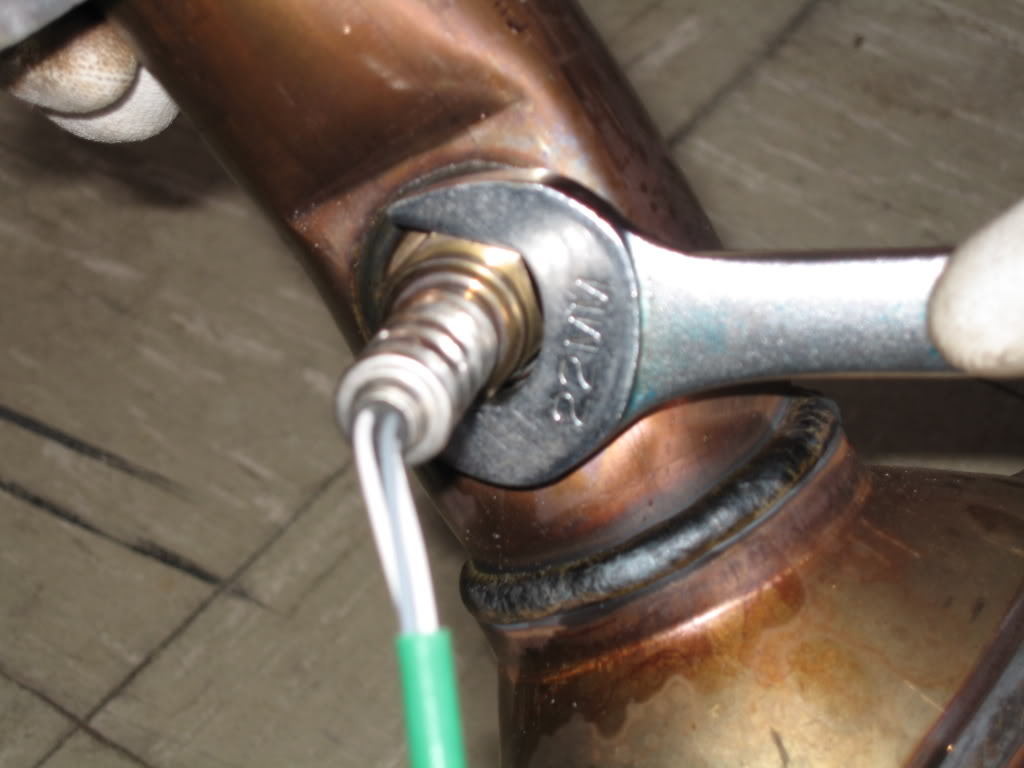
Figure 5. Removal of O2 sensors.
Pro Tip
Penetrating oil on the O2 sensor threads will make them much easier to remove.
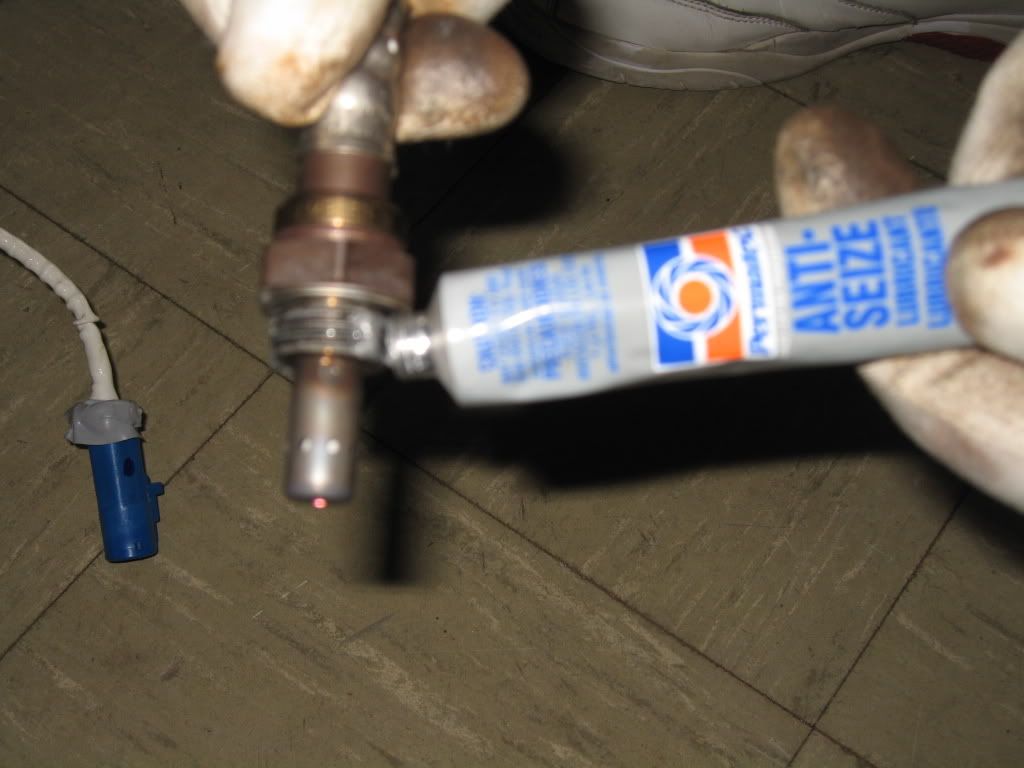
Step 3 – Install O2 sensors in new H-pipe
Install your original O2 sensors in the new H-pipe by simply threading them into the existing ports in the new H-pipe. Use a dab of anti-seize on the threads to make sure the O2 sensors can be removed in the future.
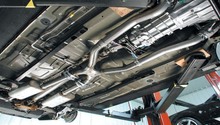
Step 4 – Remove exhaust manifold and mid-pipe clamp bolts
The only things keeping your stock H-pipe under your car are the exhaust manifold, mid-pipe clamp bolts, and exhaust hangers. Use your 13mm socket to loosen the exhaust manifold bolts and remove bolts. Now, remove the mid-pipe clamps as shown in Figure 8. All that remains to remove your stock H-pipe is to unhook the stock exhaust hanger from the rubber mount. Be ready to support the H-pipe as it comes down from the hangers.
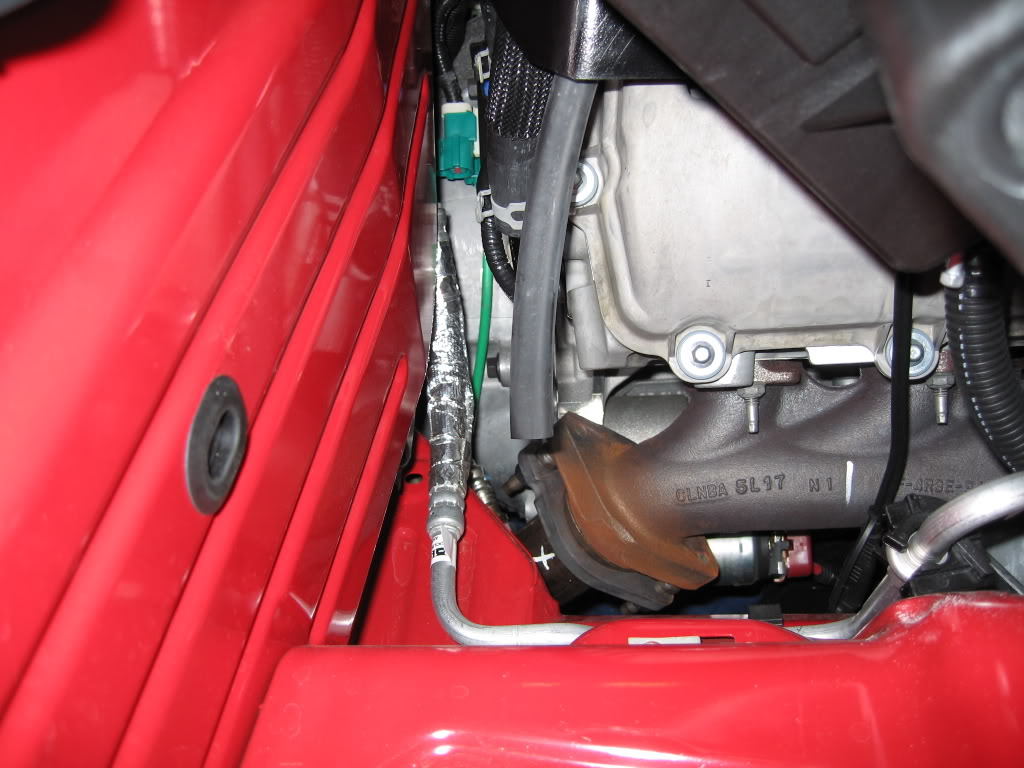
Figure 7. Exhaust manifold bolts location. 
Figure 8. Removing mid-pipe clamp bolts.
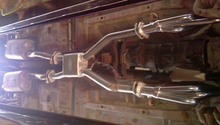
Step 5 – Position new H-pipe in factory location
Lift your new H-pipe in the factory location and loosely secure with stock exhaust hangers and mid-pipe clamps. Then, start threading your exhaust manifold bolts and mid-pipe clamp on the new H-pipe. Once everything is loosely connected, you can start tightening down each section carefully. Lastly, tighten the clamp connecting the middle of the H-pipe as show in Figure 10. Start up your car and be ready to hear an unleashed beast.
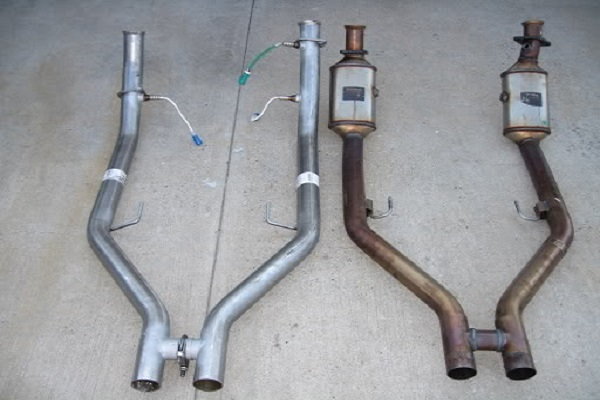
Figure 9. H-pipe comparison. 
Figure 10. Tightening the H-pipe clamp.
Related Discussions
- Pypes Off Road H Pipe Install w Pics - MustangForums.com
- GT H Pipe on V6 - MustangForums.com
- X Pipe or H Pipe - MustangForums.com