Ford Mustang V6 2005-2014: How to Install Lighted Door Sill
Upgrade your 2005 to 2014 Ford Mustang by installing a lighted door sill. Installation is only moderately difficult. Here's how.
This article applies to the Ford Mustang V6 (2005-2014).
Let's face it. A lighted door sill not only brings illumination, but eye-popping style to the interior of your Ford Mustang V6, as well. Installation is only moderately difficulty, due to some wiring, but if you follow the individual steps, you should only need about an hour to complete this project. The most important thing to remember is that you won't be able to work on your vehicle while your battery is hooked up, so be sure to remove it before getting started. As well, you might want to check that your wiring is in good working order before moving from one side of your vehicle to the next; at which point you'll want to reinstall your battery to perform this check. Don't forget to remove it afterwards, though.


Materials Needed
- 8mm socket
- Zip ties (6)
- Alcohol wipes
- Door sills (2)
- 3M tape
Step 1 – Disconnect the battery
- Pop the hood of your car and disconnect the battery. Start with the negative (black) connector and then finishing with the positive connector.
- Once both bolts are removed, slide away each individual connectors.
- Pull out the battery using an 8mm socket wrench.

Step 2 – Connect the wires
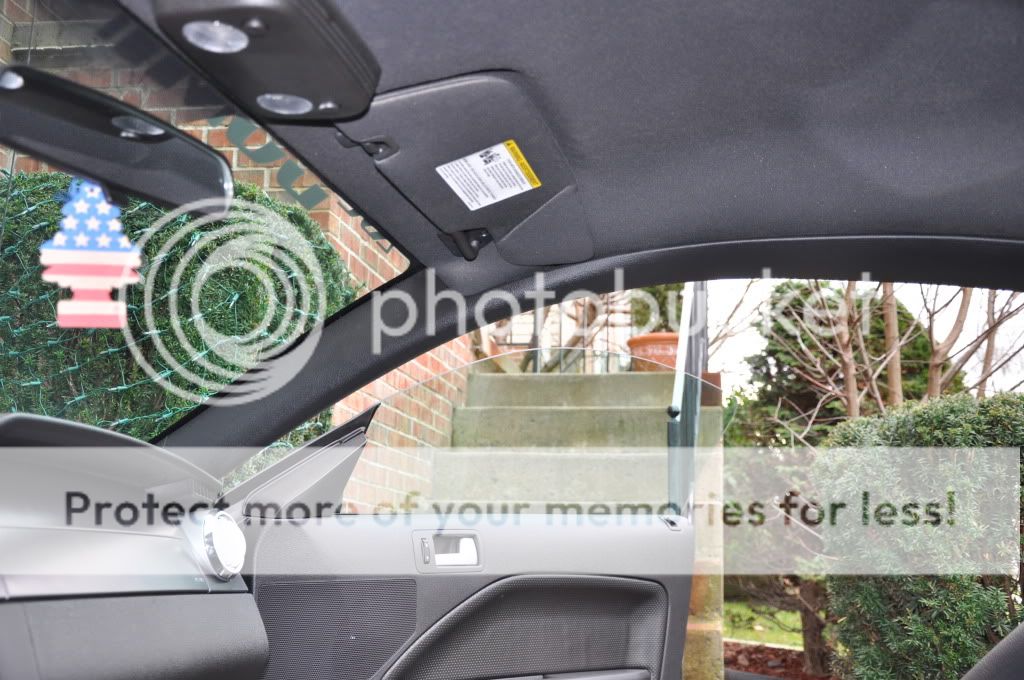
- Pull down on the passenger's side A-pillar; however, don't remove it entirely (pull working your way toward the end near your dashboard).
- Disconnect the wiring plug hidden beneath the A-pillar; do so by hand (no tools are necessary).
- Locate the black/light blue wire and the yellow/green wire.
- Use splicing taps to join the wires provided with the kit and the ones you just separated out.
- Connect the red wire (kit) to the black/light blue wire (car).
- Connect the black wire (kit) to the yellow/green wire.
- Join your wires together using electrical tape.
- Test that there is electricity flowing to your wires by re-installing the battery.
- Once you're sure, remove the battery and continue to Step 3.
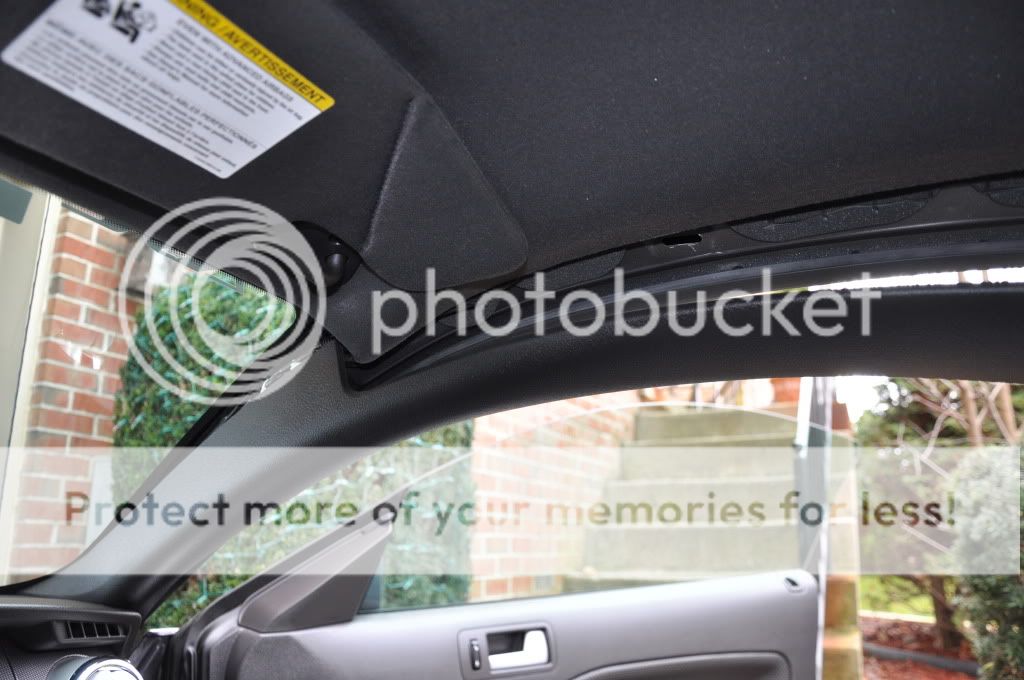
Figure 3. Give the A-pillar a steady tug. 
Figure 4. Disconnect the wiring by hand. 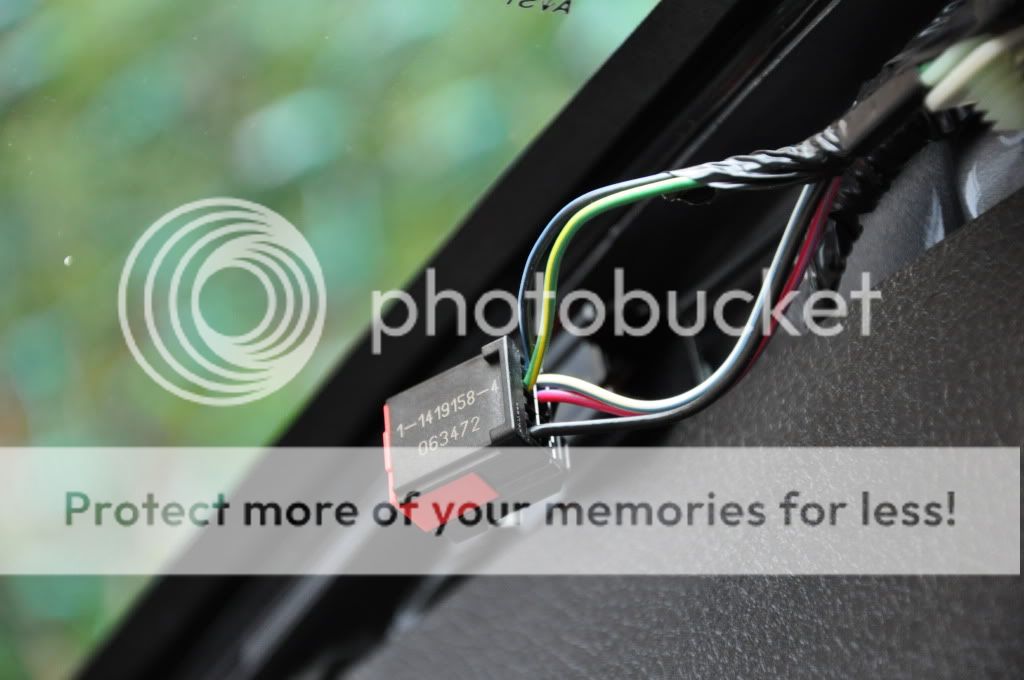
Figure 5. Separate your wires. 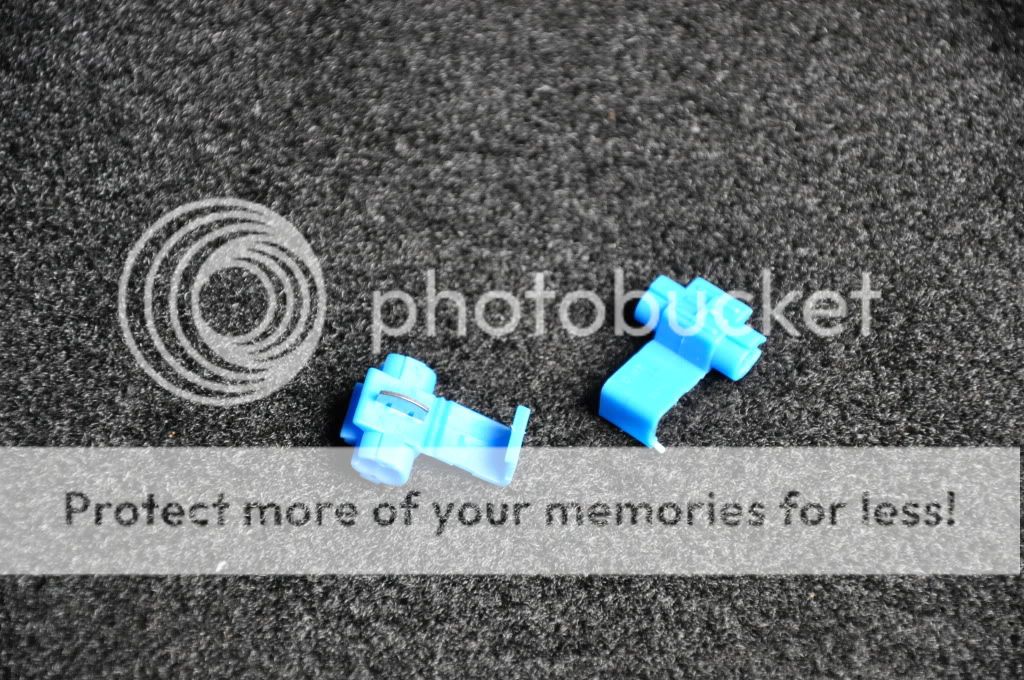
Figure 6. Splicing taps will make job easier. 
Figure 7. Connect your wires. 
Figure 8. Keep the short side closer to passenger side; the longer side closer to driver's side.
Step 3 – Remove the passenger's side door sill
- Release the door sill by grabbing and then pulling it up.
- Add additional force as needed to release it.
- Remove the passenger's side kick panel.
- Run the wires along the floor, gathering them in the area where the door sill will be.
- Put the kick panel back on.
- The wires that will run along the driver's side door sill should remain free at this time.
- You are now ready to run the passenger's side wires to the passenger's side lighted door sill.
- Fit the new door sill in place using rubbing alcohol and 3M tape.
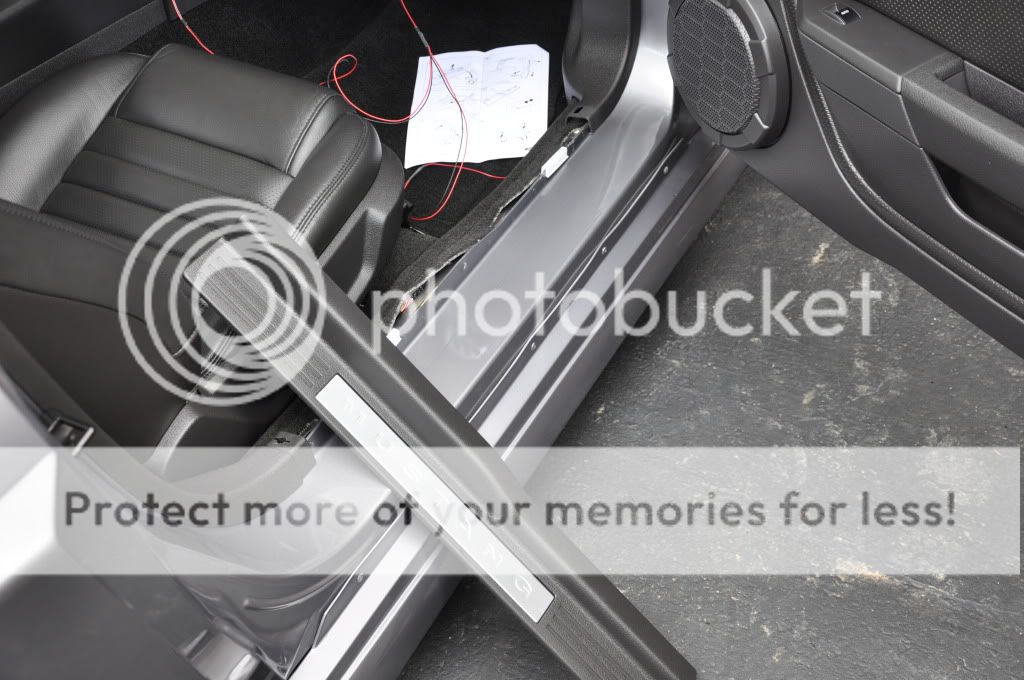
Figure 9. Remove the door sill on the passenger side of your car. 
Figure 10. Pull the kick panel forward or remove it. 
Figure 11. Keep your wiring tidy. 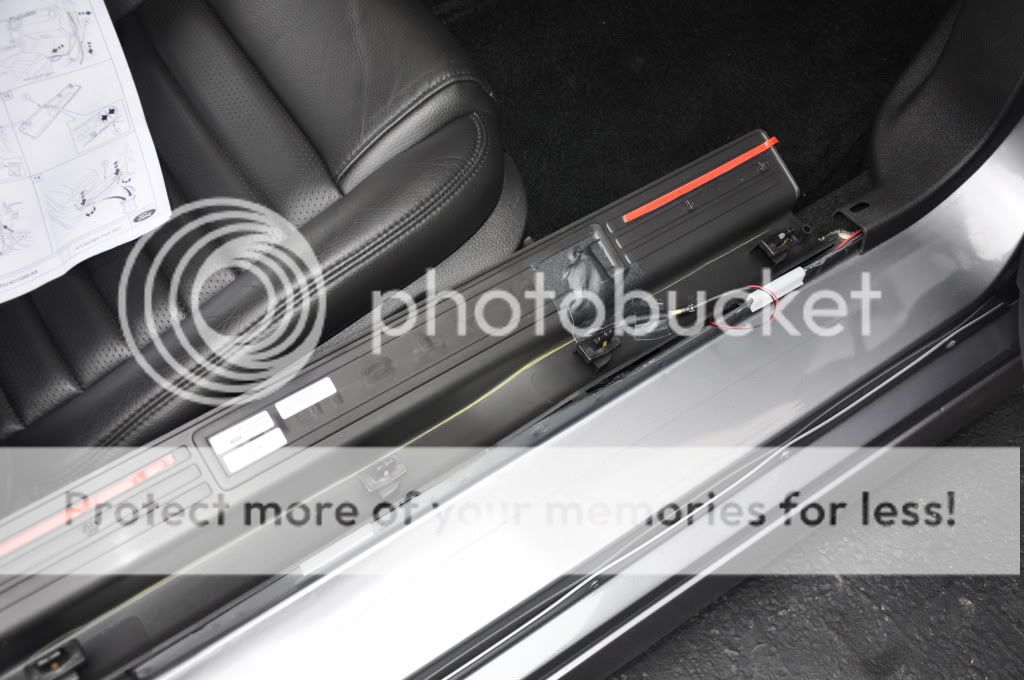
Figure 12. The sill is in place. 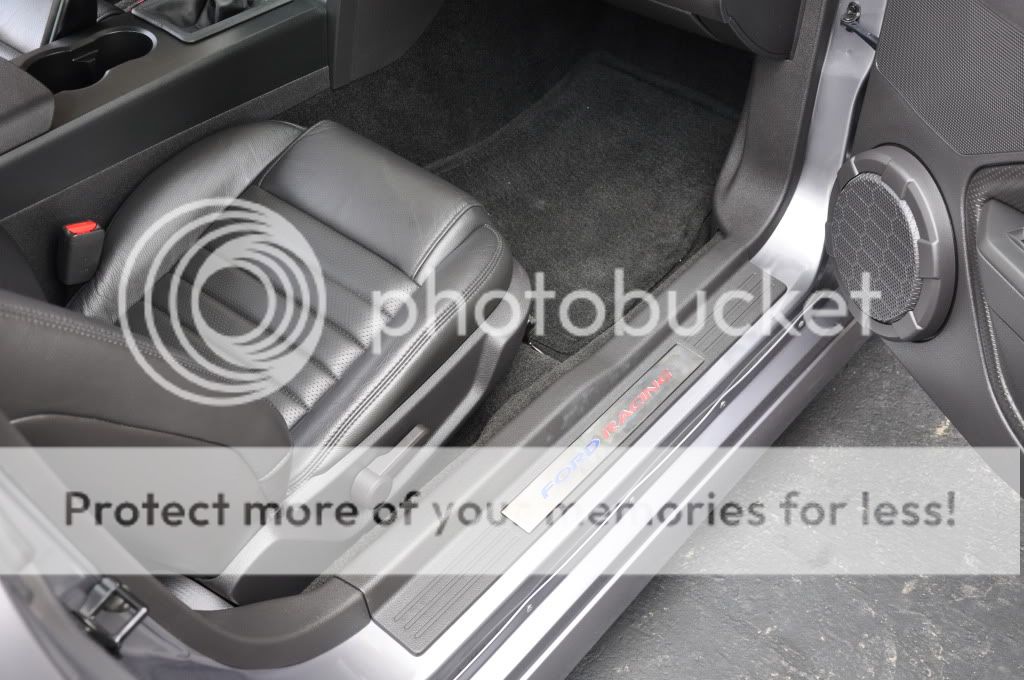
Figure 13. The wires are protected and out of view.
Step 4 – Re-install the A-pillar
Re-install the A-pillar, doing the reverse of how you removed it.
Step 5 – Run wires to the driver's side of the car
- Run the driver's side wire across the passenger cabin toward the driver's side door.
- Use zip ties to attach your new wires to your existing ones. Attach them so they are hidden just behind or just below your glove box.
- There is a space behind the center console; put your wires through here.
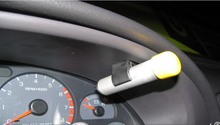
- Using a new set of zip ties, keep wires out of view (and harm's way) by securing them under the steering wheel.

Figure 15. Secure your wires. 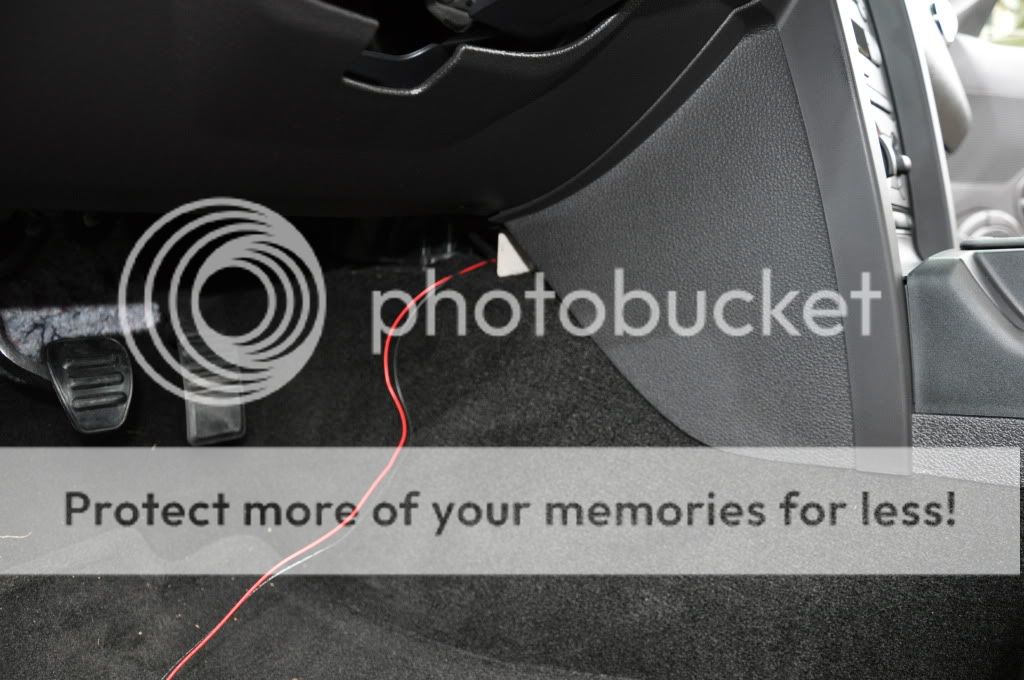
Figure 16. Cut away excess length on your zip ties before running your wires. 
Figure 17. Keep wires out of view.
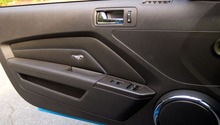
Step 6 – Install your lighted driver's side sill
- Remove old driver's side sill.
- Run your wires and connect your new lighted driver's sill.
- Hide excess wire in the kick panel as needed.

Figure 18. Do the driver's side now. 
Figure 19. Hide excess wires. 
Figure 20. Job well done! 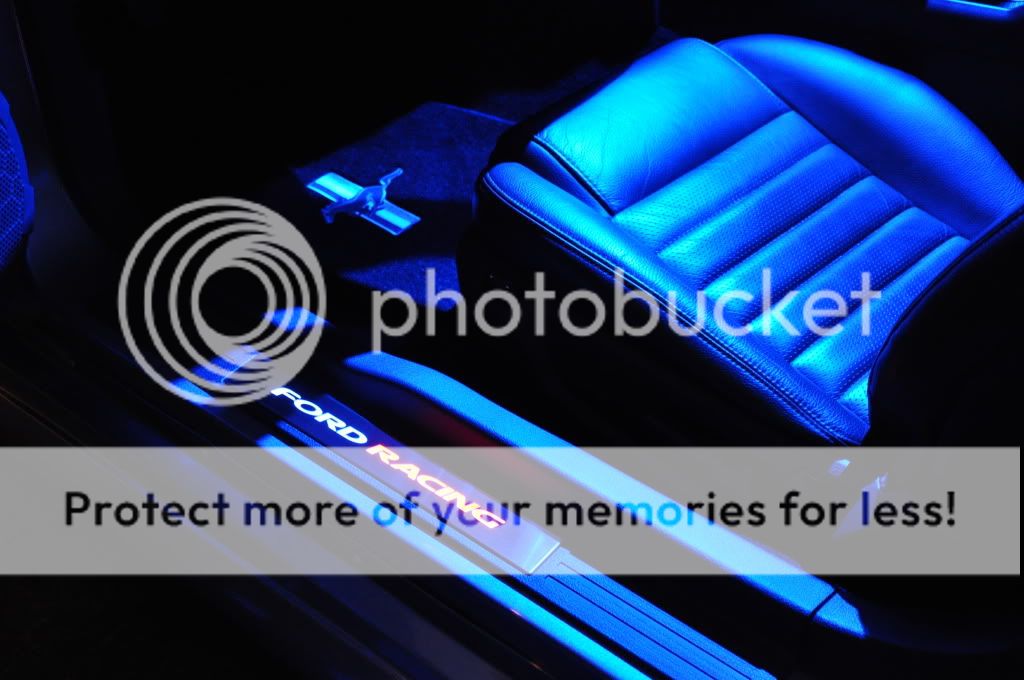
Figure 21. Enjoy the incredible illumination.
Related Discussions
- Lighted Door Sill Installation with Pics - MustangForums.com