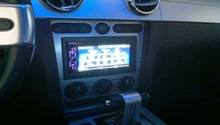
Ford Mustang GT 2005-2014: How to Install Start/Stop Button
Push button start systems are still considered luxury options on newer vehicles. But, installing one is not as hard as you might think. Read this article to learn how.
This article applies to the Ford Mustang V6 and GT (2005-2014).
There are some upgrades that are done just because of its functionality, and a start button is one of them. Unlike the key-less ignition systems, start button still requires a key inside the ignition in order to crank the vehicle. This means that it does not remove the key from the ignition system. However, as most would agree, it does still look good. A basic start button requires you to wire it into the ignition switch, while securing it to the dashboard. The whole process is fairly simple to do, as explained below.

Materials Needed
- Pliers
- Trim removal tool
- Wire crimps
- 8mm socket
- 7mm socket
- Ratchet
- T20 Torx driver
This instructional only explains how to install a push button, and not key-less entry.
Step 1 – Disconnect the battery
First you will have to prepare your car to disconnect the battery.
- So, turn the ignition to the "on" position (do not crank over the engine) and turn off all the electrical accessories on the engine.
- Turn the car off and reach under the passenger's side dashboard to find the fuse panel. Grab some pliers and disconnect the #31 fuse, as this will disengage the airbag and remove any possibility of receiving a SRS light when the battery is plugged back in.
- Go under the hood and disconnect the negative (black) battery cable from the car.

Step 2 – Remove the driver's side dash trim
You will be removing three sections of trim from the driver's side to make room for snaking in the push button wiring.
- Bring the steering wheel down and pry off the gauge bezel.
- Use the trim removal tool and pry out the door sills as well as kick panel.
- Grab your T20 Torx driver and remove the three screws holding the steering wheel panel.
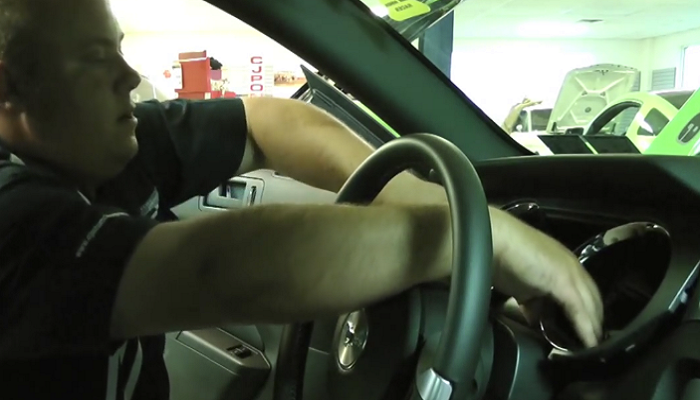
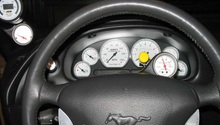
Figure 2. Remove the gauge bezel. 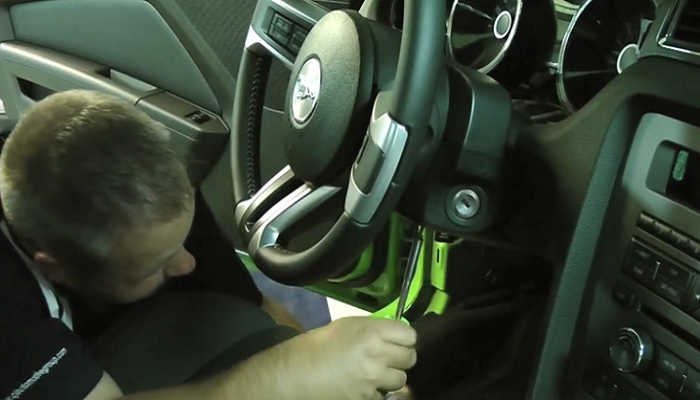
Figure 3. Loosen and remove the steering wheel cover Torx screws.
Step 3 – Remove the center console trim
The process of removing the center console trim depends on whether or not you have an automatic or manual. Manuals have a fairly simple process, as you unscrew the shift knob and proceed to gently pry the center console trim up. All that's left is to disconnect the switch from beneath it.
The automatic shift is a bit more complex and requires the following:
- Loosen the screw holding the T-shifter in place, and then remove the T-shifter.
- Pry off the bezel for the T-shifter.
- Lift up the cup holder cover and loosen the two mounting screws.
- Remove the two screws at the base of the center console.

Step 4 – Remove passenger's airbag and center vent assembly
The face panel for the center console can be removed by gently prying from the bottom upwards. Once the whole assembly is off, loosen the two 8mm bolts holding the airbag in place from the glove compartment. Then completely push the airbag out of the dashboard. Locate the two screws holding the vents in place to loosen them, and then remove the assembly.
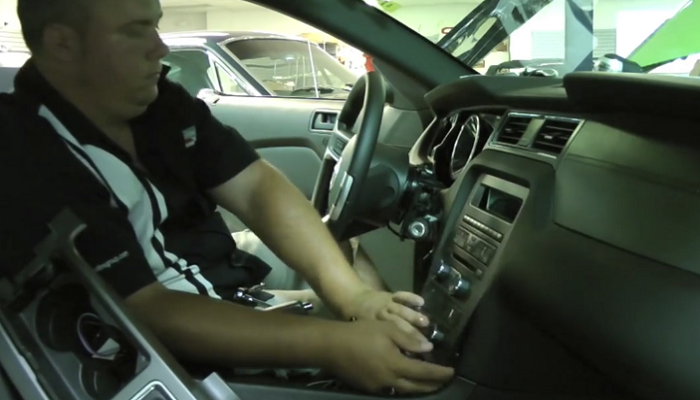
Figure 5. Remove the center console panel. 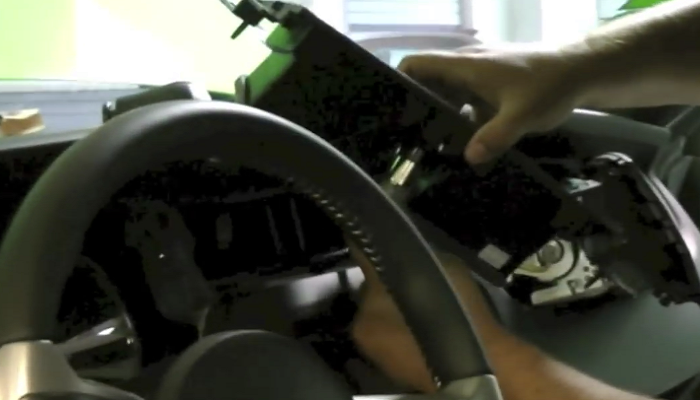
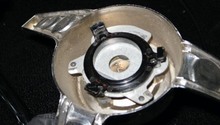
Figure 6. Remove the center vents.
Step 5 – Install the push start button
Now that you have the center vent assembly, you can remove the 12v accessory outlet to mount the button. Grab you flat head screwdriver and pry off each tab, then push out the 12v outlet. Take the push button assembly and slide it into the slot, as the aftermarket unit will clip right in. Then, install the vent back into the car.

Step 6 – Wire up the push start button
A push start button only requires access to the ignition switch and emergency brake, so its fairly simple to wire.
- With the button installed, separate the black wire from the other loom.
- Splice the black wire into the white/purple E-brake wire.
- Grab the main wire loom and snake it into the steering column.
- Splice the remaining two wires into the ignition switch. Use Figure 9 as a reference.
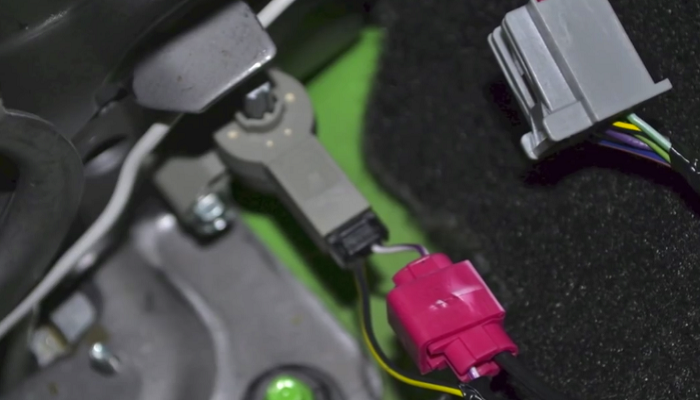
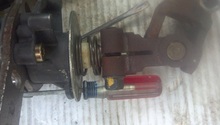
Figure 8. Splice the black wire into the E-brake wire. 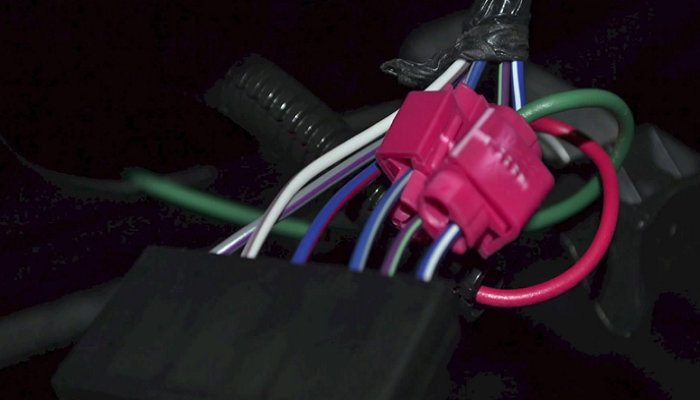
Figure 9. Ignition switch harness splice.
Step 7 – Assemble the dash panels
Reassemble all the trim pieces, beginning with the airbag installation.
- Clip on the center console face panel.
- Assemble the center console.
- Install the steering wheel covers.
- Install the driver's side kick panels.
- Install the gauge bezel.
- Reconnect the #31 fuse and reconnect the battery.
Featured Video: Mustang Push Button Start
Related Discussions
- Push Button Start Instructions - MustangForums.com
- DIY Push Button Start - MustangForums.com
- Push Button Start Installed - MustangForums.com