Ford Mustang V6 2005-2014: How to Install Backup Camera
Installing a backup camera reduces your risk of hitting something or someone with your Ford Mustang. Learn how to do so here.
This article applies to the Ford Mustang V6 (2005-2014).
A backup camera is what the standards should and will be like. The Ford Mustang is a sports car and it's not very easy to see behind it. A backup camera is the best way to eliminate the liability of hitting something or someone while you're backing up. The installation process isn't the easiest because it requires a little bit of electrical knowledge; however, the results are worth every ounce of sweat. Most backup cameras come in a kit with all the needed wiring, so all you need to do is connect the proper wiring and backup with a piece of mind. Read on to learn how you can install a backup camera in your Ford Mustang.

Materials Needed
- Wire cutter
- Phillips head screwdriver
- Drill
- Backup camera kit
Step 1 – Run wiring
Your backup camera will be mounted on the back of your Mustang, so you want to run its wiring from the cabin to the trunk. Remove the back seat by pressing the tabs under it, then run the wiring from the trunk, under the carpet, and through the rocker panel on the passenger's side. To remove the rocker panel and get under it, you simply have to pull it up off its clips. Remove the kick panel, which will be where you will go to connect to the fuse box.

Figure 2. Remove rocker panel. 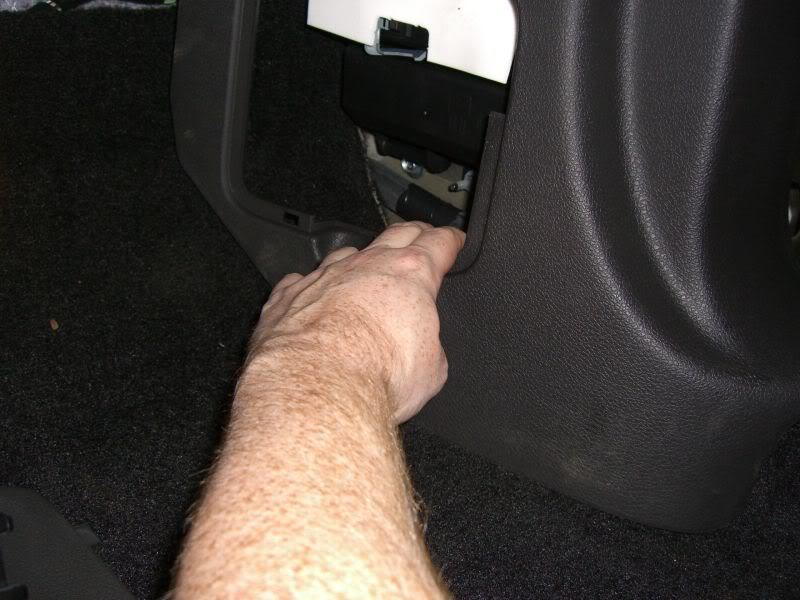
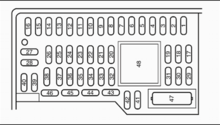
Figure 3. Remove kick panel. 
Figure 4. Remove rear seat. 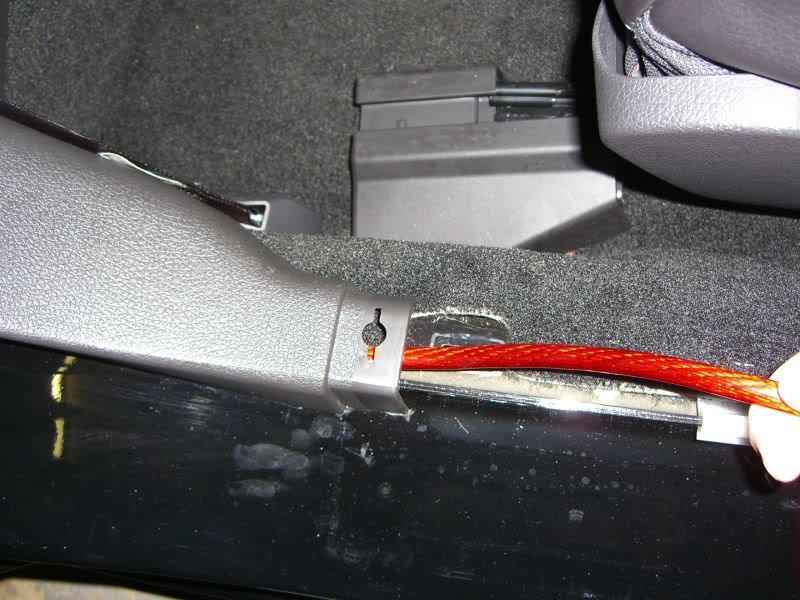
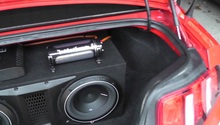
Figure 5. Run wire from trunk to front.
Step 2 – Connect power
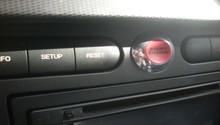
The camera should come with the appropriate wiring. Connect the red wire to a working fuse, such as the radio fuse or the light fuse, then connect the black wire to a ground; there should be a screw that is ground, so you can connect the black wire to it. From the other side, you will have a wire from the camera and connect the other to the reverse light.
The camera will get its power from the reverse light, and the monitor will get its power from the fuse box.

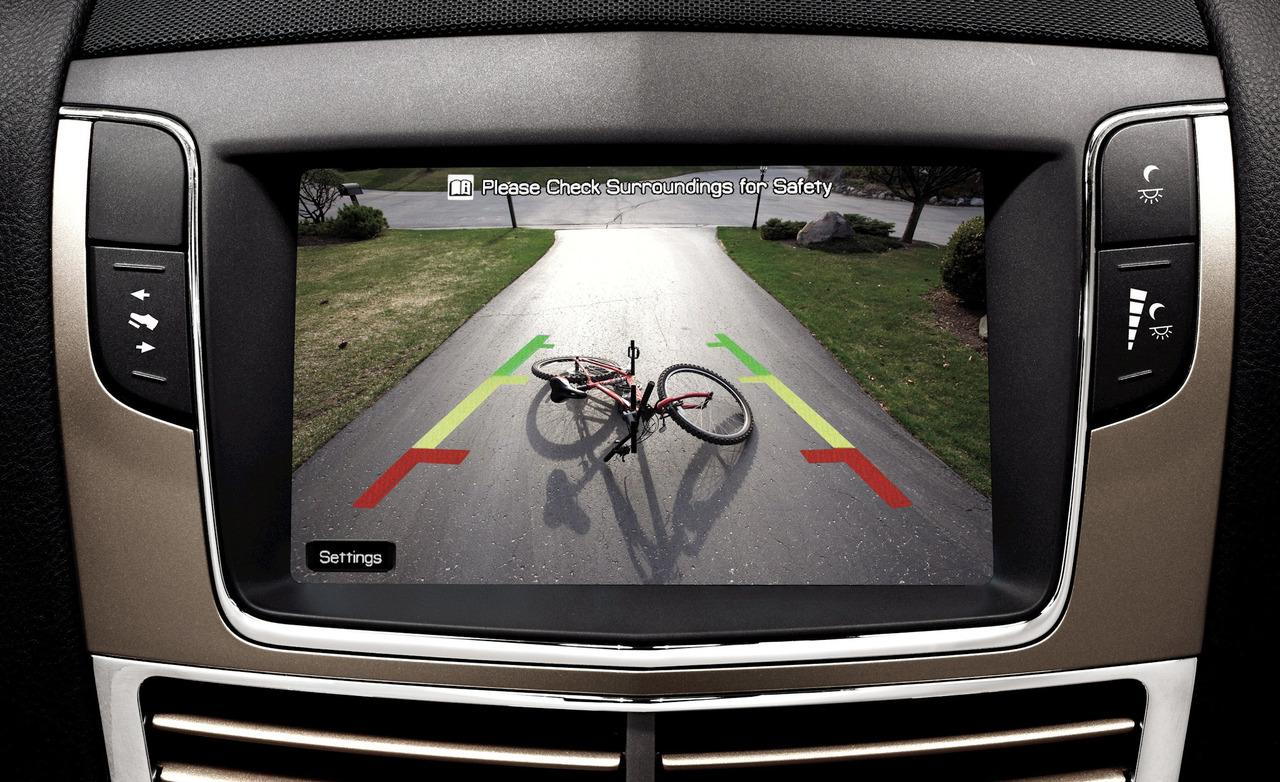
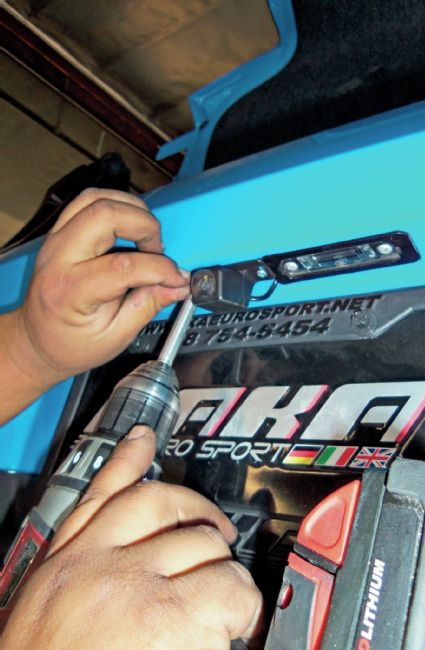
Step 3 – Mount the camera and monitor
The camera should come with instructions, especially since each brand fits differently. However, the common way to mount a back up camera is to drill two holes right next to the reverse light. The camera will mount next to the reverse light, hold in place by two screws, and its wiring will go through a hole you make or into the reverse light if you can fit it through, connecting in the trunk, which will make its way to the front.
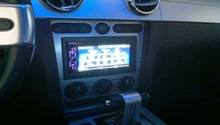
As for the monitor, if you are replacing your stereo along with it, you will need to remove the center console's trim, but most people mount the monitor via suction cup on the glass. Some back up camera come in the form of a rear view mirror, in which case you will need to run the wire along the headliner to it.
Related Discussion
- Backup Camera Fitment - MustangForums.com
- Back Camera Install - MustangForums.com
- Wanting to Install Backup Camera - MustangForums.com