Ford Mustang GT 1996-2004: How to Reset Check Engine Light
Why pay someone to do something when you can do it yourself? Read this article to learn how to properly reset the check engine light on your Ford Mustang GT.
This article applies to the Ford Mustang GT (1996-2004).
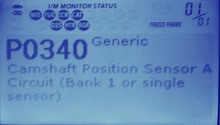
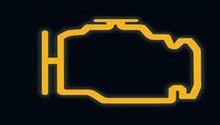
The check engine light is a special mechanism that alerts the driver of any issues the engine's operating systems may be experiencing. The light turns on when a code from one or more of these systems is triggered and will not turn off until the problem is repaired or the codes are erased. The codes themselves can be anything from as simple as a broken sensor, to as serious as a low compression issue in one of the engine's cylinders. Before the code is cleared, the problem should be repaired, or the light may return. The following procedure explains how to both check the codes on your computer and reset the check engine light.

Materials Needed
- Code reader
There are many different types of code readers available on the market. Make sure to purchase one that has all the features you need, including the ability to completely read out what each code means.
Step 1 – Locate the diagnostic port
The location of the diagnostic port generally varies according to the year of your Mustang. Models made between 1993-2004 have the port located under the driver's side dashboard, next to the right side of the knee bolster.
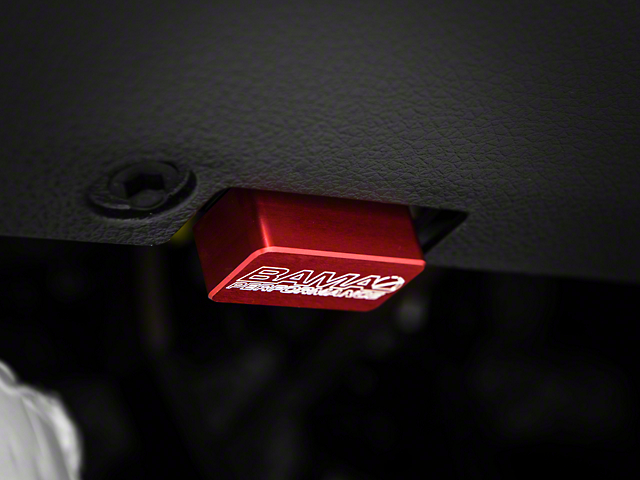
Step 2 – Plug the code reader in
If the code reader requires batteries, install them. Turn it on and connect the code reader to the car's diagnostic port. Then, take the ignition key and turn it into the "on" position, but do not crank over the engine.

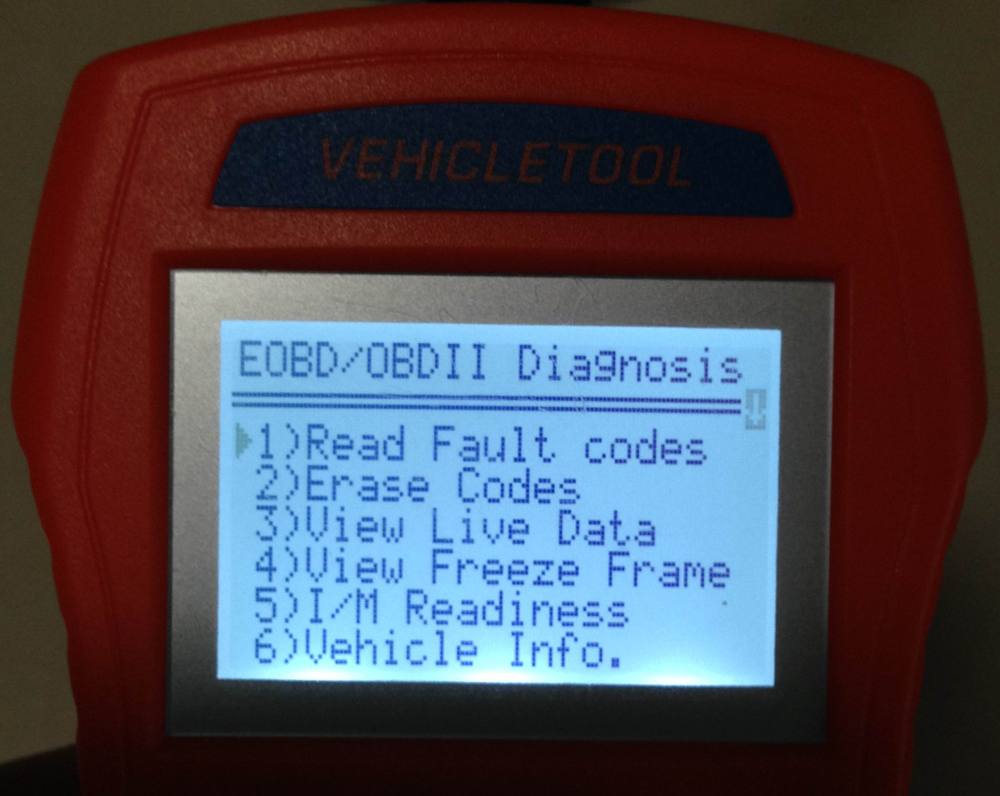
Step 3 – Follow the on-screen instructions
The code reader will ask you for the specific type of vehicle you are connecting to. Make sure to properly select the year, make, model and engine type. When you are finished, press the submit button. The next menu will give you several options; look for the "Read faulty codes" section and press enter. The code reader will then check the car's computer system for any codes and display the ones it finds. Here is where the kind of scanner you have really impacts your results. Those of you with higher-end units will often have all the information required to get a proper definition of what the code means, while users with simpler units will have to research it online.
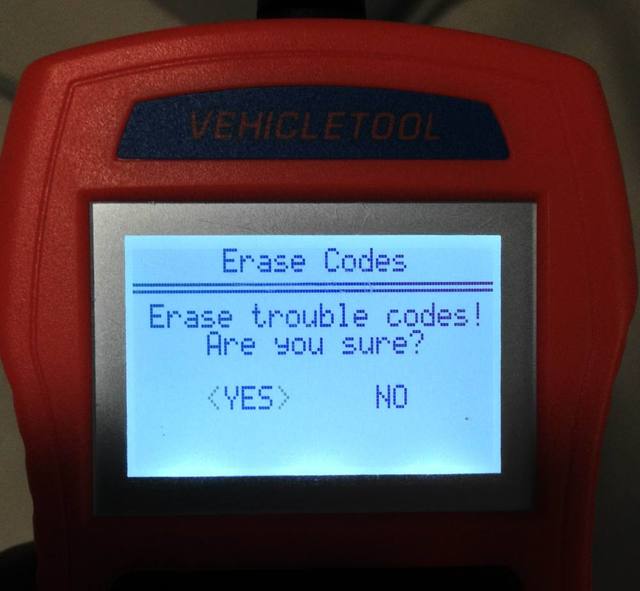
Step 4 – Clear the codes
- Plug the code scanner in.
- Navigate through the menu screens.
- Locate the "Clear codes" button and press it.
- Confirm the option on the next screen.
The codes and check engine light should be cleared.
Related Discussions and Site
- Check Engine Light - MustangForums.com
- Resetting Check Engine Light - MustangForums.com
- How to Use an Auto Scan Tool - Popularmechanics.com