Ford Mustang V6 2005-2014: Why is My Check Engine Light Flashing?
A flashing check engine light is a good reason to worry. It usually indicates an engine misfire. We'll walk you through how to properly diagnose and fix a flashing check engine light.
This article applies to the Ford Mustang V6 (2005-2014).
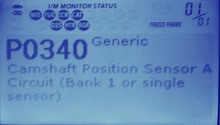
If your Mustang suddenly starts riding rough and triggers a flashing check engine light, it's most likely due to an engine misfire. To really understand the cause of the issue, you're going to have to read the trouble code that triggered the check engine light. You can do this by plugging a code reader into your Mustang's OBD-II port and reading it yourself, or going to a dealership or auto parts store to have the code read for you. Once you know the trouble code, you can start to diagnose what's cause your engine problems.
If you've gotten a P0301 to P0308, then you have a cylinder misfire, or random misfire if you have P0300. A P0301 to P0310 indicates a specific cylinder misfire with the last number indicating the problem cylinder (i.e., P0302 is a cylinder 2 misfire). Misfires can be caused by problems with spark ignition or the fuel-air mixture.
Step 1 – Check the coils and spark plugs
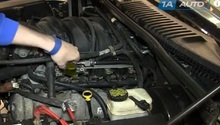
Misfires are typically caused by a failure to create a spark. If your trouble code indicates a specific cylinder, focus on the spark plug for that cylinder. Take out the spark plug and check that the gap is the right length. Sometimes, there can be a buildup of coolant or fuel on the contacts that will need cleaning. Otherwise, you may need to replace the spark plug.
You can test the spark plug and coils with an ignition system's tester. Plug the tester into the spark plug wire boot and ground the tester to the chassis of the car. Run the engine and it will indicate whether or not your are getting a spark. You can do the same thing to test the coils; just plug the tester into the coil plug, ground the tester, and run the engine. If you have a P0300 code, you'll want to test each coil as well as spark plug individually because there could be multiple failed coils and spark plugs.
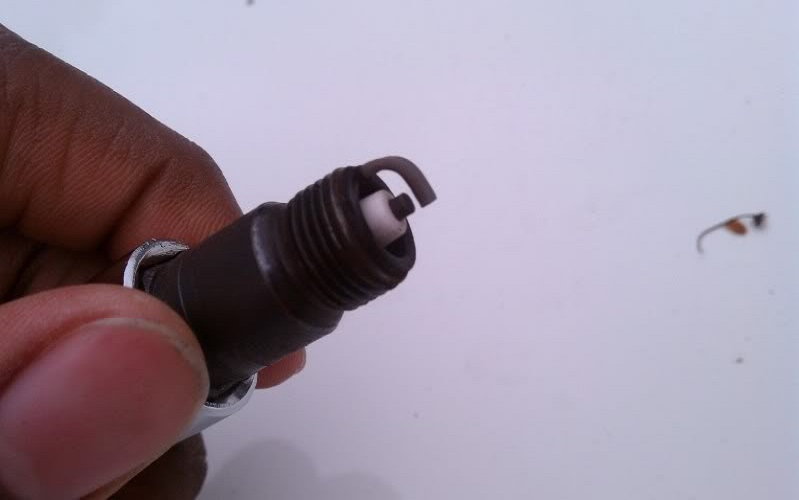
Figure 1. Spark plug gap. 
Figure 2. Check inside spark plug housing, and try to clean up any sludge buildup.
Pro Tip
Don't forget to gap your spark plugs before you reinstall them.
Step 2 – Check the fuel injection
When not enough fuel gets into the cylinder, it can cause a misfire. This is called a lean misfire. Sometimes it can be caused by a damaged or clogged fuel injector.
To test the fuel injector, you'll need to test the pressure at the injector. A fuel pressure gauge will be necessary. Connect the fuel pressure gauge to the fuel supply rail. For the Mustang, the easiest place to tap into the fuel supply is through the Schrader valve. Disconnect the electrical harness for the injector you are testing. Connect a jumper wire from the injector's negative pin to the battery's negative terminal. Another wire needs to go from the positive pin on the injector to a push button switch, which needs to be connected to the battery's positive terminal. Make sure there's an inline fuse on the wire connecting the switch and battery. Turn the key in the ignition without turning the engine on. Pushing the switch will activate the fuel injector. You should see the fuel pressure drop. If not, then the fuel injector needs to be cleaned or replaced.
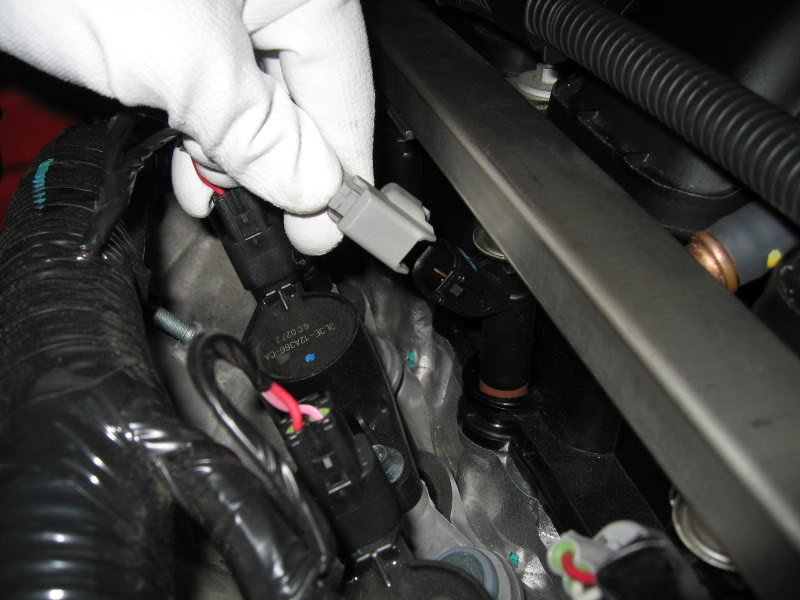
Figure 3. Fuel injector's electrical connection. 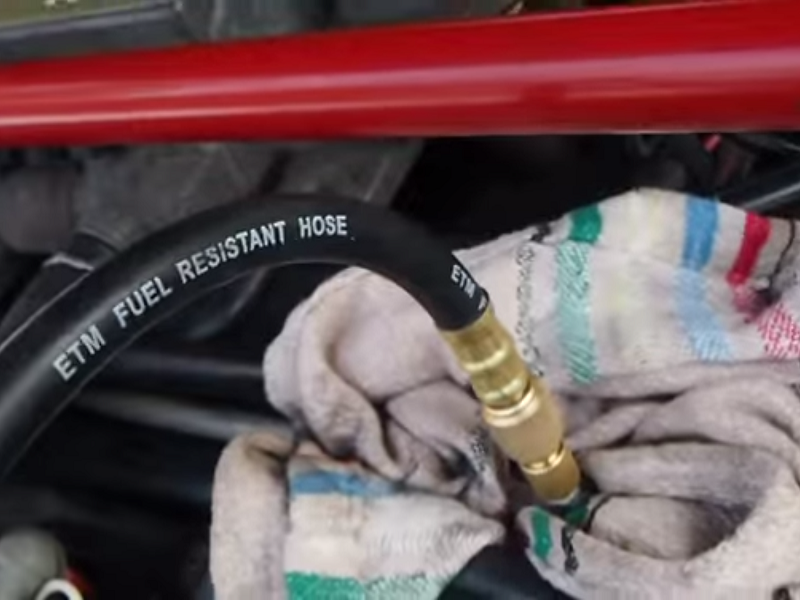
Figure 4. Connect to the fuel supply through the Schrader valve. 
Figure 5. Push button switch and fuel pressure gauge.
Featured Video: Test Your Fuel Injector
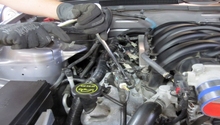
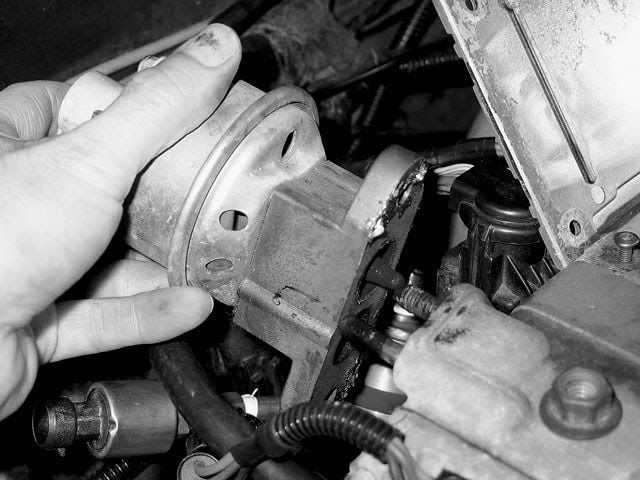
Step 3 – Check the EGR valves
The EGR valve or exhaust gas recirculation valve pulls exhaust gases back into the engine. This controls emissions and reduces heat in the engine. Sometimes carbon buildup on the valve will cause it to stick, essentially creating a vacuum leak. This can result in random misfires.
You will need to inspect it for carbon buildup. To clean the EGR valve, you'll need to pull off the vacuum hose, unbolt it from the engine, then scrub it with carburetor cleaner and a wire brush.
Related Discussions
- Check Engine Light Flashing - MustangForums.com
- Check Engine Light Flashing Need Help - MustangForums.com
- 2003 Service Engine Soon Light Flashing - MustangForums.com