Ford Mustang GT 1996-2004: How to Replace Oxygen Sensors
The oxygen sensors detect the amount of oxygen in the exhaust. The computer uses this reading to adjust fuel mixtures for optimal air-fuel ratios. A problem with the oxygen sensors can reduce fuel economy and damage the catalytic converters.
This article applies to the Ford Mustang GT (1996-2004).
Oxygen sensors, commonly referred to as "O2 sensors," are used by the engine's computer to determine what amounts of air and fuel are leaving the combustion chamber. It uses the voltage produced by the sensor to determine if the readings are in the acceptable range for emissions. If the readings are out of spec (there is an excessive amount of fuel for example) damage to the catalytic converter can result. This is when the engine computer will alter the fuel trims, which results in poor vehicle drivability.
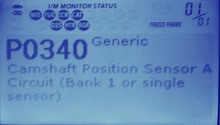
O2 sensors use a zirconium element to create a chemical reaction as the exhaust gas passes through it. When the element becomes covered in soot, the chemical reaction can no longer occur and often resulting in a check engine light. Your Mustang has four of these sensors, so if the car is throwing a check engine light (CEL), then it's worth your while to read the error code and find out which sensor is the culprit.
For almost all vehicles, we strongly urge that you use OEM equipment O2 sensors. Aftermarket sensors have a higher probability of failing, or worse, screwing with the AFR (Air-Fuel Ratio) of your engine, which can result in a big, expensive boom if things go awry. That said, let's get started.

Materials Needed
- Floor jack
- Jack stands (x2)
- O2 sensor socket
- 3/8" - 1/2" ratchet
- 8mm socket
- Flat head screwdriver
- O2 sensor(s)
- Zip ties
Step 1 – Disconnect the negative battery cable
Use an 8mm socket to remove the negative (black) battery cable. Place the cable in an area where it cannot come into accidental contact with the battery terminal. You can wrap the cable with electrical tape for added protection.

Step 2 – Raise front of the vehicle
Set the emergency parking brake. Use a floor jack to raise the front from the jacking points behind the front tires. The jacking point on the front subframe can be used as well. Place jack stands below the jacking points. Blocks of wood can be placed between the jacking points and jack stands to reduce the chance of damage to the underbody.
Pro Tip
Spray penetrating fluid on the exhaust mid-pipe bolts and the O2 sensors to ease removal.
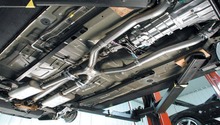
Step 3 – Remove the two rear O2 sensors
Begin removing the sensors by disconnecting the electrical plug. These sensors are located near the h-pipe/x-pipe. All four O2 sensors' electrical plugs disconnect the same way. On one side of the plug you will see a tab that has a raised portion. The tab will need to be pressed down with your finger or a screwdriver, and then the connector can be pulled away from the sensor. This will separate the two.
Remove the sensors from the exhaust pipes with a wrench or correctly sized O2 sensor socket.

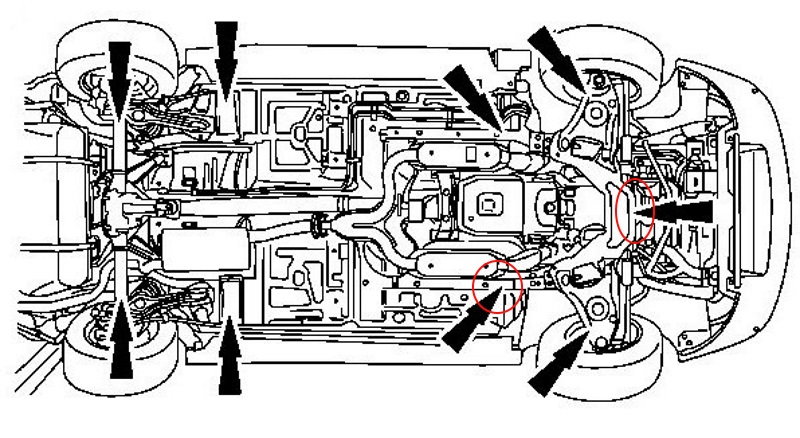
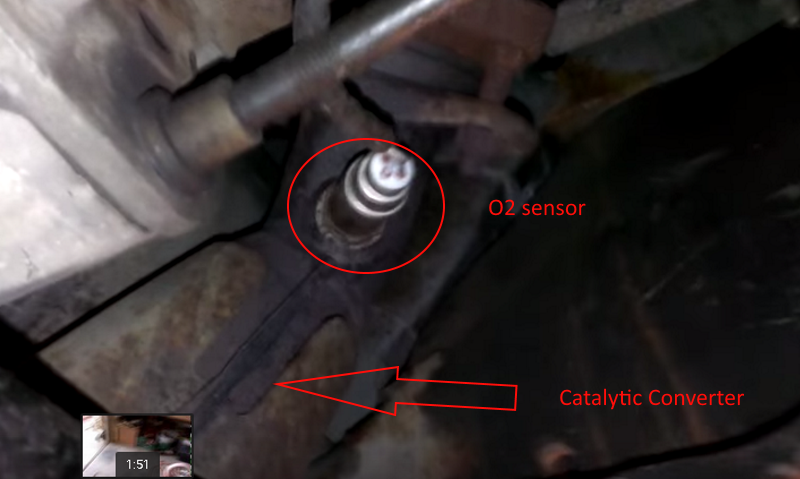
Step 4 – Remove the front O2 sensors and install new sensors
These sensors are located just before the catalytic converter on the mid-pipe. Remove them just as you did the rear sensors. These are in an area with less clearance, so a combination of extensions and/or swivel adapters may need to be used.
Install the new O2 sensors, being sure to route the wiring away from any heat sources or moving parts. Zip ties can be used to secure the wiring to the vehicle.
Featured Video: How to Replace O2 Sensors
Related Discussion
- O2 Sensor Questions - MustangForums.com
- Oxygen Sensors - MustangForums.com
- Any Tips for Removing O2 Sensors - MustangForums.com
- P0132 and P0152 Fault Codes, Help! - MustangForums.com