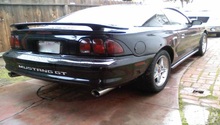
Ford Mustang GT 1996-2004: How to Replace Motor Mounts
The motor mounts dampen engine movement while driving. Rubber between the engine and vehicle body absorbs the twisting that occurs as engine RPM's change. When the motor mount wears out, it can no longer absorb these motions and are instead transmitted throughout the vehicle.
This article applies to the Ford Mustang GT (1996-2004).
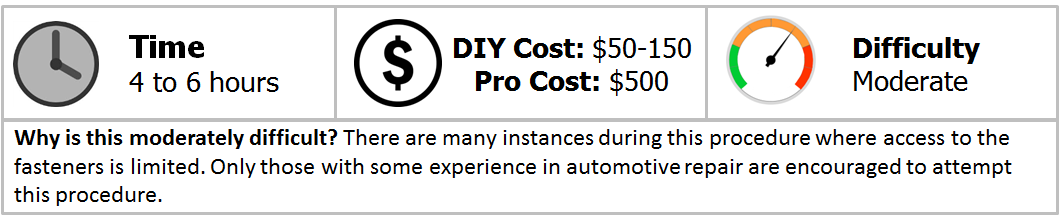
When there is a problem with your motor mount, you will experience increased levels of vibration and possibly noises that resemble metal on metal contact. Rubber that rests between the engine and vehicle body will begin to crack with age. It is not uncommon to get six or more years of service from an engine mount. This greatest factors in determining a motor mount's lifespan are driving habits, the environment the car stays in (weather conditions), and fluid leaks around the mounts. Be prepared to spend most of a day replacing the engine mounts. There are a number of components that must be removed to reach them, as this article will explain.
Materials Needed
- Floor jack
- Jack stands (x4)
- Safety glasses
- Rubber gloves
- Penetrating lubricant
- Socket set (8mm-17mm)
- 3/8" and 1/2" ratchet
- Extension and swivel adapter set
- Block of wood
- Electrical tape (optional)
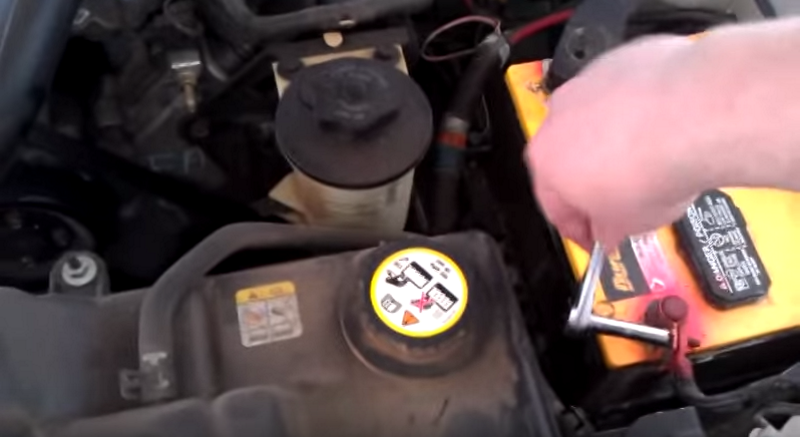
Step 1 – Disconnect the negative battery cable
Disconnect the negative (black) battery cable using an 8mm socket. Wiggle and pull the cable off the terminal once it's loose. Move the cable to an area where it will not come into accidental contact with the battery. You can wrap it with electrical tape, as well.
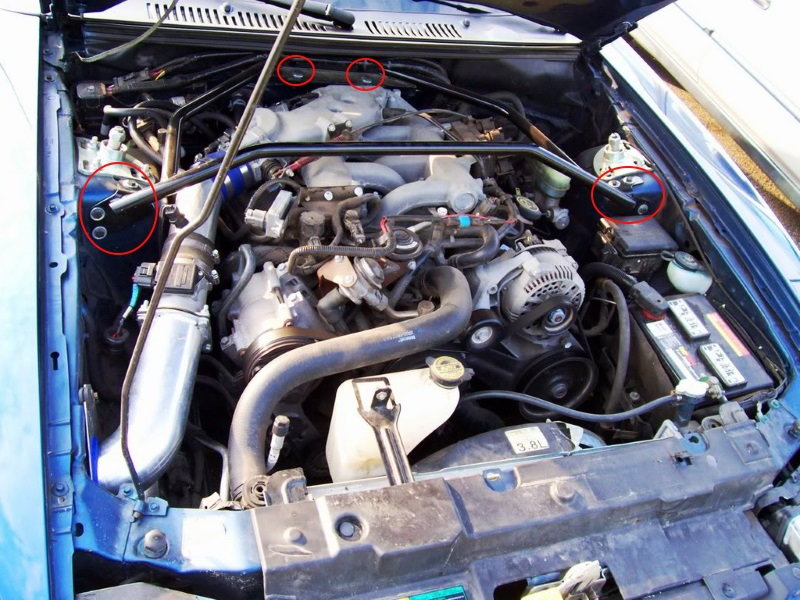
Step 2 – Remove the strut tower bar
Remove the strut tower bar bolts. If you have the factory strut tower bar installed, their should be eight bolts in total.
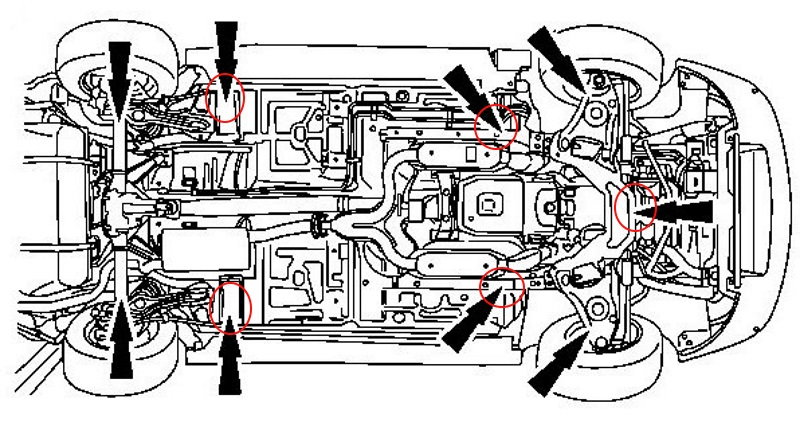
Step 3 – Raise the vehicle off the ground
Set the emergency parking brake. Begin raising each wheel off the ground with your floor jack using the factory jacking points. Place a jack stand at each corner of the vehicle below the jacking points. Blocks of wood can be placed on top of the jack stands to reduce the chance of damage to the underbody.
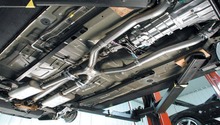
Step 4 – Disconnect the mid-pipe from the rear exhaust section
Four bolts connect the two exhaust sections.
Pro Tip
Spray penetrating fluid on the exhaust bolts to break free the rust formed there.
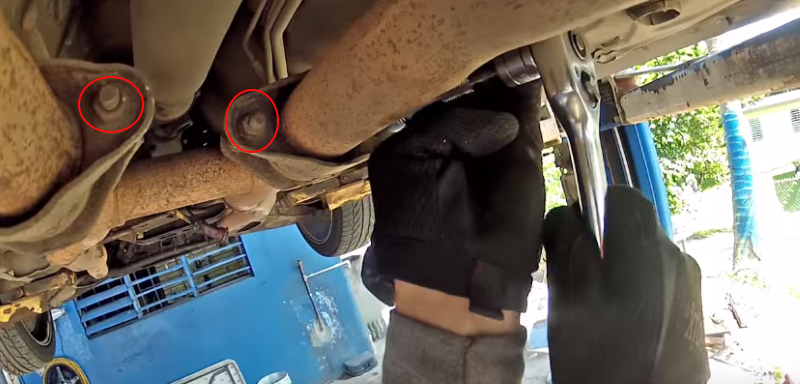
Step 5 – Begin disconnecting the mid-pipe from the headers
There are two bolts holding each exhaust pipe to its corresponding header. Leave one nut threaded onto the bolt, so the mid-pipe does not fall.
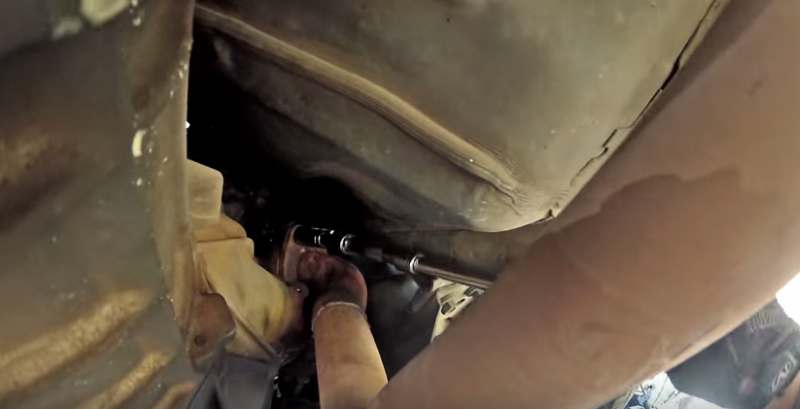
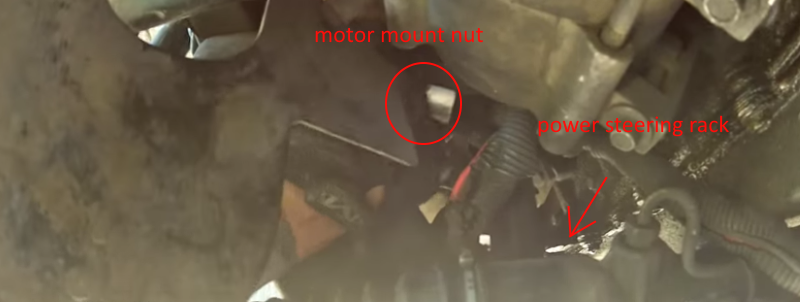
Step 6 – Remove the motor mount nuts
These are difficult to access, but with the right combination of extensions and swivel adapters, they can be reached. There is one nut on each motor mount. The driver's side motor mount nut is also above the steering rack (Figure 6).
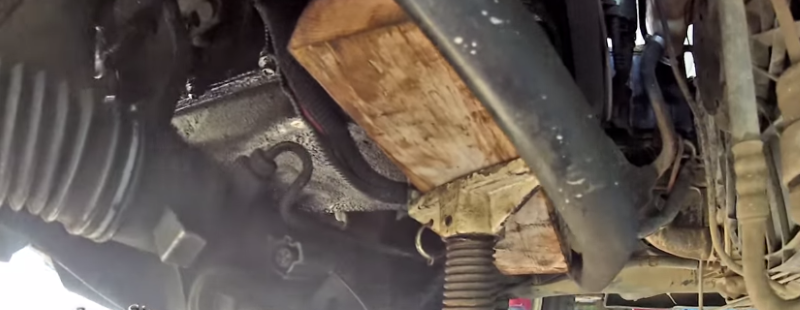
Step 7 – Raise the engine
Use your floor jack and a block of wood to raise the engine until the engines weight is no longer on the motor mount. Place the block of wood between the engine and the oil pan. It's best to use a jack stand if possible to reduce the chance of injury in case there is a failure with the floor jack. Do not jack up the vehicle directly on the oil pan, as it could shatter from the pressure involved.
Step 8 – Remove the passenger side oxygen sensor
Disconnect the electrical connector from the oxygen sensor, then use a wrench or a correctly sized O2 sensor socket to remove the sensor from the pipe. Once the sensor is disconnected, finish removing the mid-pipe from the header.
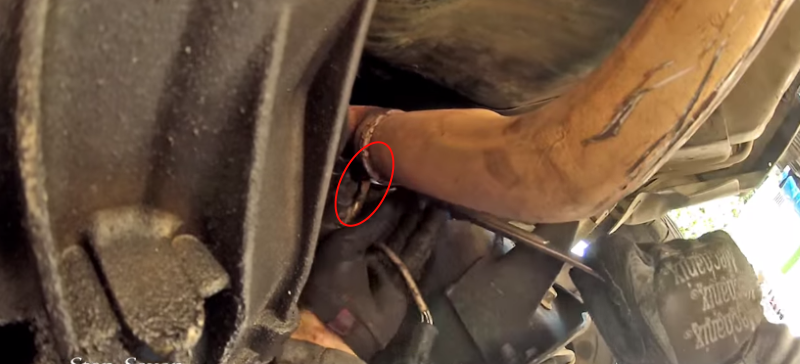
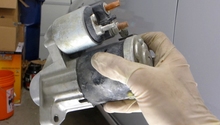
Step 9 – Disconnect the starter
There are three bolts holding the starter in place. You can leave the starter connected to the electrical wiring. Sit the starter away from the motor mount.

Step 10 – Remove and replace motor mounts
There are three bolts holding the motor mounts to the block. You may have to slightly raise or lower the engine to create enough space around the mounts.
Your now ready to install your new motor mounts. Follow the steps in the reverse order of removal and you should have zero problems.
- Slip the new mounts into place.
- Tighten engine mount fasteners.
- Reinstall starter and oxygen sensor.
- Lower the engine and make sure that the mount is aligned properly, then refasten the nuts on the mount.
- Reinstall the exhaust.
- Lower the car down.
- Reattach the strut tower brace.
- Connect the battery, and start the car. Look for abnormal vibrations.
Featured Video: Motor Mount Replacement (Mustang Only)
Related Discussions
- Changing Motor Mounts - MustangForums.com
- Tips on Motor Mount Install - MustangForums.com
- Stripped Motor Mount Nut - MustangForums.com
- Urethane Motor Mounts - Car Shakes - MustangForums.com
- Problems with Solid Motor Mounts - MustangForums.com