Ford Mustang GT 1996-2004: How to Replace Crankshaft Position Sensor
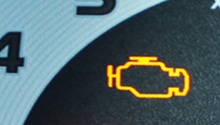
The crankshaft position sensor measures engine revolutions to determine engine speed and piston position. Without it, the engine does not know when to energize the spark plugs and often resulting in an engine no-start or intermittent stalling.
This article applies to the Ford Mustang GT (1996-2004).
The crankshaft position sensor contains a magnet that interacts with a reluctor wheel on the crankshaft to create an electrical signal. This signal is read by the engine computer to determine where the piston's position is in the engine cylinder. The signal as well as the camshaft position sensor's signal are used for fuel injector control, ignition advance, and retard. Often times, the crankshaft position sensor problems are found with the help of a diagnostic trouble code that's discovered using a OBD-II scan tool.

Materials Needed
- Jack stand
- Floor jack
- Safety glasses
- Rubber gloves
- Socket set (8mm-17mm)
- 3/8" ratchet
- Brake cleaner
- Crankshaft position sensor
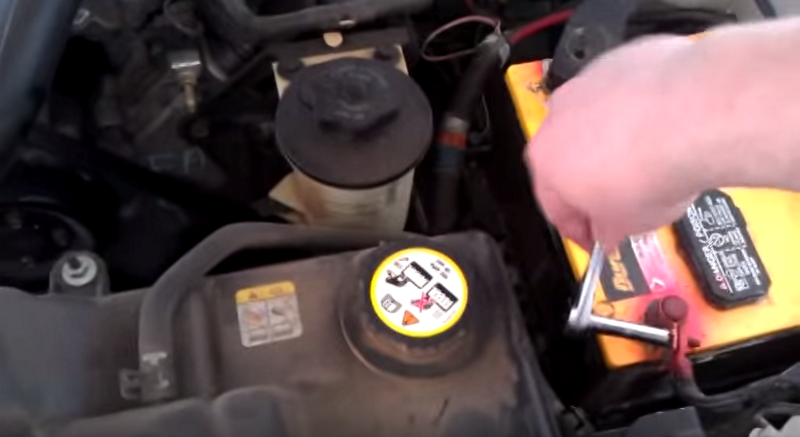
Step 1 – Disconnect the negative battery cable
Remove the negative (black) battery cable with a 8mm socket. Wiggle the cable off the terminal once it's loose enough. Place the cable in an area where it cannot come into accidental contact with the battery. You can wrap the cable with electrical tape for added protection.
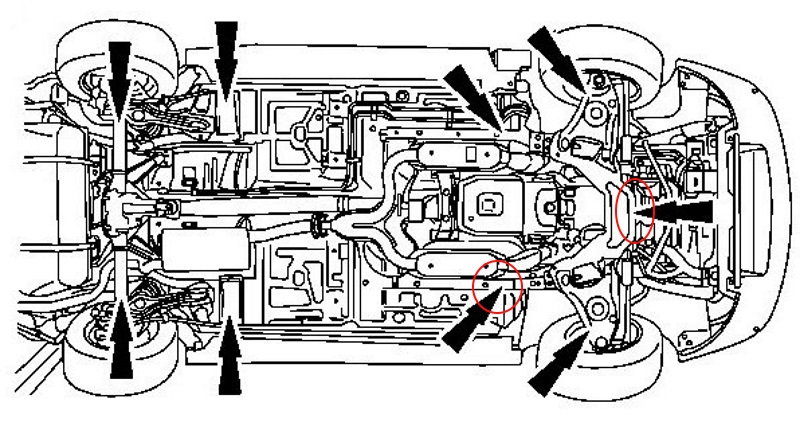
Step 2 – Raise the front of the vehicle
Place the floor jack pad against the passenger's side jacking point behind the right front tire, and raise the vehicle until a jack stand can be placed underneath the jacking point. A block of wood can be placed between the jack stand and the vehicle to reduce the chance of damage to the underbody.
Alternatively, the front subframe can also be used as a jacking point.
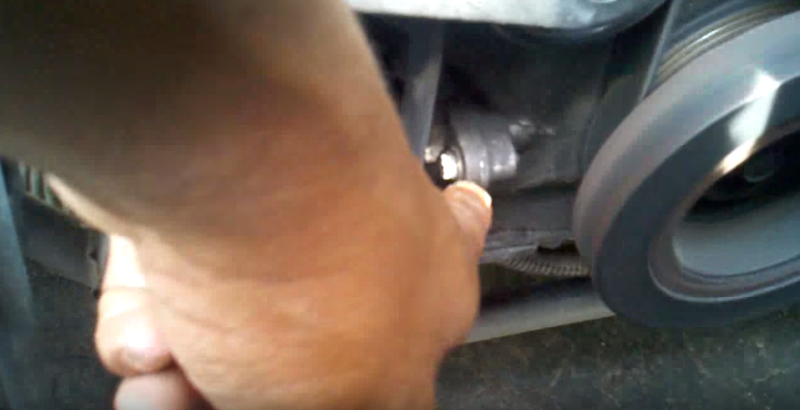
Step 3 – Locate the crankshaft position sensor
The crankshaft position sensor is located on the left side of the harmonic balancer, next to the air conditioning compressor.
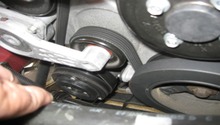
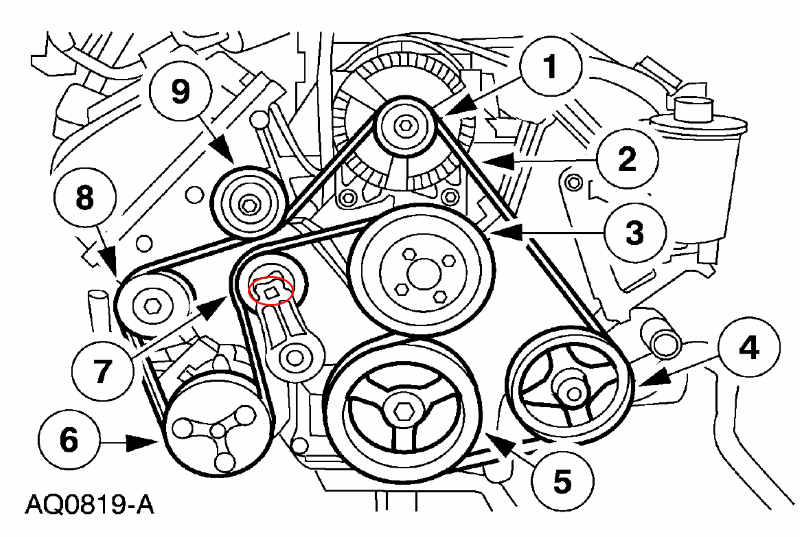
Step 4 – Remove the serpentine belt
In order to create enough space to remove the crankshaft position sensor, the serpentine belt and A/C compressor must be removed. You will see a square slot where the ratchet can be slid into the tensioner. Using a long 3/8" ratchet, turn the serpentine belt tensioner clockwise. Slide the belt off one of the pulleys.
Step 5 – Remove the A/C compressor
The A/C compressor does not need to be completely removed from the engine bay. Only remove the three bolts holding it to the engine. This will position it far enough away from the crankshaft position sensor to make removal possible.
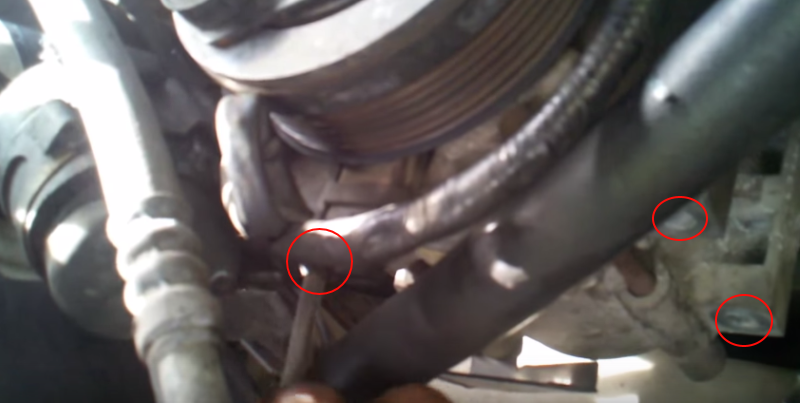
Step 6 – Remove the crankshaft position sensor
There is one bolt holding the crankshaft position sensor to the engine. Once it's removed, wiggle and pull the sensor out of the engine and disconnect it from the electrical connector plug.
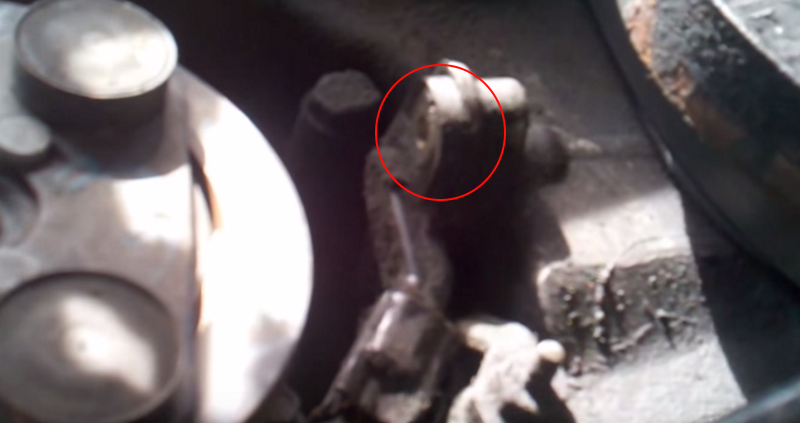
Figure 6. You can see where the bolt threads into the sensor inside the red circle. 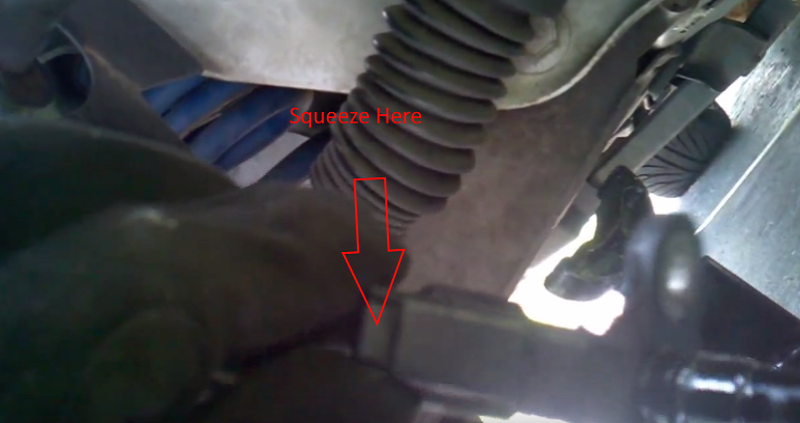
Figure 7. Squeeze the electrical connector and pull it away from the sensor to separate the two.
Step 7 – Install the new crankshaft position sensor
Clean the area around and above the sensor with an engine degreaser and/or brake cleaner. Fluids can create dirt buildup and electrical problems inside the connector plug.
When your ready to install the A/C compressor, hold the compressor up and start the three bolts by hand. This will ensure the threads are not stripped. Route the serpentine belt according to Figure 4. With the tensioner held in the clockwise direction, slide the belt onto a pulley with a smooth surface last. Make sure the belt aligns with the grooves in the pulleys once the tensioner is released. Attach the negative battery cable to finish the installation.
Featured Videos: Faulty Crankshaft Position Sensor
-
Part One
-
Part Two
-
Part Three
Related Discussions
- Crank Position Sensor 2004 3.9L - MustangForums.com
- Crankshaft Position Sensor - MustangForums.com
- FRPP Tach Driver/Crank Position Sensor Help - MustangForums.com
- '96 GT Crank Position Sensor - MustangForums.com