Ford Mustang GT 2005-2014: How to Replace Stereo
Replacing the stereo in the Ford Mustang could make your driving experience much more enjoyable. Read on to learn how to do it.
This article applies to the Ford Mustang GT (2005-2014).
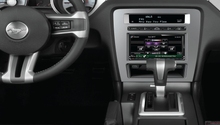
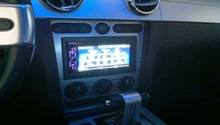
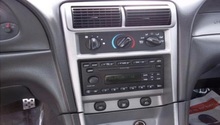
The Ford Mustang GT comes with a very nice stereo; however, with much more advanced stereos out there, an upgrade is definitely a plus. You can now play your music off of a USB or by connecting it to an AUX cable. So whether your stereo is broken, or you just have your eyes on a nice aftermarket stereo, this DIY will show you the procedure to remove the old one and replace it with new. The process isn't too hard; however, if you don't want to cut any part of your console, be sure to check that your new stereo fits.


Materials Needed
- Trim removal tool
- Phillips head screwdriver
- 7mm socket
Step 1 – Remove center trim piece
Start by removing the two Phillips head screws on the center console. Then, remove the rectangular trim piece around the shifter by simply pulling it up. Pull the center console up; it should come right off once you remove the two screws.

Figure 2. Remove two Phillips screws from arm rest console. 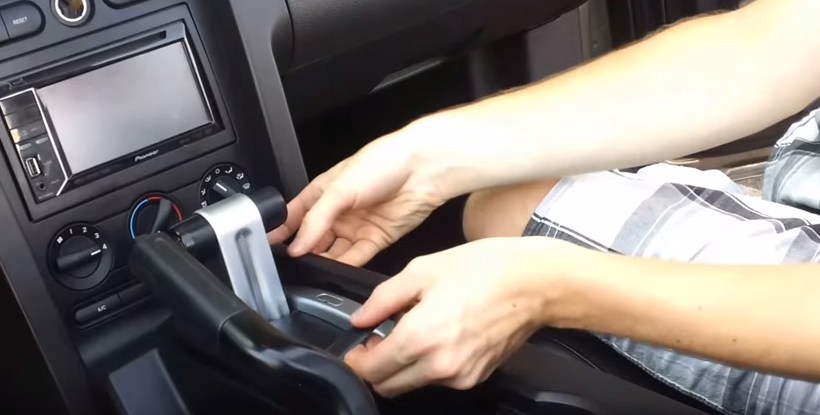
Figure 3. Remove plastic trim around shifter. 
Figure 4. Remove center trim.
Step 2 – Remove trim around stereo
Remove the side panels along the sides of the stereo. They should easily come off once the center piece is off. Hold it from the back, and pull it forward towards you to remove. Remove the six 7mm screws alongside the stereo using your socket.
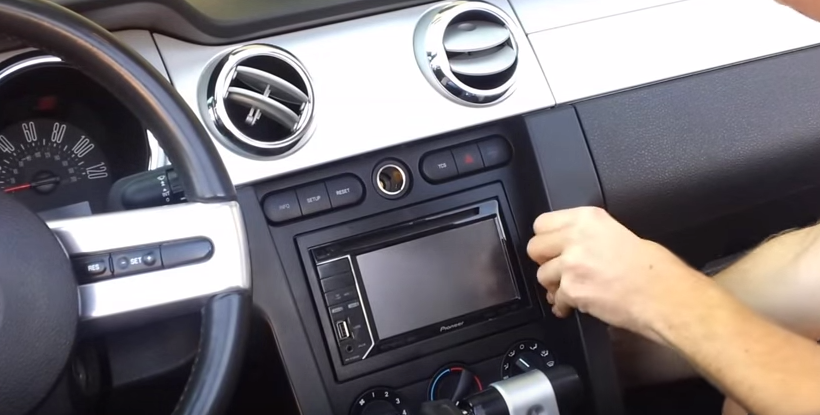
Figure 5. Remove stereo side panels. 
Figure 6. Remove six screws.
Step 3 – Disconnect connectors
On the passenger's side, just behind the middle section, use your finger to disconnect the HVAC connector by pulling the lever down. The second HVAC connector is in the same place but on the driver's side. You will need to pull the connector apart to disconnect. Finally, pull the whole trim piece out gently, and disconnect the connectors that are connected to the hazard light button and all the buttons next to it. You just need to pinch these connectors and pull out.

Figure 7. Pull lever down. 
Figure 8. HVAC connector on driver side. 
Figure 9. Remove trim and disconnect connectors.
Step 4 – Remove stereo
Remove the four 7mm screws holding your stereo in place using your 7mm socket. Pull the stereo out gently so you don't break any of the wires. Disconnect all the connectors from the back of it.

Figure 10. Remove four 7mm screws. 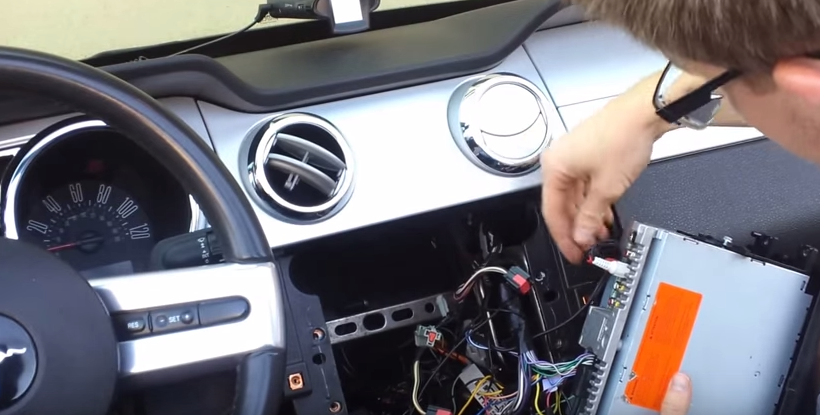
Figure 11. Disconnect connectors from the back of the stereo.
Step 5 – Install new stereo
Installation is the reverse of removal.
- Connect connectors in their proper slots.
- Tighten four 7mm sockets holding new stereo in place using your 7mm socket.
- Align the front trim piece and connect the hazard light button's connectors and the ones next to it.
- Connect the two HVAC connectors on the passenger and driver side as shown in Figures 8 and 9.
- Tighten the six screws around the stereo and install two side panels around the stereo.
- Install center plastic trim, shifter trim, and tighten two Phillips screws on center console.
Featured Video: How to Remove Stereo
Related Discussions
- Mustang Stereo Upgrade - MustangForums.com
- Stereo Install - MustangForums.com
- Aftermarket Stereo - MustangForums.com