Ford Mustang GT 1996-2004: How to Install Stereo
Changing out your Mustang stereo is a worthwhile project. With so many aftermarket options available, you can find a great replacement for not a lot of money.
This article applies to the Ford Mustang GT (1996-2004).
The stereo system in your Ford Mustang is a series of components all linked together under the guidance of the head unit, or stereo interface. It is quite common that the ultimate capabilities of the stereo are limited by what the head unit is capable of. In addition to being able to better work with aftermarket stereo components, upgrading the stereo head unit can give the driver options like MP3, CD, or auxiliary inputs. If you have found a great aftermarket stereo for your Mustang GT, now is a great time to upgrade and you will be glad you did. This article will guide you through an aftermarket stereo installation for a Mustang GT, step by step.

Materials Needed
- Pry bar
- Socket wrench
- 7mm socket
- Wire connectors
Step 1 – Disconnect the power
Always disconnect the negative battery (black) terminal before beginning work on any electrical project.

Step 2 – Remove the stereo trim
First, remove the bottom trim by prying it off. Be sure to disconnect the power connector, then pull it over the shifter and out of the way.

Figure 2. Remove the lower trim. 
Figure 3. Unplug the power connector.
Next, pry the top trim off, and then disconnect the three wire connections at the bottom.
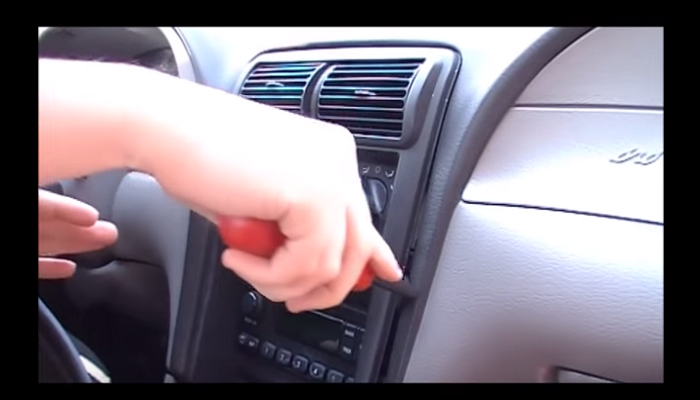
Figure 4. Remove upper trim. 
Figure 5. Remove bottom three connectors.
Step 3 – Remove the old stereo
Now remove the two 7mm bolts and slide the radio out.
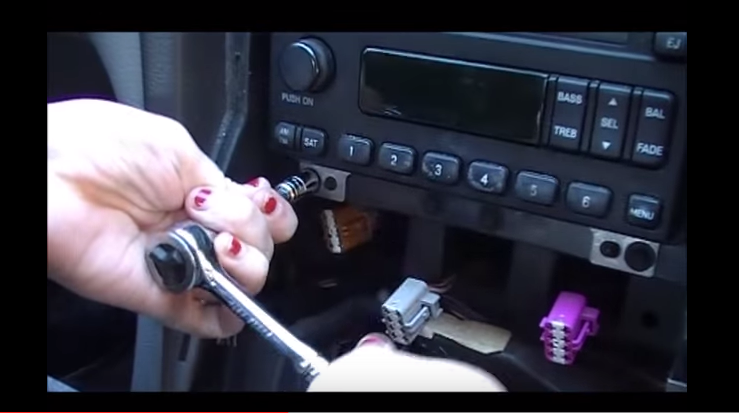
- Disconnect the antenna and the other connectors, which are shown in Figure 7.

Step 4 – Prepare your new wiring harness
With so many different aftermarket stereo options, you will need to consult your manual as to the specific wiring harness connections for your model. Most will provide an interface kit with adapters like the ones shown in Figure 8.
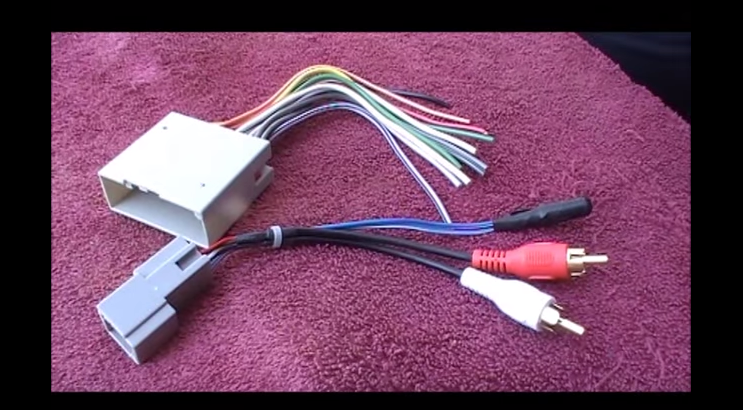
Generally, you will need to match up the wire colors from the adapter to your harness. Butt connectors are a good option, as they allow you to connect two wires and crimp the metal connectors on both ends to create a solid connection.
Step 5 – Test new stereo and complete the installation
Before installing the new stereo completely, be sure to test the functions to verify that it's working properly. Any malfunctions can usually be traced back to mismatched wires. Consult your manual for any additional wires you may have missed the first time around.
Once everything is working properly, push the wires back into the dash, slide the stereo in and secure it with the four screws. Snap your stereo trim back in place and you're done!
Featured Video: Replace Mustang Mach 460 with Aftermarket Stereo
Related Discussions
- Mach 460 Tweeter Removal - MustangForums.com
- Aftermarket Stereo Install - MustangForums.com
- Stock Stereo and Installing Amp - MustangForums.com
- Headunit, Radio and Speaker Replacement - MustangForums.com
- Stereo Wiring Diagram - MustangForums.com