Ford Mustang V6 and Mustang GT 2005-2014: How to Replace Tie Rods
Answer: Tie Rods. Here is how to replace them when your weakest link starts to show its true colors.
This article applies to the Ford Mustang V6 and Mustang GT (2005-2014).
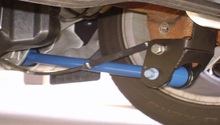
When it comes to your car's steering system, the tie rod plays quite an important role. It connects the steering knuckle—which is what your wheel is attached to—to the steering rack and it transmits your steering inputs to the wheels. The tie rod is essentially a ball joint that attaches by way of threads to the steering rack. As you can imagine, over time and numerous steering inputs, this ball joint wears out. When it does wear out, it can tend to cause slop in the steering, making the link between the steering rack and steering knuckle weak. It can potentially wear out to the point where it will start to throw the alignment off. Luckily for you, it's not all that difficult to change out to restore your car's steering feel back to normal.
It's very important to change steering and suspension components as soon as you notice that they are worn out of limits. Any worn suspension or steering component that is left in service for too long can start to prematurely wear out other components that it interacts with. This is especially the case when it comes to components that have to do with the alignment of your car.

Materials Needed
- Millimeter sockets sizes 12mm-21mm
- Ratchet
- Millimeter wrenches sizes 12mm-17mm
- Tie rod separator/puller
- Jack and jack stands
- Whiteout or marker
- Vise grips or channel lock pliers (optional)
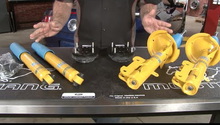
To complete the removal of the tie rod from the steering knuckle, it will most likely require the use of a tie rod separator/puller. There are many different versions of this tool. Below is one example. Most major auto parts stores will have one that you can rent, or you can pick one up for not too much money.

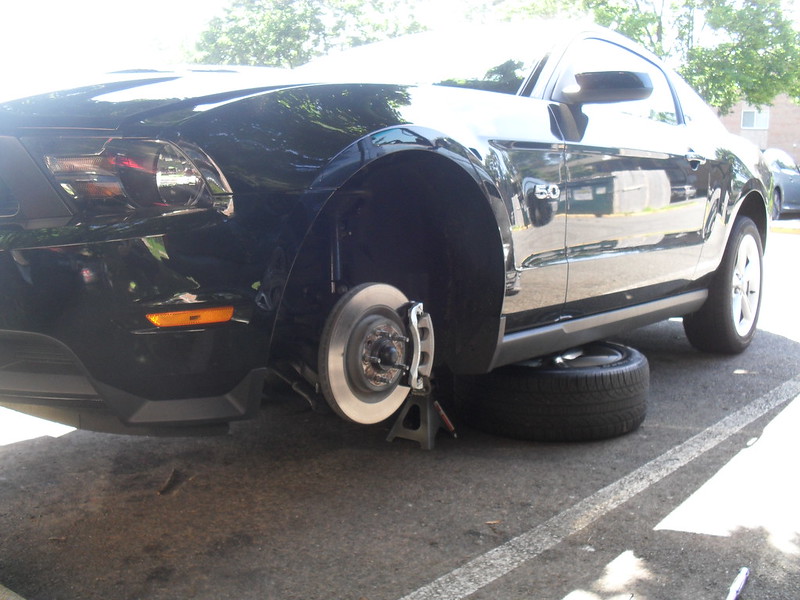
Step 1 – Raise vehicle off the ground
You will only need to raise the front of the vehicle off the ground, as that is where the tie rods are located. Plus, you will be removing the front wheels to gain easier access to the tie rods. Place the vehicle on jack stands to securely support the weight of the vehicle.
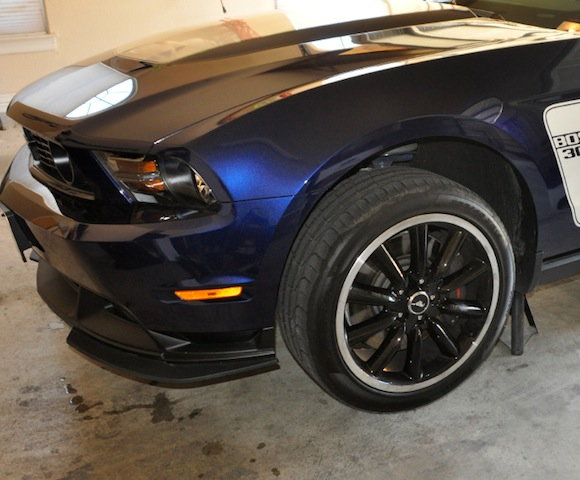
Step 2 – Remove the wheels
Go ahead and remove the front wheels from the vehicle and place them out of the way.
Step 3 – Loosen tie rod lock nut
Loosening the tie rod lock nut will require two open end wrenches. One will loosen the lock nut and the other will hold the threaded piece that the tie rod threads onto. There should be some flats on this piece, specifically placed there for a wrench to hold it.
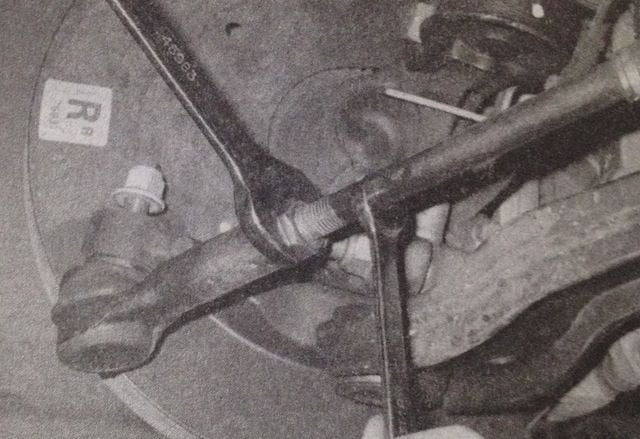
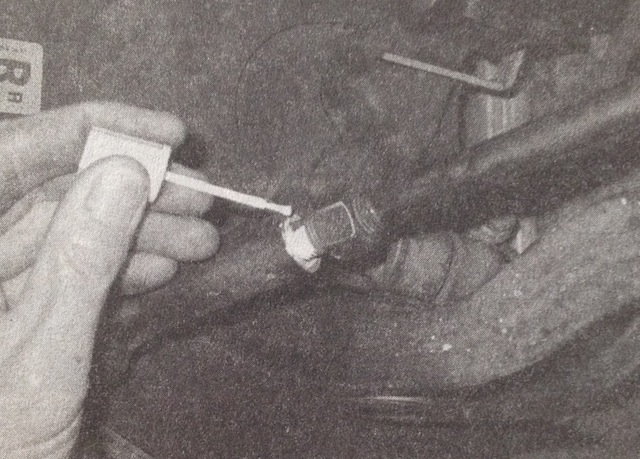
Step 4 – Mark position of tie rod
After you have loosened the lock nut, you will want to mark the tie rod position on the threaded portion of the tie rod. Some whiteout or a paint marker will work well for this. This is necessary so that you have a reference point for when threading on the new tie rod.
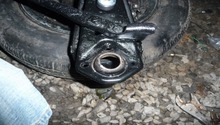
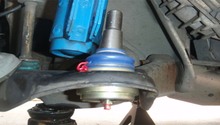
Step 5 – Loosen ball joint stud nut and remove tie rod
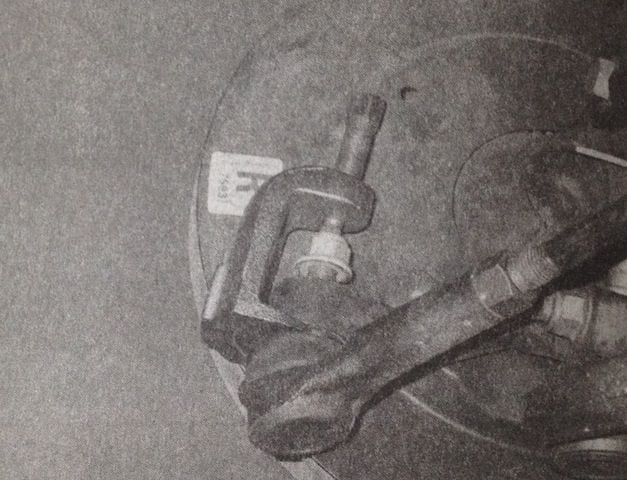
After marking the tie rod's position, you will then want to loosen the nut on the ball joint stud of the tie rod (where it attaches to the steering knuckle). After you loosen the nut, un-thread it until it just reaches the top of the stud. This is where you will need the tie rod separator/puller. Place the tie rod separator/puller onto the tie rod, as shown in the picture below, and separate the tie rod from the steering knuckle. Once it has come free, you can remove the separator/puller and then un-thread the nut the rest of the way. At this point, you can then remove the tie rod from the threaded end.
Pro Tip
The ball joint stud might start to turn while removing the nut. A set of vise grips or channel lock pliers will help to keep it from turning if this happens.
Step 6 – Install new tie rod
Now you can install the new tie rod by threading it onto the threaded end. Make sure to thread it up until where you marked the position of the old one. The rest of the installation is the reverse as removal.
- Tighten ball joint stud nut.
- Tighten tie rod lock nut.
- Install the wheels.
- Lower car back onto the ground.
Step 7 – Get vehicle aligned
This is a very important step. After installing the new tie rod, it will be necessary to get the vehicle aligned. This is because the tie rod is a component that is responsible for the proper alignment of the vehicle, and any time you install a new component that is responsible for alignment, it will be necessary to get the alignment checked as well as adjusted.

Related Discussions
- Outer Tie Rod Ends Toast - MustangForums.com
- Tie Rod Replacement - MustangForums.com
- Bad Inner Tie Rod, or What? - MustangForums.com