Ford Mustang V6 and Mustang GT 2005-2014: How to Replace Ball Joints
Here's how to change your worn ball joints, so you can get back to feeling good again.
This article applies to the Ford Mustang V6 and Mustang GT (2005-2014).
The feeling of a worn or loose ball joint is a very terrible feeling all together. The suspension and steering tend to feel somewhat sloppy, and then there comes the feeling of the fact that you know it is going to cost a certain amount of money to make this feeling go away. Well, don't feel too bad. It's not all that hard to change out your ball joints and get that suspension back to feeling the way it should.
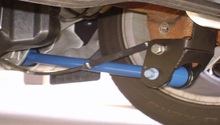
According to the shop manual, the ball joints aren't serviceable on these cars, so really changing them out pretty much means you're changing the lower control arm. There is only one ball joint on the lower arm, so that makes it easy. Changing the control arm out isn't as difficult as you would think and, in some cases, might actually be faster than pressing the ball joint out of the existing control arm and pressing in a new one. Also, doing it this way makes it so you don't have to remove any of the brake components to gain access to the ball joint.
If you're unsure if you're ball joints are even worn out or not, there is a check that you can perform to help you figure it out or not.
You can perform the check as follows:
- Elevate the front of the vehicle off the ground and place it securely on jack stands.
- Support the lower control arm with a floor jack.
- Grab the tire and wheel at the 3 o'clock and 9 o'clock position, push in and out. Then grab the wheel at the 12 o'clock and 6 o'clock position to push in and out.
- While doing this, feel for movement in the area of the ball joint. If it feels as if there is .012 inch of play, the ball joint is worn out.

Materials Needed
- Jack and jack stands
- Millimeter socket sizes 12mm-21mm
- Ratchet
- Millimeter wrench sizes 12mm-19mm
- Pry bar
- Ball joint separator tool
Step 1 – Raise vehicle and support on jack stands
Since the ball joints and control arms are located in the front of the vehicle, you will only need to place the front of the vehicle on jack stands.

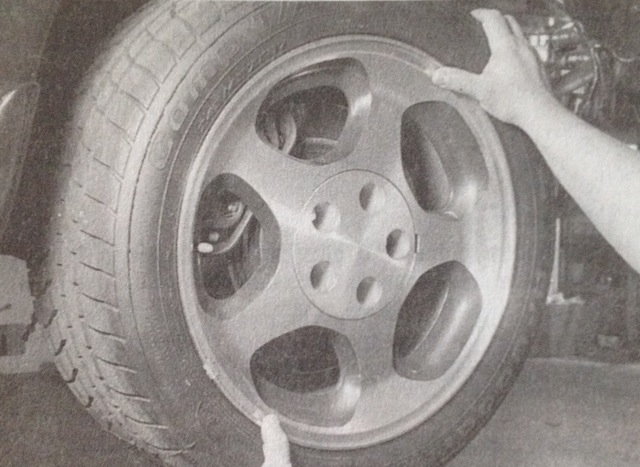
Step 2 – Remove the front wheels
After you have the vehicle supported securely on jack stands, you can go ahead and remove the wheels, which will be necessary to gain access to the control arm.

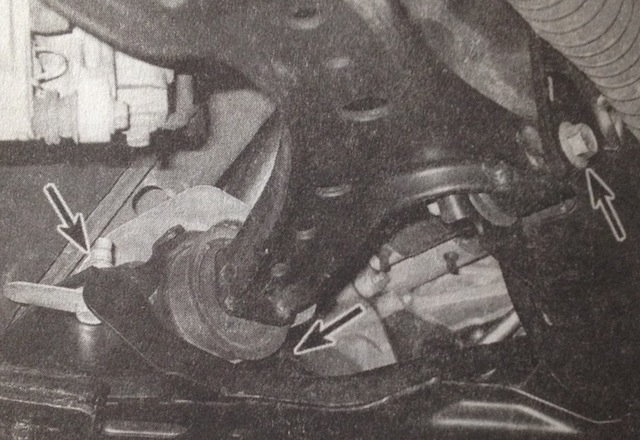
Step 3 – Remove the steering knuckle pinch bolt
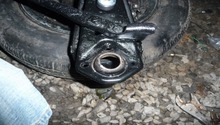
The steering knuckle pinch bolt is what secures the steering knuckle to the ball joint on the control arm. This bolt can be found by looking where the steering knuckle and the control meet, below the wheel hub. After removing this bolt, you can then separate the steering knuckle from the ball joint and control arm using a pry bar or ball joint separator tool.
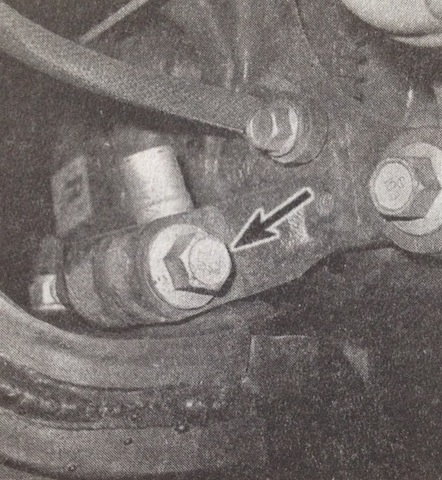
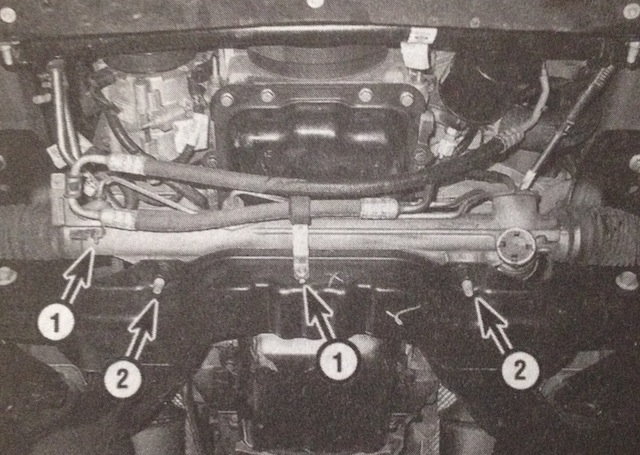
Step 4 – Remove fasteners and forward pivot bolt
The steering gear mounting fasteners are what secures the steering rack to the subframe. You will need to remove these fasteners so that you can move the gear forward enough to access the forward pivot bolt of the control arm. In the picture below, the steering gear mounting fasteners are indicated by the #2. After you have moved the steering gear out of the way, you can remove the forward pivot bolt.
Step 5 – Remove rear mounting fasteners
All that is left for removing the control is the rear mounting fasteners. Once you have removed them, you can remove the control arm and rear mounting bracket.
Step 6 – Install new control arm
The installation of the control arm is the reverse as removal.
- Install rear mounting bracket and control arm into place.
- Install rear mounting fasteners.
- Install forward pivot bolt.
- Install steering gear mounting fasteners.
- Install ball joint back into steering knuckle.
- Install steering knuckle pinch bolt.
- Install wheels.
- Place car back onto the ground.
Pro Tip
The rear mounting fasteners for the control arm can be reversed to ease installation.
Step 7 – Align vehicle
After completing this repair, it will be necessary to take your vehicle to an alignment shop to get it aligned. Failure to do this could result in suspension components wearing out prematurely, and/or the car exhibiting bad driving characteristics.
Featured Video: Ball Joint Replacement on Mustang 2005-2009
Related Discussions
- Ball Joints and Tie Rods - MustangForums.com
- How Long Did Your Ball Joints Last - MustangForums.com
- Inspecting Ball Joints for Wear - MustangForums.com
- Bad Ball Joints - MustangForums.com