Ford Mustang V6 and Mustang GT 1994-2004: How to Replace Rear Lower Control Arms
Improve the handling of your car by replacing the rear lower control arms. Continue reading to find out how to replace them in a few easy steps.
This article applies to the Ford Mustang V6 and GT 4.6L V8 (1994-2004).
The rear lower control arms are part of the rear suspension. There is one arm on each side of the car. They can, of course, be replaced with the same as the factory ones if the old ones are worn, but they can also be replaced for performance reasons. Good quality aftermarket control arms do a much better job at keeping the rear end of your car stable when cornering, and provides a better ride quality. Tame your Mustang's wheel hop and also improve your cars ability to get the power to the ground with new control arms.

Materials Needed
- Ratchet
- 15mm socket
- 18mm socket
- 21mm socket
- Pry bar
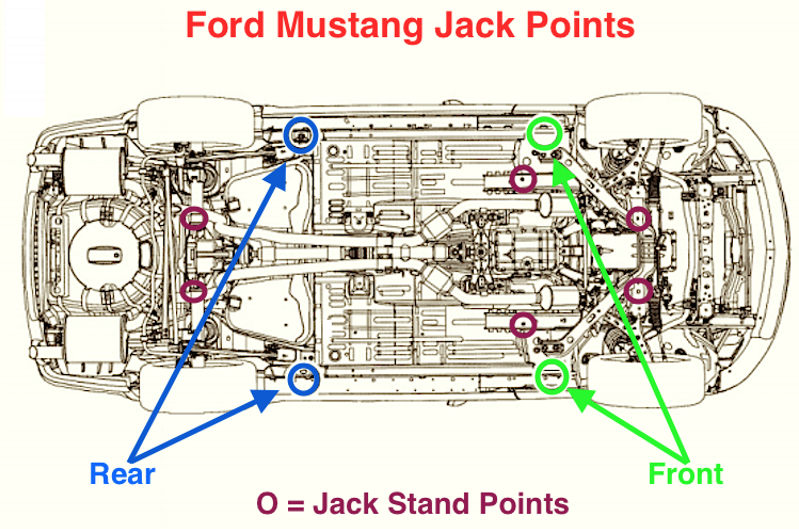
Step 1 – Jack up your car and remove the rear wheels
Jack up the rear end of the car and put it on jack stands. Use the factory recommended jacking points for the jack and for the jack stands to make sure you don't damage the car. When the car is elevated, remove the rear wheels.
Step 2 – Remove the sway bar
First, the ABS sensor cable has to be removed from its clip.
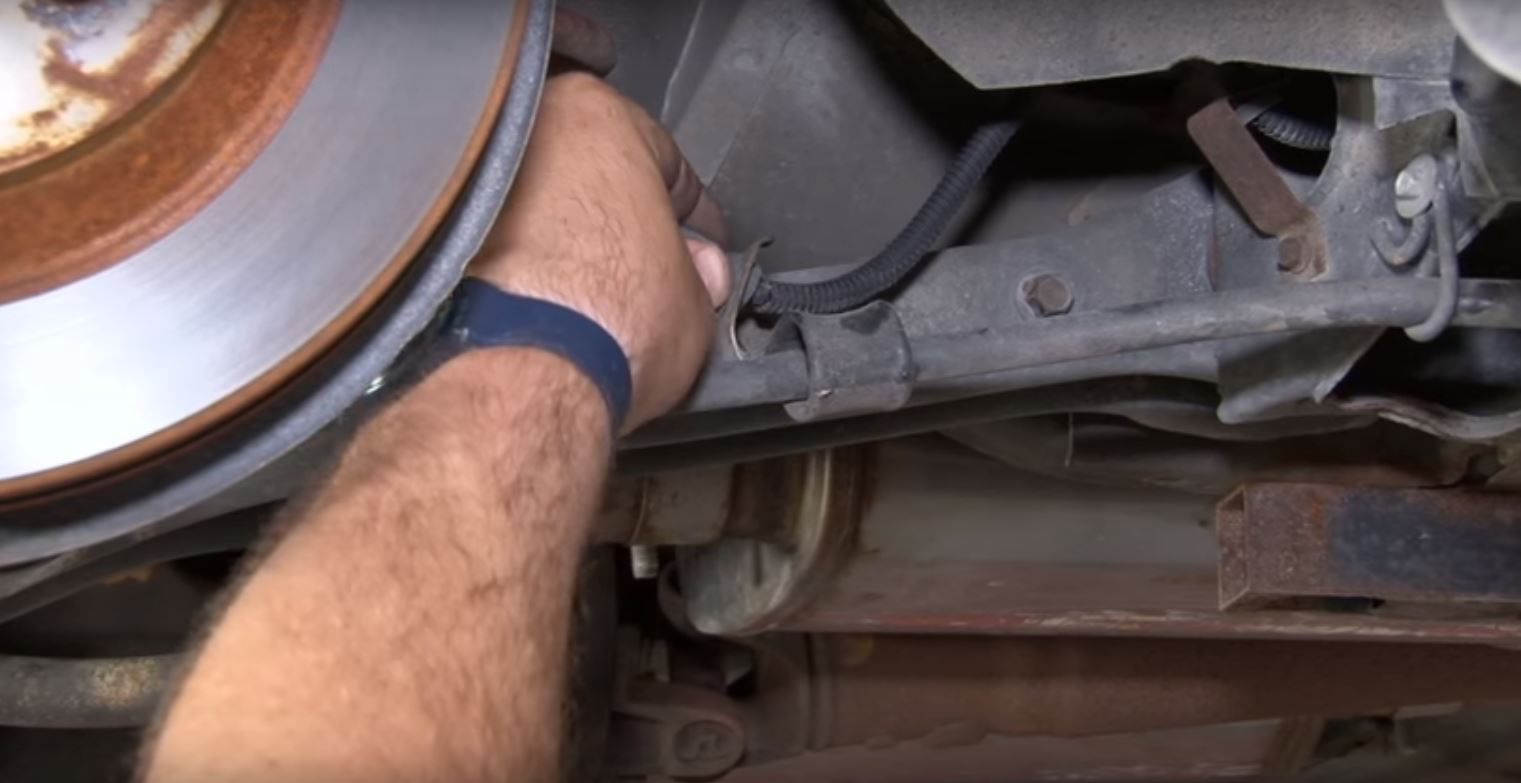
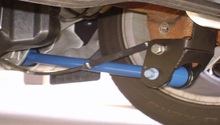
Remove the two bolts on the lower control arm as indicated by Figure 3.
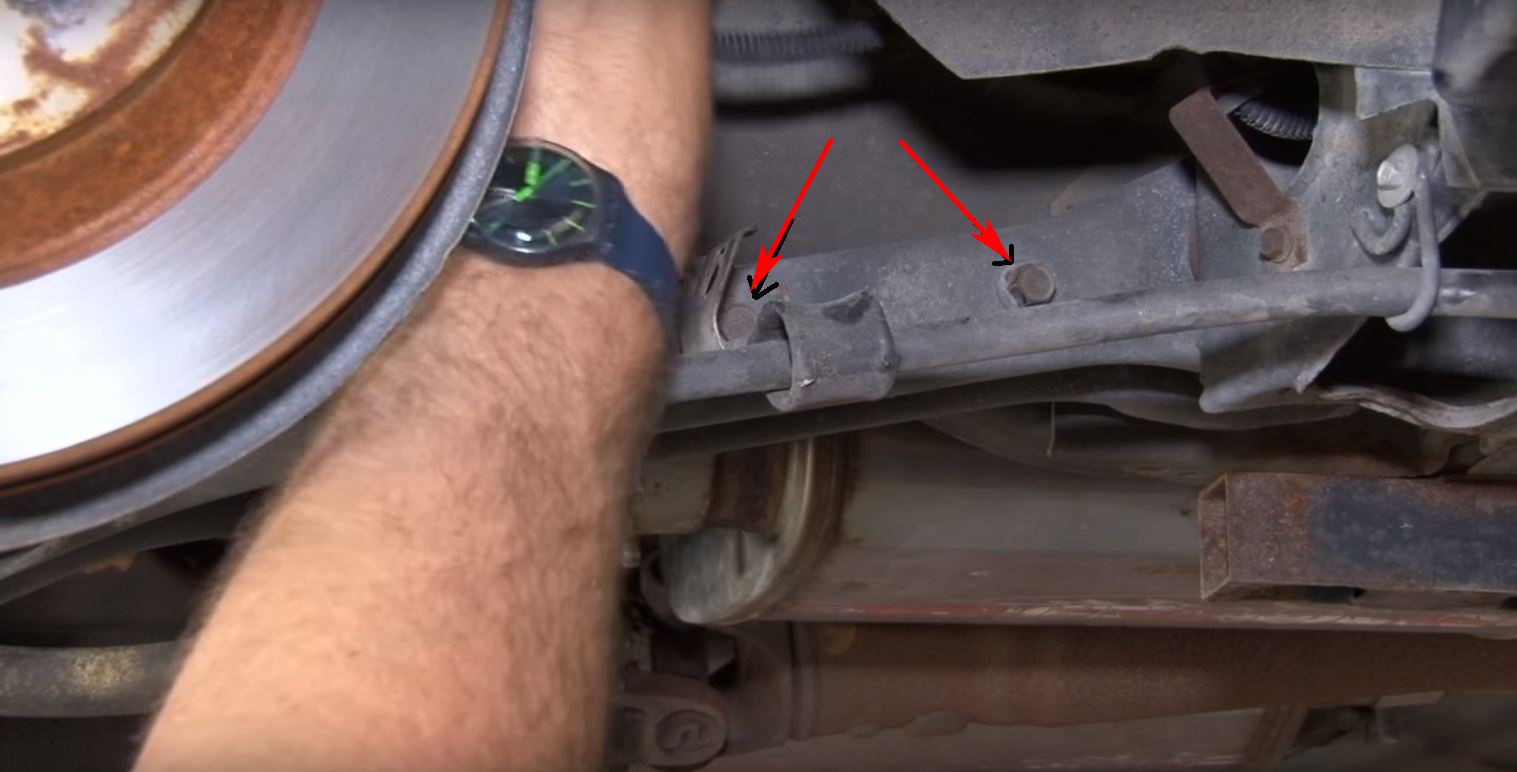
Now the sway bar can be removed by unbolting the two bolts on each end of the sway bar.

Figure 4. Sway bar (white arrow). 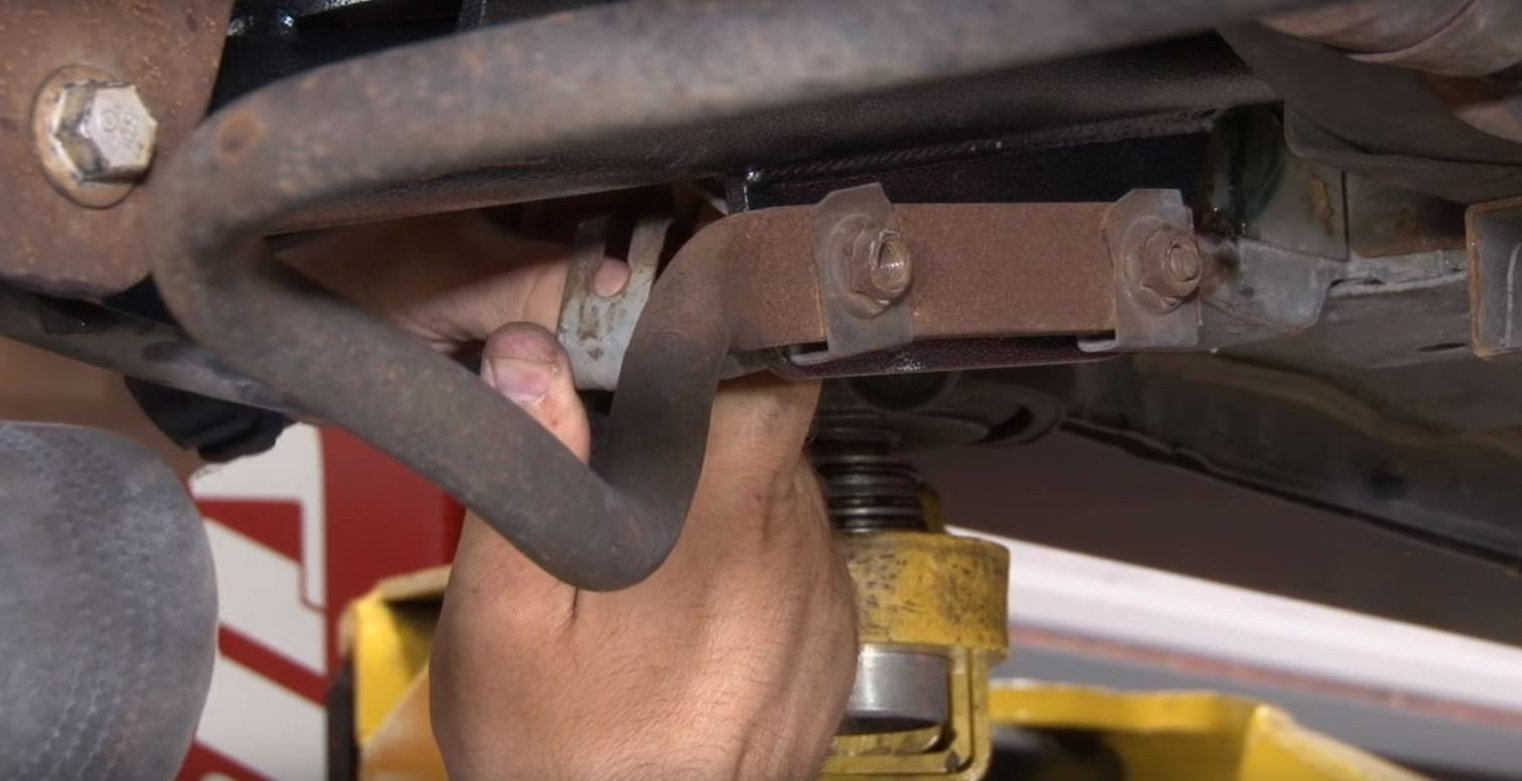
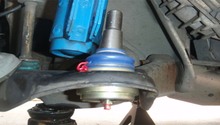
Figure 5. The two bolts for the sway bar on one side of the car can be seen in the middle of the picture.
Step 3 – Remove the control arms
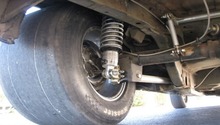
Start on one side of the car and put a jack under the control arm as shown in Figure 6 and compress the spring while unbolting the rear bolt for the lower control arm. Remove the rear bolt for the control arm using one ratchet on each side (also shown in Figure 6 with an impact driver and a ratchet).

Once the rear bolt for the control arm is removed, gently lower the jack located under the control arm to offload the spring and eventually making the control arm fall down towards the ground. When the control arm has moved down, the spring can easily be removed.
Now the front bolt for the control arm has to be removed. The front bolt sits very tight to the exhaust system. Hopefully you are lucky enough to find a spanner or a ratchet that can reach the bolt without removing any parts of the exhaust system. If not, then you have to remove some parts of the exhaust system, but usually you shouldn't have to remove anything. The bolt's location is indicated in Figure 7.
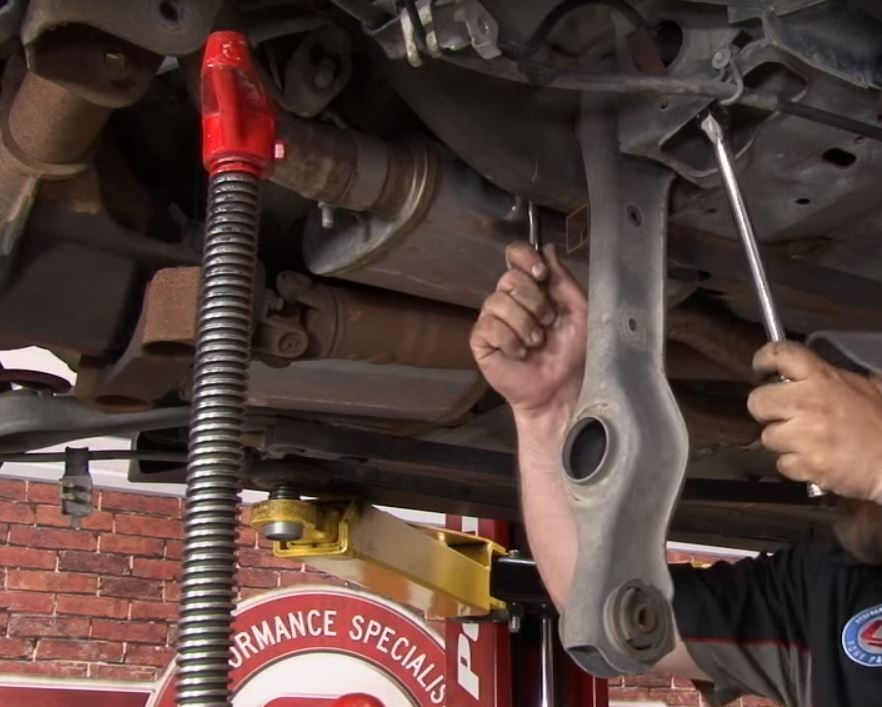
When the front bolt holding the control arm is removed, the entire control arm is loose and can be removed. Now put some grease where the control arm is attached to the car, both around where the front and rear bolt is attached to the control arm.
Step 4 – Reinstall
Reinstall everything in the reverse order.
- Fit the new control arm into the chassis and steering knuckle, then loosely thread the bolts through.
- Reconnect the sway bar and loosely do up the end link nuts.
When reinstalling, there is a good chance that the rear suspension has moved a bit back. Use a pry bar to move the suspension forward to be able to reinstall the rear bolt for the control arm.
It is important not to tighten the bolts initially, as you will need to repeat this step on the other side of the car.

When the lower control arms are replaced on both sides of the car and the bolts are just loosely tightened, put the jack stands under the rear axle and let the car rest on these. This is to compress the suspension to mimic that the car is standing on the ground on the wheels. When the car is resting on the jack stands under the rear axle, tighten all bolts to factory specifications.
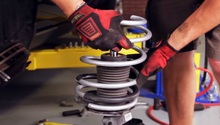
Featured Video: Rear Lower Control Arm Replacement
Related Discussions
- Lower Control Arms - MustangForums.com
- Replace Rear Upper Control Arms - MustangForums.com
- Replace Rear Lower Control Arm Bushings - MustangForums.com
- Lower Control Arm Bushings - MustangForums.com
- Rear Control Arms - MustangForums.com