Ford Mustang V6 and GT 2005-2014: How to Install Lowering Springs
Here's an easy way to go about lowering springs on your Mustang to make it nice and simple to get the job done.
This article applies to the Ford Mustang V6 and GT (2005-2014).
Lowering a Mustang is probably one of the most popular mods that people perform on these cars. It not only makes the car look a lot better, but also helps improve the handling of the car.
While it is possible to go too low, there are many different spring choices out there that are just right when it comes to the lowering of your Mustang. Websites such as American Muscle and Late Model Restoration are great places to check out when considering buying and installing a set of lowering springs on your Mustang. They also offer some great videos to watch that will help you sort out the entire process.
In my own opinion, it seems like lowering these S197 Mustangs 1.5" in the front and 1.5" in the rear is the happy medium, which will improve the handling while at the same time keeping its maximum drivability for the street. Also, it's always a good idea to compliment a set of lowering springs with a set of struts and shocks that are designed for the lower ride height, as stock struts and shocks were essentially designed for the stock ride height.
Below is an easy how-to that will run through the process of installing the lowering springs. Note how this specific how-to is done without using a spring compressor. As with most things, when it comes to automotive processes, there are many different ways to perform similar tasks.


Materials Needed
- Jack and jack stands
- Millimeter sockets sizes 10mm-21mm
- Standard sockets sizes 7/16"-1"
- Ratchet
- Pry bar and flat head screwdriver
Obviously, performing this job on a lift will be the easiest way to get it done, but it can still be performed fairly easily with a jack and jack stands. Also, if you are able to use air tools, that will make everything a bit easier.
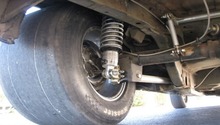
Front Suspension
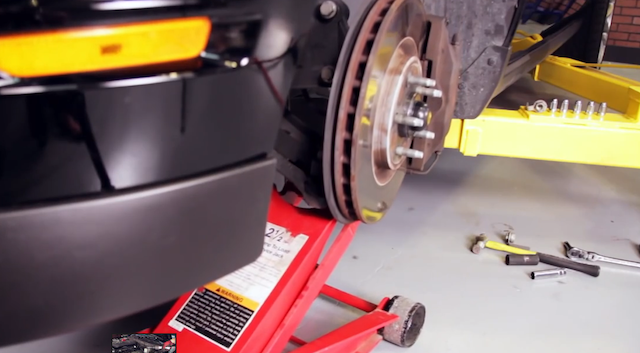
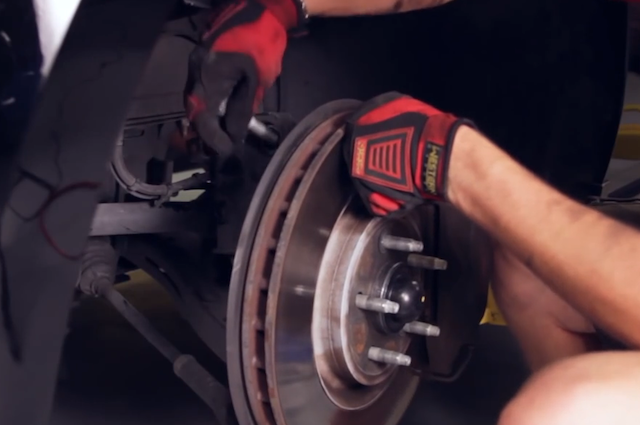
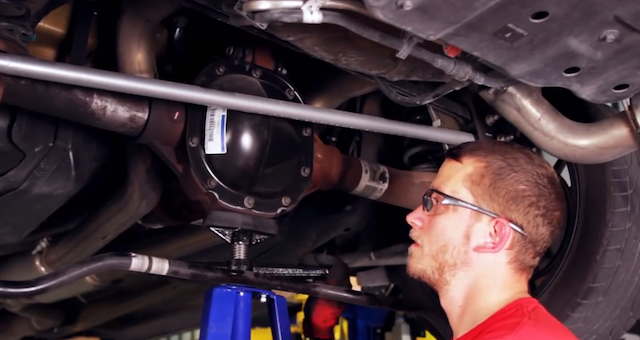
Step 1 – Raise vehicle and remove wheels
Lift the vehicle off the ground and support it securely on jack stands by the subframes. You will need to be able to move the wheels independently during this process.
Remove the wheels and set them aside so they are not in the way. You don't have to remove the rear wheels, but it might make things a bit easier, so it will be up to you.
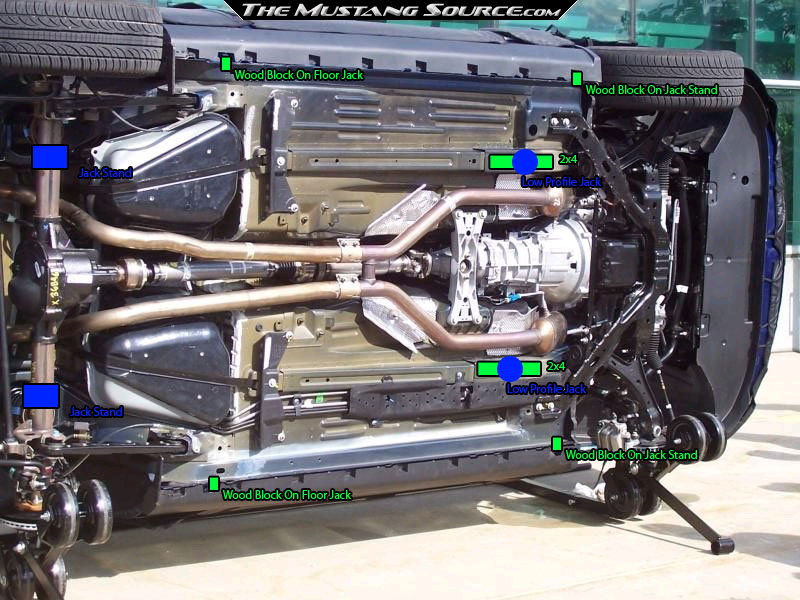
Figure 2. Jack points on chassis. 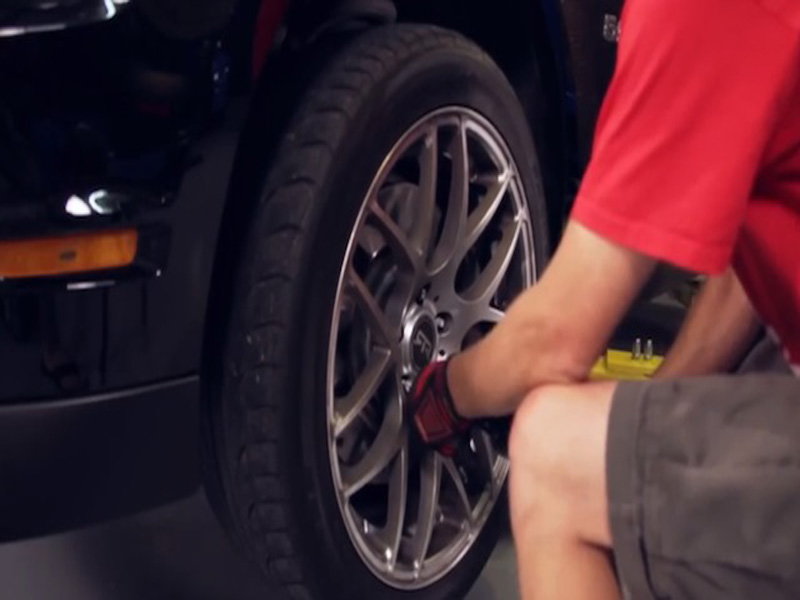
Figure 3. Remove all four wheels.
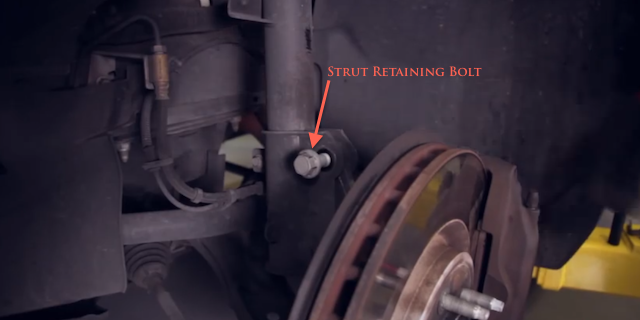
Step 2 – Remove strut retaining nuts
Now, go ahead and locate the lower strut retaining bolts, which are the bolts that secure the lower part of the strut to the steering knuckle, or some call it the spindle assembly. Loosen and remove the nuts, but leave the bolts in place.
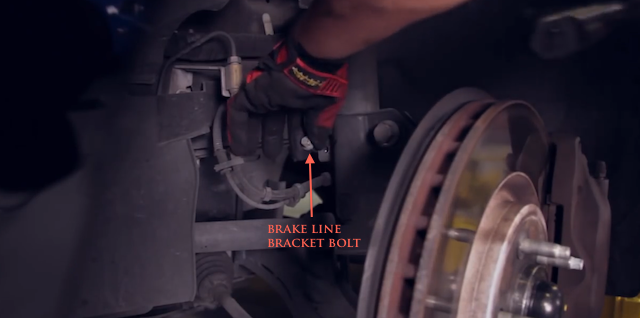
Step 3 – Remove brake line bracket bolt
There is a bracket that holds the brake line to the strut in order to keep it out of the way of the moving suspension pieces. Loosen and remove the bolt that holds this bracket to the strut.
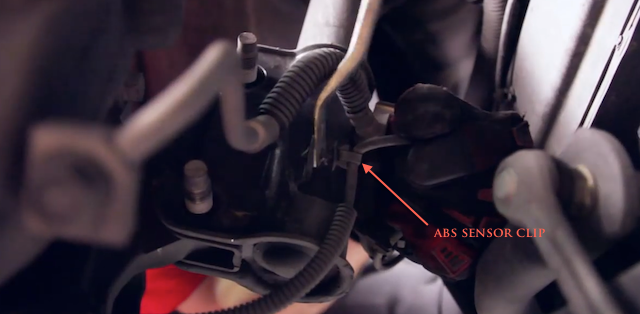
Step 4 – Remove ABS sensor clip from strut
Next, there is a clip that holds the ABS sensor wiring harness to the strut to also keep it out of the way of moving suspension pieces. Unclip it from the strut using a pry bar or flat head screwdriver.
Step 5 – Remove stabilizer bar end link nut
The stabilizer bar connects to the strut, as well. Loosen and remove the nut that connects the end link of the stabilizer bar to the strut and move it out of the way.
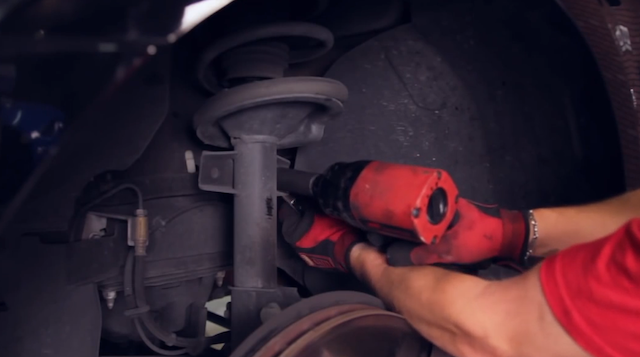
Step 6 – Place jack under lower control arm
Now take your jack and place it under the lower control arm to apply a little bit of pressure. This will keep everything stable as you loosen some of the fasteners on the strut.

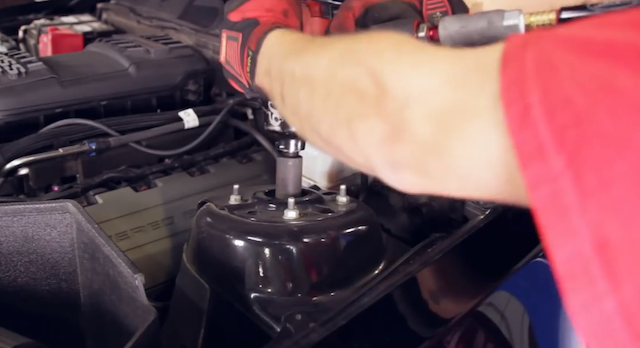
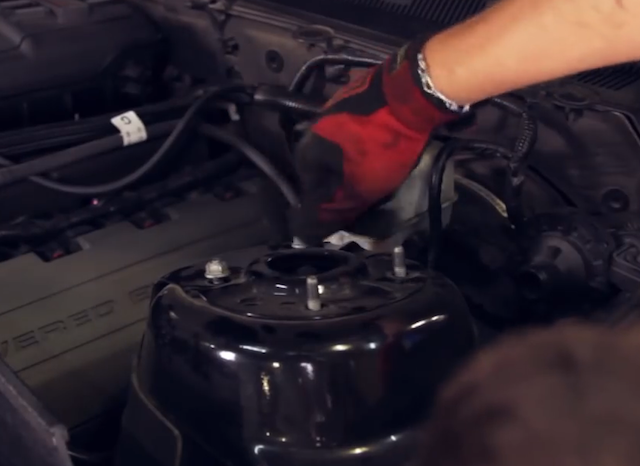
Step 7 – Remove center strut nut
The center strut nut can be located under the hood. While looking at the strut tower, it will be the bigger nut in the center that is threaded onto the strut assembly poking through the strut tower. Loosen the nut slowly and remove it. This is the part where, if you don't have the jack under the lower control arm, it could cause some problems. This is also the step that makes it so you don't need a spring compressor.
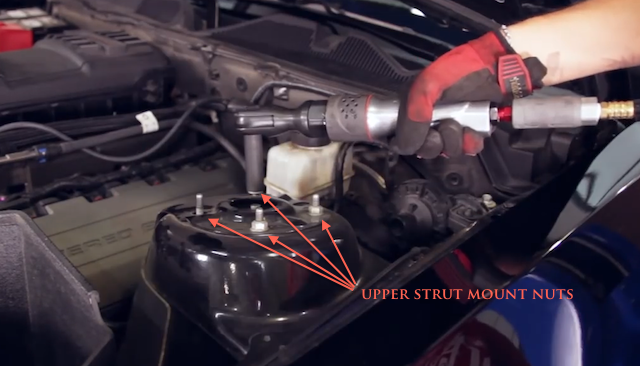
Step 8 – Remove the four upper strut nuts
There are four upper strut nuts that secure the top of the strut to the strut tower. Loosen and remove these nuts.
Step 9 – Lower the jack
Now you can lower the jack that is under the lower control arm. You will see the four studs, which you just took the nuts off of, slide out of the shock tower.
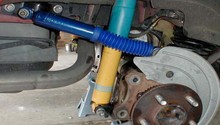
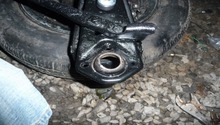
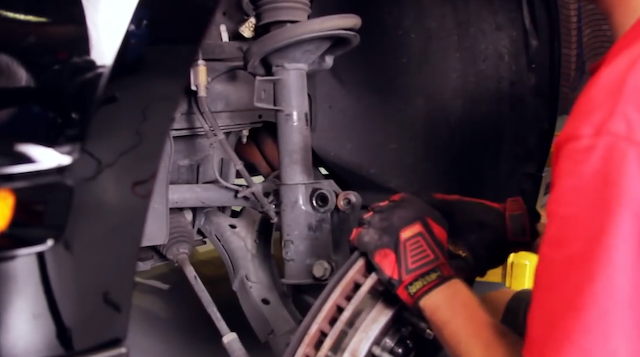
Step 10 – Remove strut-to-steering knuckle bolts
Now you can go ahead and remove the strut-to-steering knuckle/spindle bolts that you had loosened and removed the nuts from earlier. Here, you can see why you left them installed. Easiest way to do this is remove the top bolt first, then pivot the steering knuckle/spindle assembly outward and then, finally, remove the bottom bolt.
Step 11 – Remove strut assembly from car
Now the strut assembly is free from everything that was attaching it from the car and you can now completely remove it. Be careful, as everything is loose because you loosened the fasteners that held it all together.
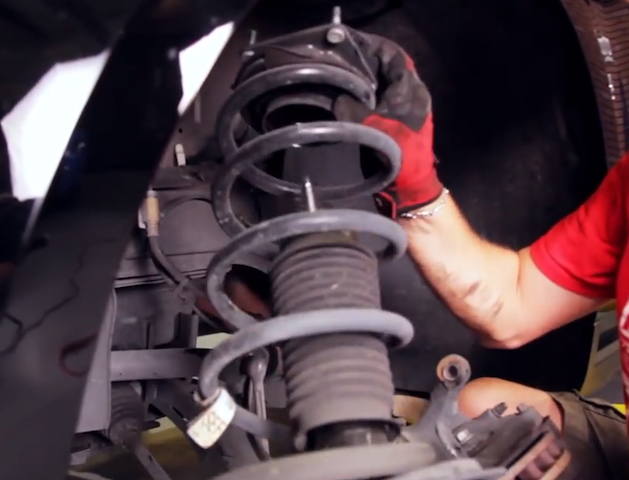
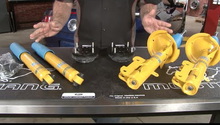
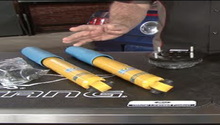
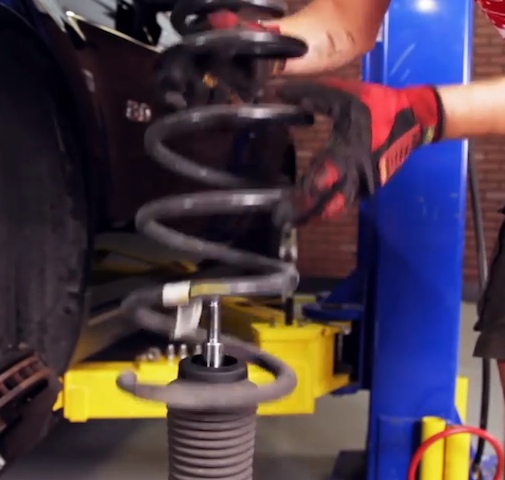
Step 12 – Remove stock spring from strut
After you have removed the strut assembly from the car, you can finish the disassemble by setting the upper strut mount aside and removing the stock spring. It should just come right off, as you have already loosened what was holding it onto the strut assembly.
Step 13 – Set new spring in place on strut
Take the new spring and set it in place on the strut. Make sure that the bottom end of the spring, or the pigtail, is seated in the notch on the spring perch and aligned correctly.
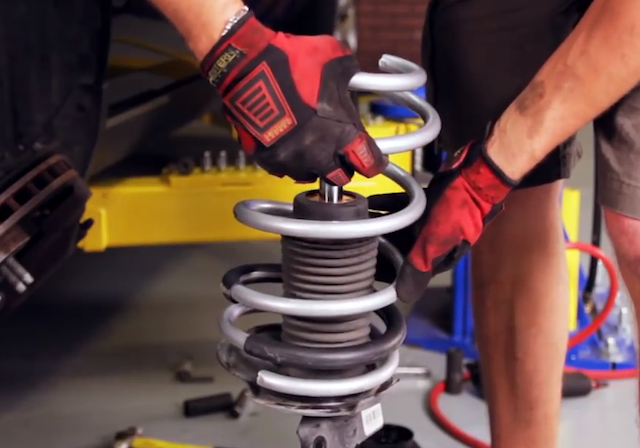
Step 14 – Slide upper strut mount onto strut
Now take the upper strut mount that you had set aside earlier and slide it back into place, over the stem, and onto the strut. Make sure that the top of the spring is seated properly against the bottom of the strut mount.
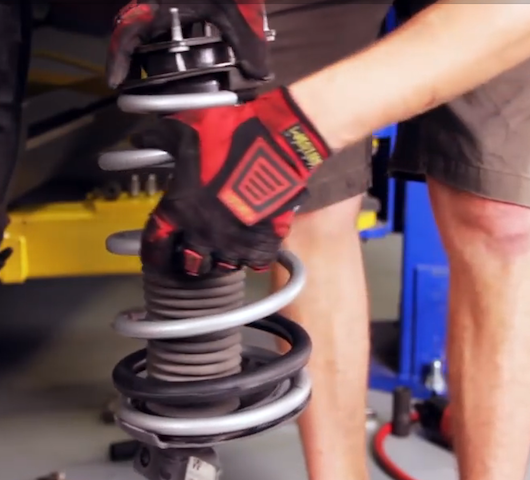
Step 15 – Install upper retaining nut
Because the lowering spring is shorter in height than the stock spring, you should be able to apply downward pressure by hand on the upper strut mount and compress the spring enough to install the upper retaining nut back onto the strut. Tighten it all the way down once you have gotten it threaded on by a couple of threads. If for some reason you can't apply enough pressure, you will need to get a spring compressor and use it to compress the spring, allowing you to install the nut.
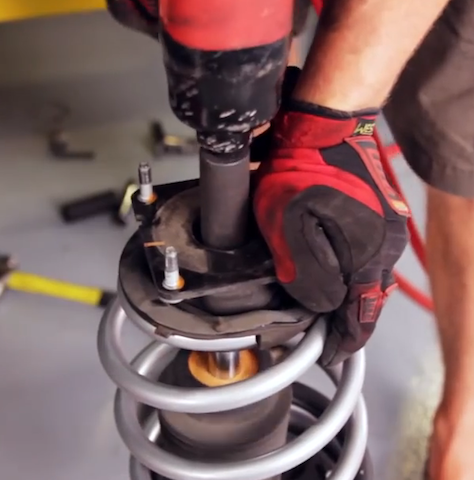
Step 16 – Slide strut back into place and reinstall upper mount nuts
Once the retaining nut is tightened completely, the strut assembly will be ready to install back into the car. Place the four studs of the upper mount through the holes in the shock tower and reinstall the four nuts that you removed earlier.
Step 17 – Slide steering knuckle/spindle back into lower strut mount
Next you can then pivot the steering knuckle/spindle inward and install the retaining bolts into the lower strut mount. After you have done this, the install is essentially done and all you need to do is:
- Reinstall stabilizer bar end link onto strut and tighten nut.
- Re-clip ABS sensor wiring harness clip back onto strut.
- Reinstall bolt that holds brake line bracket onto strut and tighten.
This is obviously just for one side of the vehicle. The other side is done the exact same way.
After you are done with the front, you can then move onto the rear of the vehicle.
Rear Suspension
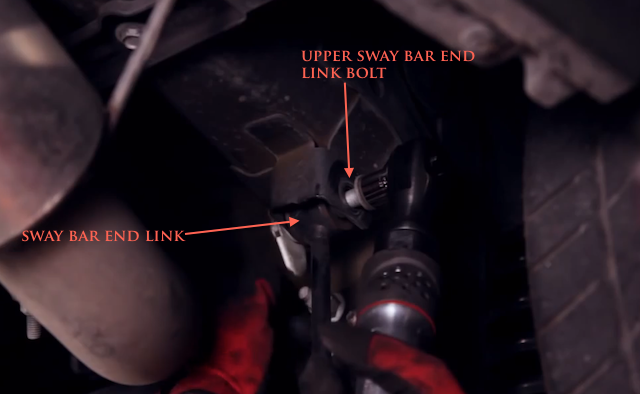
Step 18 – Remove upper sway bar end link bolts
The first thing you will want to do on the rear of the car is remove the bolts that connect the upper end of the rear sway bar end links to the car. Loosen and remove the bolts on both ends of the sway bar.
Step 19 – Swing sway bar out of the way
Once the bolts have been removed, you can swing the sway bar out of the way.
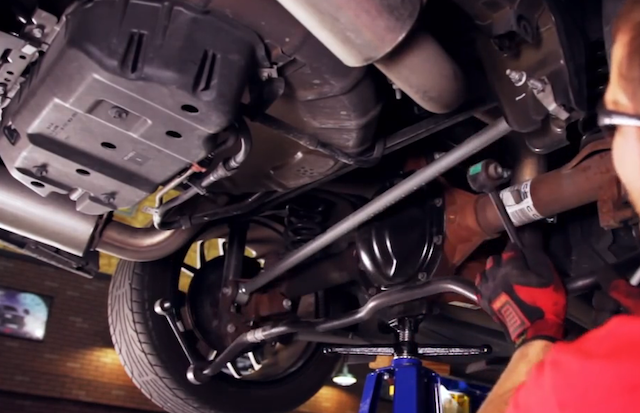
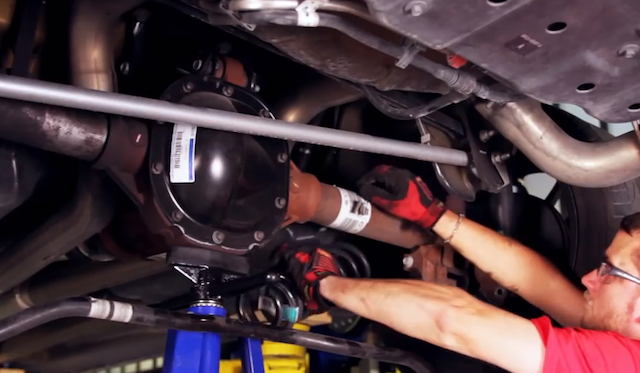
Step 20 – Remove lower shock bolts
But first, place your jack under the center of the rear end. Now go ahead and remove the lower shock mounting bolts on each shock.

Step 21 – Lower rear end down
With the lower shock bolts removed and the sway bar not connected anymore, the rear end will have enough travel to be able to be lowered down far enough to remove the springs. Using your jack, lower the rear end down far enough to get the springs out.
Step 22 – Remove stock springs
Once the rear end is lowered far enough, you can then remove the stock springs and set them aside.
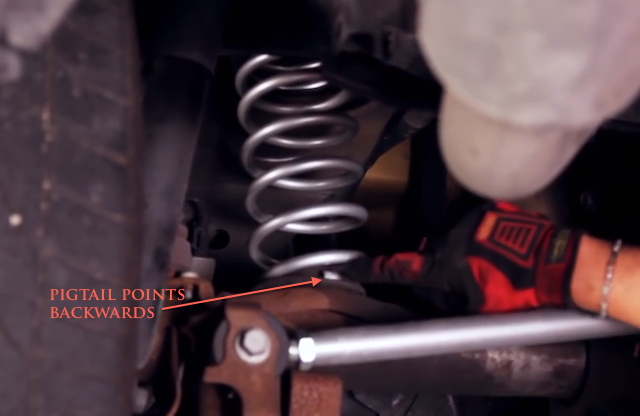
Step 23 – Install new springs
Take your new springs and install them onto the perch on the rear end. Make sure that the pigtail, or end of the new spring, is facing the back of the car. Some spring manufacturers put their logo or print onto the side of the spring that the pigtail is on to help you in situating it into the car.
Step 24 – Raise the rear end back into place
Using your jack raise the rear end back up until your lower shock bolt holes line up. Now everything is the reverse as removal.
- Reinstall lower shock bolts.
- Swing sway bar back into place.
- Reinstall upper bolts of sway bar end links.
Step 25 – Align vehicle
Now that your lowering spring job is completed, you will need to take it for alignment check and adjustment.
Featured Video: How to Install Lowering Springs
Related Discussions
- Steeda Lowering Spring Install with Pics - MustangForums.com
- Roush Rear Lowering Springs - MustangForums.com
- What Do I Need to Lower Mustang GT - MustangForums.com