Ford Mustang V6 and Mustang GT 1994-2004: How to Replace Radiator
Replacing your radiator is a pretty straightforward job on your Mustang. Tackle the job with this guide.
This article applies to the Ford Mustang V6 and Mustang GT (1994-2004).
If it is getting time to replace the radiator in your Mustang, don't put it off any longer. This isn't the easiest job in the world to do, but it's pretty straightforward that anyone with limited mechanical ability can do on their own. Give yourself plenty of space and time so you can replace it yourself in your own garage. A professional is going to charge you a good deal and you'll have little control over the part he decides you need. Take back control and replace your radiator yourself.

Materials Needed
- Ratchet and socket set with extensions
- Phillips and flat head screwdrivers
- Long handle needle nose pliers
- Shop rags and catch basins
You will very likely have a lot of coolant spills. Anti-freeze is really nasty stuff. Clean up any spills immediately and dispose of responsibly as this stuff is toxic to animals. Most oil change shops will take in your old anti-freeze at no cost to you.
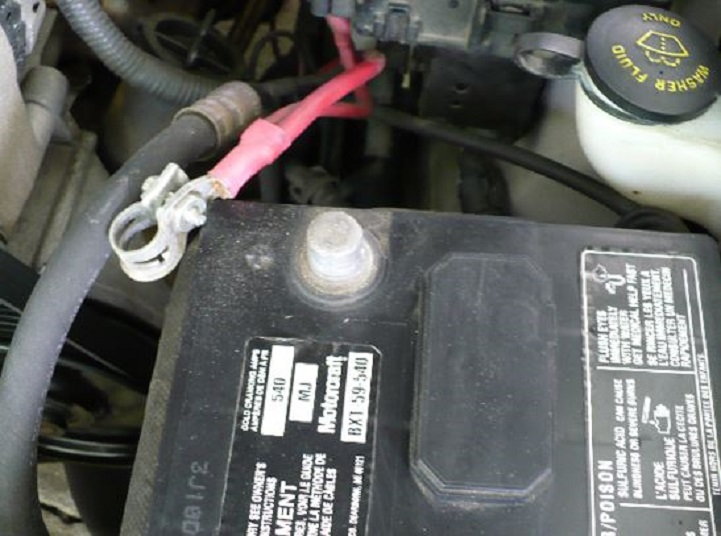
Step 1 – Disconnect your battery
Before starting any work in the engine compartment, especially around the fan or any electrical components, you should always disconnect your battery.
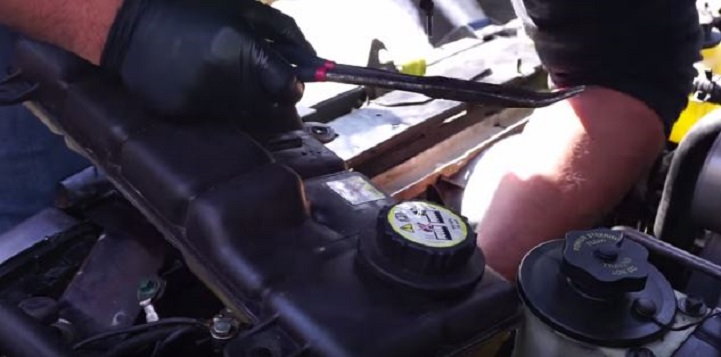
Step 2 – Remove the anti-freeze overflow reservoir bolts
- Remove the three bolts on top of the reservoir (two in the front and one at the rear by the hose).
- Disconnect the reservoir hose.

Figure 2. Remove the reservoir cover via the three bolts on top. 
Figure 3. Disconnect the reservoir hose next.
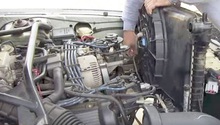
Step 3 – Remove the radiator cover
- Remove the four Phillips head screws/clips from the top of the cover.
- Take care when removing these, as they are plastic and can break easily; however, replacements are pretty cheap.
- Pull off the cover and set aside.

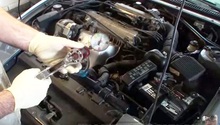
Step 4 – Remove the reservoir tank
With the bolts removed and the radiator cover off, the tank will lift up and not completely out. There is a hose clamp on the bottom that needs to be pulled off first. A pair of long, offset needle nose pliers are perfect for the job. Once that hose is disconnected, the whole tank can be lifted out and set aside.
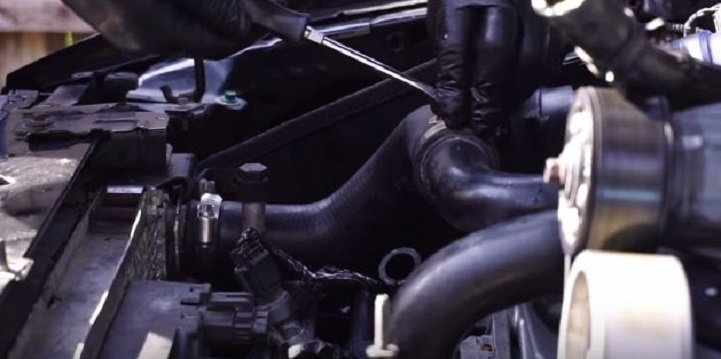
Step 5 – Remove the larger upper radiator hose
- Use a flat head screwdriver to loosen the two hose clamps on the upper radiator hose.
- Pull the hose off from both ends.
Step 6 – Disconnect the A/C and fan connectors
- Disconnect the A/C connection.
- Disconnect the fan connection.
- Be careful not to break these relatively fragile parts, or you'll have to make another trip to the auto parts store.

Figure 7. Disconnect the A/C and fan connections. 
Figure 8. A/C and fan have been disconnected.
Step 7 – Remove the fan
- Remove the two bolts holding the fan to the back of the radiator.
- One bolt is on the right-hand side, the other is near the upper radiator hose connection.
- You will likely need a ratchet with an extension to get to these bolts easily.

Figure 9. First remove the two bolts holding the fan in place. 
Figure 10. Next you will pull out the fan lifting out the driver's side first.
Step 8 – Disconnect the lower radiator hose
- Use a pair of pliers to squeeze the hose clamp and pull it back.
- Pull off the lower radiator hose.

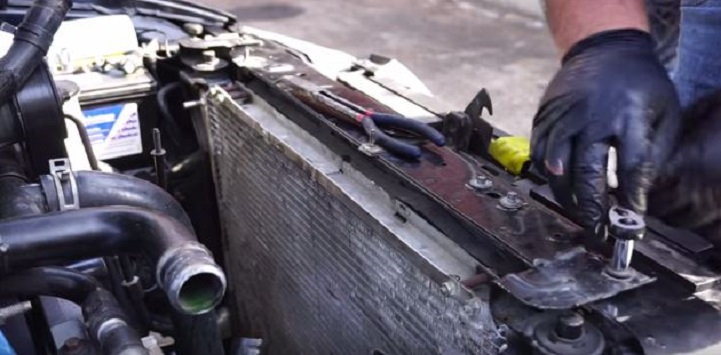
Step 9 – Remove the radiator brackets
- There are two brackets on the top of the radiator, one on each end.
- Remove the two brackets and set aside.
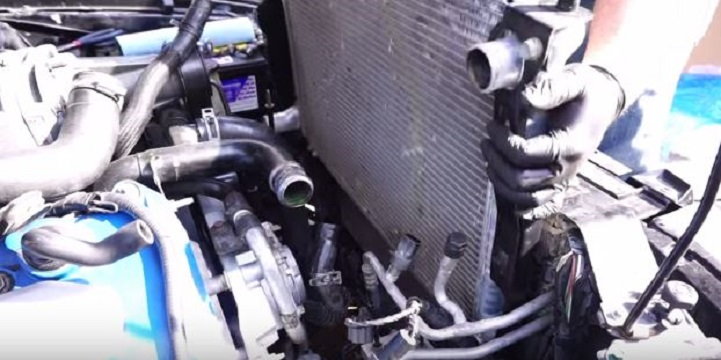
Step 10 – Pull out the old radiator
After taking off the brackets, the radiator simply pulls straight up and out. You should not have much trouble taking it out.

Step 11 – Install the new radiator
Slip the new radiator in the same way that the old one came out. This may require some wiggling and re-positioning, so that no hoses or other items in the engine bay get damaged. Make sure that the radiator is lined up correctly in the radiator core support.
Step 12 – Reinstall
After dropping in the new radiator, do the previous steps in the reverse order.
- Reconnect the lower radiator hose first, so you have some wiggle room. Be careful with the clamp when re-positioning it, as it can close up pretty forcefully.
- Reattach the radiator brackets.
- Reinsert the fan and tighten down the two bolts.
- Re-connect the fan and A/C connections; be careful not to break them when making these connections.
- Reattach the upper radiator hose and make sure the clamps are tight.
- Reinstall the reservoir tank; don't forget to reattach both the lower and upper hoses.
- Fill the new radiator with a 50:50 mix of anti-freeze and distilled water.
- Replace the radiator cover.
- Reconnect the battery, let your car warm up to operating temperature and open the throttle to get the thermostat to open.
- Recheck your coolant levels, keep an eye on your temperature gauge, and check for any leaks.
- Clean up any coolant leaks completely because this stuff is very toxic to animals.

Featured Video: How to Replace Your Radiator
Related Discussions
- Blew Radiator Hose, Replaced It, Still Overheating - MustangForums.com
- Upper Radiator Hose Keeps Blowing - MustangForums.com
- Radiator Leak - MustangForums.com
- Hesitation After Replacing Radiator - MustangForums.com