Ford Mustang V6 and Mustang GT 1994-2004: How to Install Halo Headlights
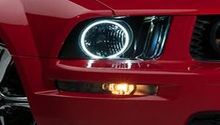
Halo projector headlights can make it look like your Mustang has eyes. This article will show you how to install a pair of these headlights.
This article applies to the Ford Mustang V6 and Mustang GT (1994-2004).
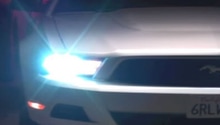
No, those aren't eyes glowing in the distance. Those are halo projector headlights. These headlights are one of most visually interesting modifications you can make to your Ford Mustang V6 or GT. They get their name from the ring-shaped LED lights that fit around the headlights. These headlights are great to have as daytime running lights. Just don't expect them to replace your regular headlights. While the LED lights are great at getting you noticed, they won't do much to illuminate the road at night.

Materials Needed
- Halo projector headlight kit
- Wire stripper
- Wire crimper or pliers
- Multimeter
- Splice connectors
- Zip ties
- Electrical tape
You headlight kit should come with everything already built into the replacement headlight housing. It should also come with wire connectors.
Step 1 – Remove the old headlight housing
There are two clips that hold down the headlight housing. Remove the the two clips and slide the headlight housing forward. Unplug the headlight wiring harnesses then remove the headlight housing. Twist and remove the parking light from your old headlight housing and insert it to the projector headlight housing.

Figure 1. Remove the locking clips. 
Figure 2. Remove headlight housing.
Pro Tip
'94-'98 models have a bolt that needs to be unscrewed first before you can remove the clips. Be careful with the clips because they break easily.
Step 2 – Connect and splice wires
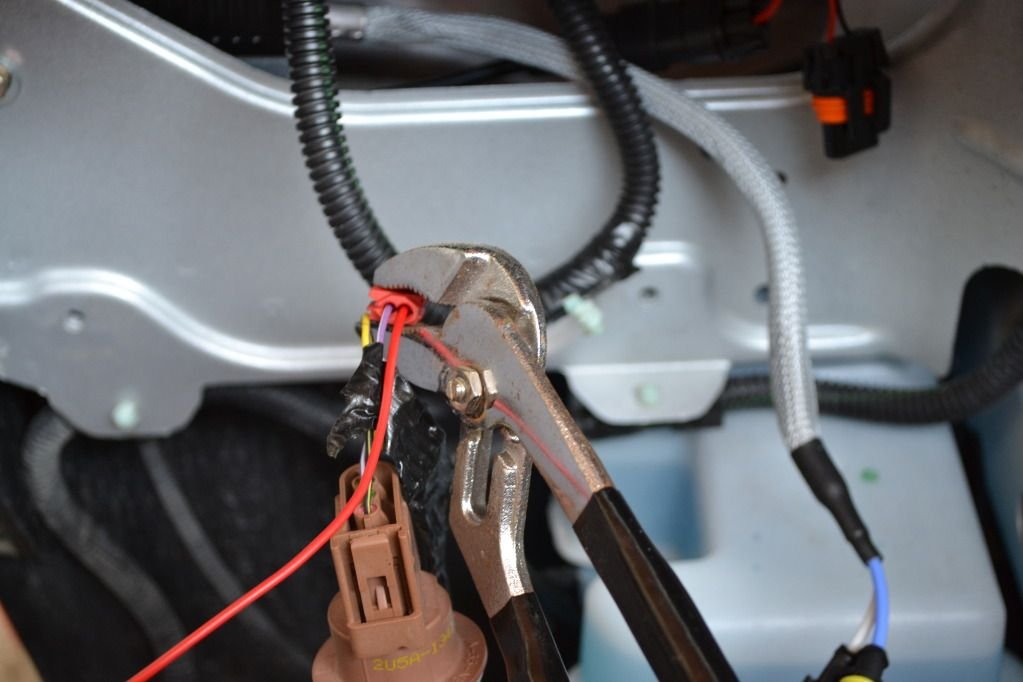
Look for your factory parking light harness. There should be a black wire and a brown wire. These are what you will be splicing into with the connectors that came with the kit.
To splice these wires you will need to strip off the cover of the kit wires. Twist the copper and insert it into the connector. Use your crimp tool to crimp the wire into the connector. Wrap electrical tape around where the connector and the wire meet to prevent moisture from getting in and to help hold them together.
- For '94-'98 models: The black accessory light wire and one of the red projector light wires needs to be spliced to the black factory wire. The red accessory light wire and the other red projector light wire need to be spliced to the brown factory wire.
- For '99-'04 models: The black projector wire needs to be spliced to the black factory wire. The blue projector wire needs to be spliced to the brown factory wire.
Pro Tip
Be careful not to get the wires mixed up or the projector lights will burn out.
Step 3 – Install halo projector headlights
Once everything is spliced correctly, all you need to do is plug in the factory light harness to the headlight socket. Start the car and test the lights to ensure they are working properly. Then push the headlight housing into place and reinsert the locking clips. Don't forget to adjust your new headlights before you use them.

Featured Video: '99-'04 Mustang Projector Headlight Installation
Related Discussions
- Are Projector Headlights Easy to Install or a Nightmare? - MustangForums.com
- Halo Projector Headlights Problem - MustangForums.com