Ford Mustang V6 1994-2014: Why is My ABS Light On?
Dash lights don't stay on for no reason. If your ABS dash light stays on while you are driving, there is a possibility there is something wrong with your ABS system.
This article applies to the Ford Mustang V6 (1994-2014).
For those that might not know, ABS stands for Anti-Lock Brake System. The ABS system is designed to help maintain vehicle control in severe braking conditions. It does this through a control unit called the hydraulic control unit (HCU), the brake control module, and a wheel sensor on each wheel. Essentially what happens is in a severe braking condition when the wheels are going to lock up, the system identifies that this is about to occur and then controls the brake line pressure to keep them from doing so. In order for the system to function properly, all of the components must be in good working order, including the wiring harness that connects everything together.
In order to monitor the system and ensure it works, a pre-operational check is done by the system when you get in your car and turn the key. This is shown by the ABS light illuminating in the gauge cluster. When everything in the system checks out okay, the light turns off. This means that all of the components passed the test and the system is working as it should. If the light does not turn off, this is notifying you that there is a fault at one of the components and it should be taken care of immediately.


Materials Needed
- Flashlight
- Fuse puller
- Small flat head screwdriver
In order to completely and accurately diagnose the ABS system, a special electronic diagnostic tester is necessary. Most dealers or professional mechanics should have such a tool. But before taking it to them, there are a few preliminary checks that can be done by the home mechanic just in case it is something basic and simple.
Step 1 – Check brake fluid level in reservoir
Most basic troubleshooting and diagnostics always starts by checking your fluid levels. The ABS system is no different. There is a fluid level sensor on the master cylinder reservoir on these cars. If the brake fluid drops too low, it will cause the pre-operational check of the system to fail, causing the ABS light to stay on.
The brake fluid reservoir on the master cylinder is located in the top right of the engine compartment, as you are looking at the engine from the front of the car. You can see it in the image below as item #2. The level of the brake fluid in the reservoir should be near the base of the filler neck at the MAX line.

Figure 2. Early model engine compartment. 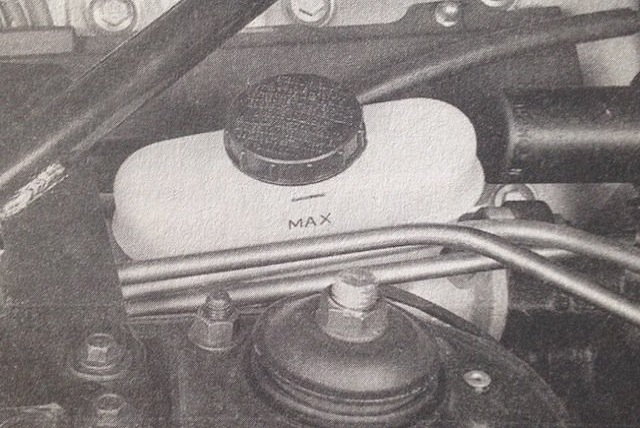
Figure 3. Reservoir level check line.
Step 2 – Check electrical connector of the brake control module
When looking in your vehicle's engine compartment, you will see a component that has multiple brake lines attached to it. This is the brake control module. It has an electrical box on it with an electrical connector plugged into it. Verify and make sure that this electrical connector is connected properly and that the module doesn't look damaged in any way. This component is essentially the brain of the ABS system, and will keep the system from operating properly if it is in good working order and connected properly.

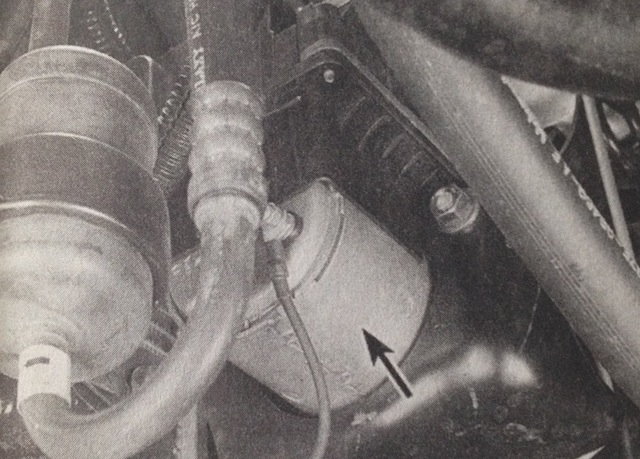
Step 3 – Check electrical connector of the HCU
The HCU is located in the front lower-right corner of the engine compartment. It is responsible for controlling the brake line pressure during any situation that might warrant the ABS system to step in. It also is part of the normal operation of the braking system. If an electrical connector is not corrected properly, it will fail the pre-operational check run by the system and will also not function properly. Make sure that all of the electrical connectors are connected properly.
Step 4 – Check fuses for the ABS system
There are fuses in the fuse box that are related to the operation of the ABS system. The fuse box that is located under the driver's side of the dash is where these fuses are located. Go through and check these fuses to ensure that they are still in good working order. Below is a picture of what a good and bad fuse will look like (Figure 7). Some of the fuses might be a little difficult to pull out. Try not to use metal pliers to pull them out, as this could possibly damage them. A plastic fuse pulling tool is a much better tool to use.
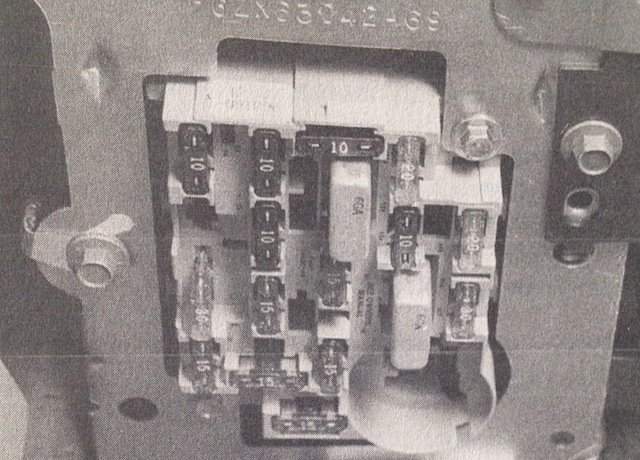
Figure 6. Fuse block. 
Figure 7. Fuse condition.
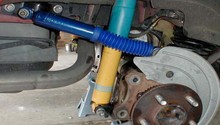
Step 5 – Check wiring harness that goes to each wheel sensor
Wiring is a component in any electrical system. The wheel sensor that is installed on each wheel is needed for the ABS system to function correctly. When the system performs it pre-operational check, it verifies that it gets a signal back from each wheel sensor, ensuring that it is communicating properly with them. Due to the fact that the wiring harness has to run down the suspension to reach the wheel sensor, it is possible that the harness could get easily damaged by some road debris or that it was unhooked during past maintenance. Ensure that this harness is properly connected to each wheel sensor on each wheel, and then follow the wiring harness to make sure that it has not been damaged or cut.
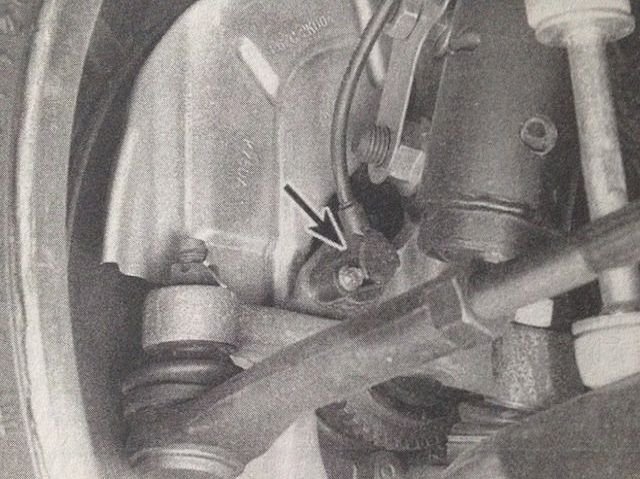
Figure 8. Front wheel sensor. 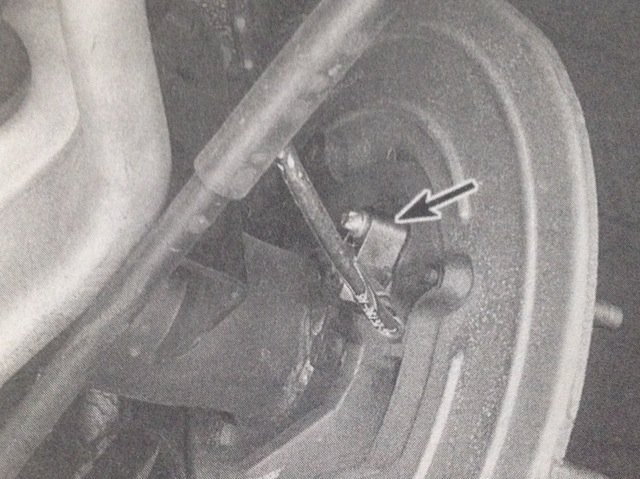
Figure 9. Rear wheel sensor.
If you perform all of the above preliminary checks and the light still remains on, then the vehicle should be brought to someone who has the ABS diagnostic tool to perform more extensive tests on the system.
Related Discussions
- ABS Light On and Off - MustangForums.com
- ABS and Traction Control Light On - MustangForums.com
- Traction Control and ABS Light Stuck On - MustangForums.com
- ABS Light On, How to Check - MustangForums.com