Ford Mustang V6 1994-2004: How to Replace Brake Pads, Calipers, and Rotors
Replacing your brake pads, calipers, and rotors are not only easy, but it allows your Mustang to perform better and be safer to drive. Follow this DIY to learn more and start this rewarding project!
This article applies to the Ford Mustang V6 (1994-2004).
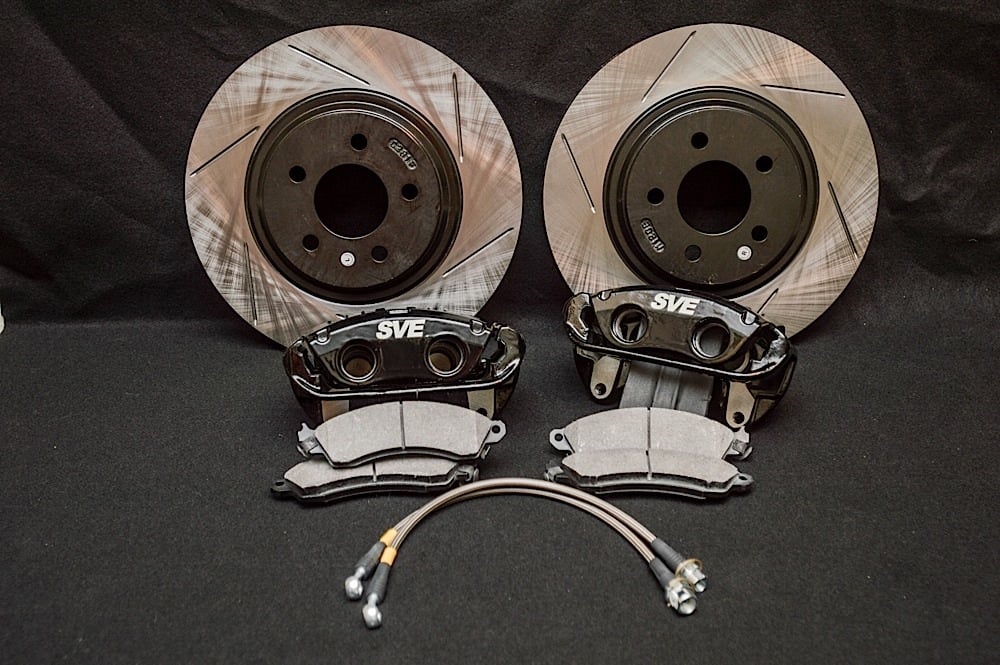
The Ford Mustang has always been known as a a sporty and well-performing vehicle. However, like all cars, the brakes eventually start to lose their performance, which might be caused by a multitude of issues. If you notice squeaky brakes, then the brake pads are most likely at fault. If your brake pedal is not consistent, then it is a great idea to inspect your calipers. If you have vibrations coming from your brakes, it is most likely a warped rotor, which is also easy to replace. After diagnosing your braking issues and deciding to replace your brake pads, calipers, and rotors, then it is important to learn more about what parts to buy. Your choice of brake parts depends on the use of your Mustang. If it is a daily driver, then it doesn't require as heavy-duty parts as a track machine. However, products exist to provide a nice compromise between the two. After choosing your parts carefully, follow the instruction below to successfully replace your brake parts!

Materials Needed
- 13/16" socket and torque wrench
- Jack and jack stands
- Flat screwdriver
- 17mm and 11mm wrenches
- 12mm and 16mm sockets
- Air tools and/or breaker bar
- Penetrating spray (optional)
- Small hammer or mallet
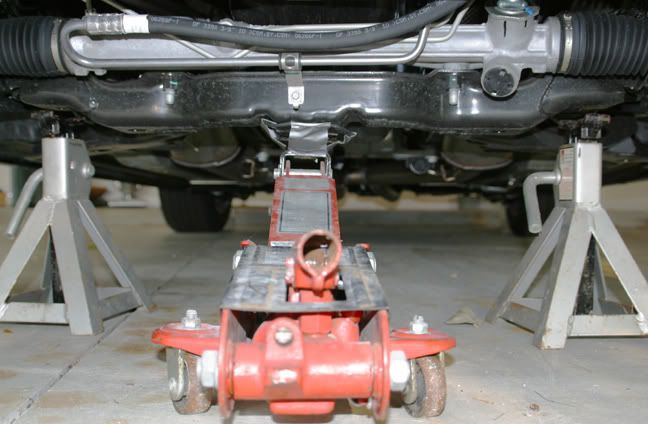
Step 1 – Lift front of vehicle and remove wheels
Use a torque wrench and a 13/16" socket to loosen your lug nuts on the front wheels. Use a jack at the center lift point in the front of the vehicle and raise the car. Use jack stands to secure the car in the air.
Pro Tip
Make sure jack stands are on chassis points to make sure the car is lifted securely.
Step 2 – Remove front calipers
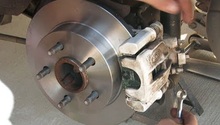
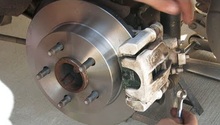
First we must remove the rubber hose from the hard line brake hose in the fender well. Use a flat screwdriver to remove the retention clip holding these two hoses together. Once this clip is removed, then use a 17mm wrench on the rubber side of the hose and a 11mm wrench on the hard line to loosen the brake from the fender well. Now, simply use a 12mm wrench or socket to remove the caliper from the caliper bracket.
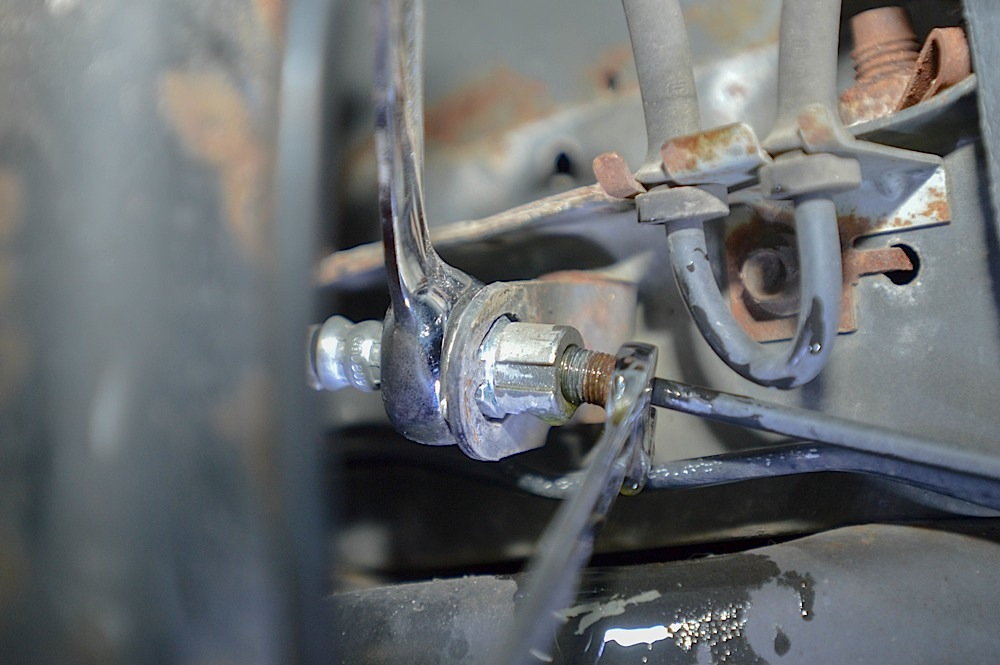
Figure 3. Removing brake lines. 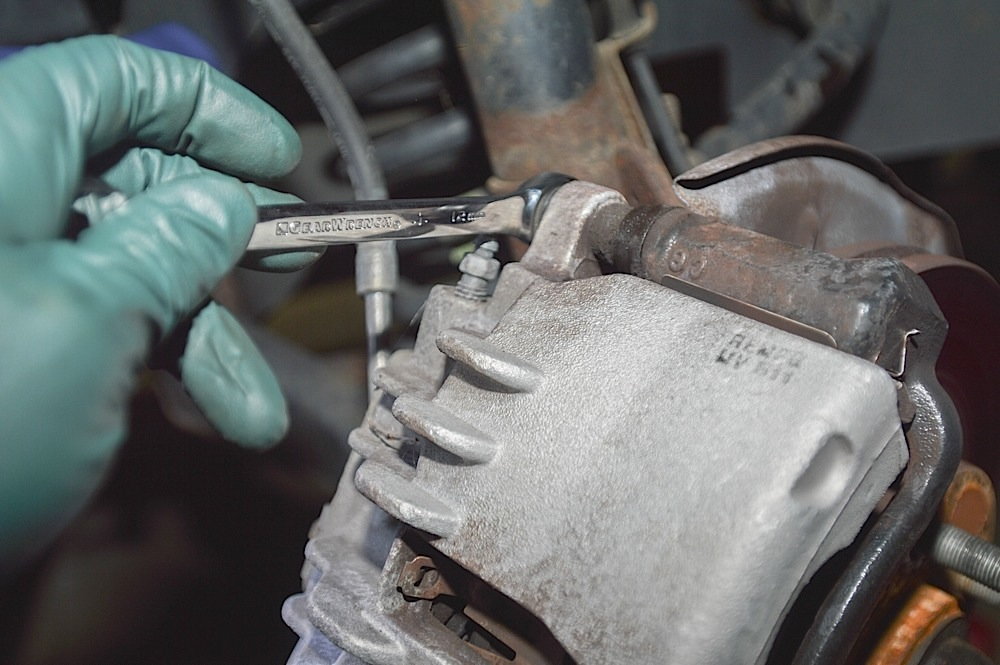
Figure 4. Removing front calipers.
Pro Tip
Use penetrating spray on any of these nuts and bolts if they do not loosen easily.
Step 3 – Remove brake pads and caliper bracket
Slide your brake pads out of the caliper bracket. If they are hard to remove, use a flat screwdriver to pry them out. Use a 16mm socket or wrench to remove the caliper bracket.
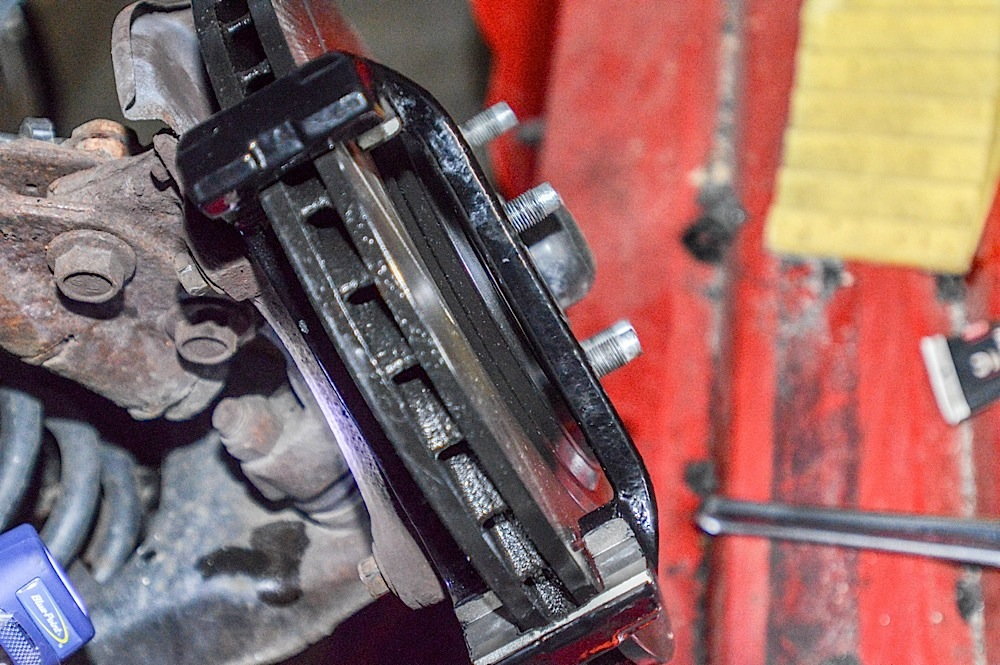
Figure 5. Remove brake pads. 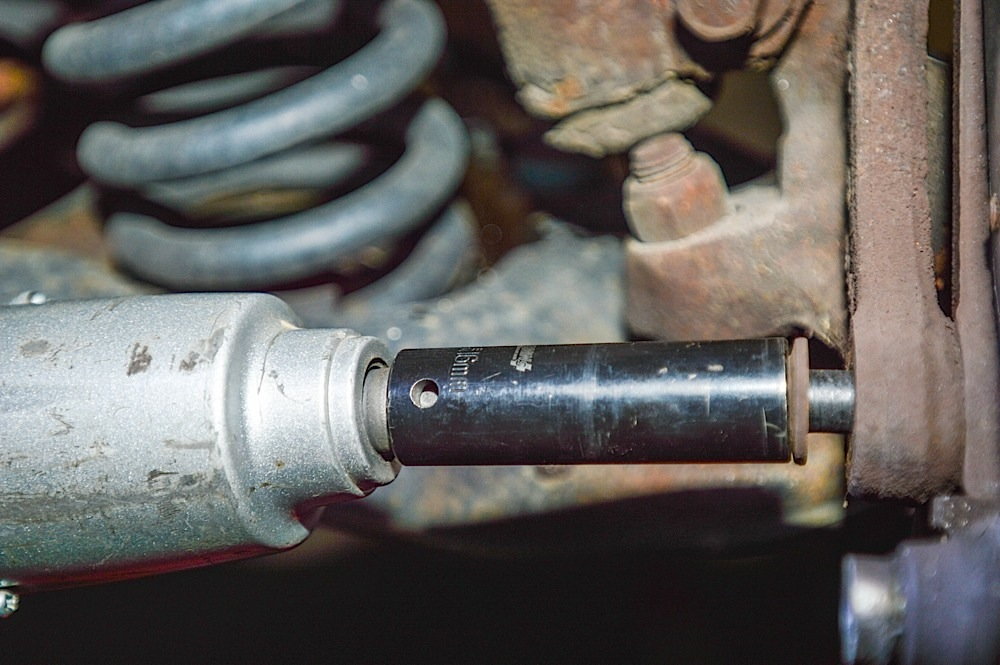
Figure 6. Remove brake caliper bracket.
Pro Tip
Use a breaker bar if these bolts are failing to come off with a standard wrench.
Step 4 – Remove front rotors
Your front rotors are now clear to be removed. First, try simply pulling them off. However, these are often tough to remove so a small hammer or mallet might be needed to free them from the hub.

Step 5 – Install new parts!
Installing your new brake parts is simply the reversal of the removal process. Slide your new rotors over the studs and make sure it's well seated on the hub. Assemble the pads as well as calipers, and then mount the caliper back onto the hub and rotor. Ensure that all fittings are snug. Make sure to grease the caliper bracket and brake pad backing plates to ensure a smooth, and noise-free operation. Also, follow the proper procedures to bleed your brakes since the brake lines were removed. Enjoy your brakes and improved performance on your Mustang!

Pro Tip
Brake fluid is corrosive, so make sure it does not land on your plate.
Related Discussions
- Changing Brake Pads - MustangForums.com
- Replacing brakes Mustang V6 2003 - MustangForums.com