Ford Mustang GT 1996-2014: How to Replace Brake Pads, Calipers, and Rotors
The brake system in the Ford Mustang GT works extra hard to stop it. Replacing some of the hard working components is an important piece of maintenance. Here's how to replace the pads, calipers, and rotors yourself.
This article applies to the Ford Mustang GT (1996-2014).
The Ford Mustang GT has a beast of an engine, and with a strong engine, you need strong braking. The brake pads are pressed together by the calipers to clamp on the rotor when you step on the brake pedal. The friction is what stops the car, and it's also what wears out the brake pads. If you fail to replace the brake pads when they are due for replacement, you can wear out your rotors, which cost a bit more to replace than the pads. The calipers rarely ever need replacement; however, every now and then people complain their calipers are stuck, which means the piston is stuck and is causing the pads to continuously rub against the rotors, thus wearing out both the pads and rotors much faster than they would normally wear. In this article, we will show you how you can replace the brake pads, the rotors, or the calipers. This guide will help you whether you're only replacing one of these components, or if you're replacing all of them. In the end, we will go over bleeding the brakes, which is a process that has to be done if you're disconnecting the brake line connected to the caliper.


Materials Needed
- Jack and jack stands
- Tire iron
- 12mm socket
- 3/8 wrench
- Clear hose
- Bottle
- C-clamp
- Rubber mallet
- Brake fluid
- Brake components (part you're replacing)
Step 1 – Raise the car
The first step you need to do is to loosen the lug nuts on the wheel you will be removing, then raise the car and secure it on jack stands.
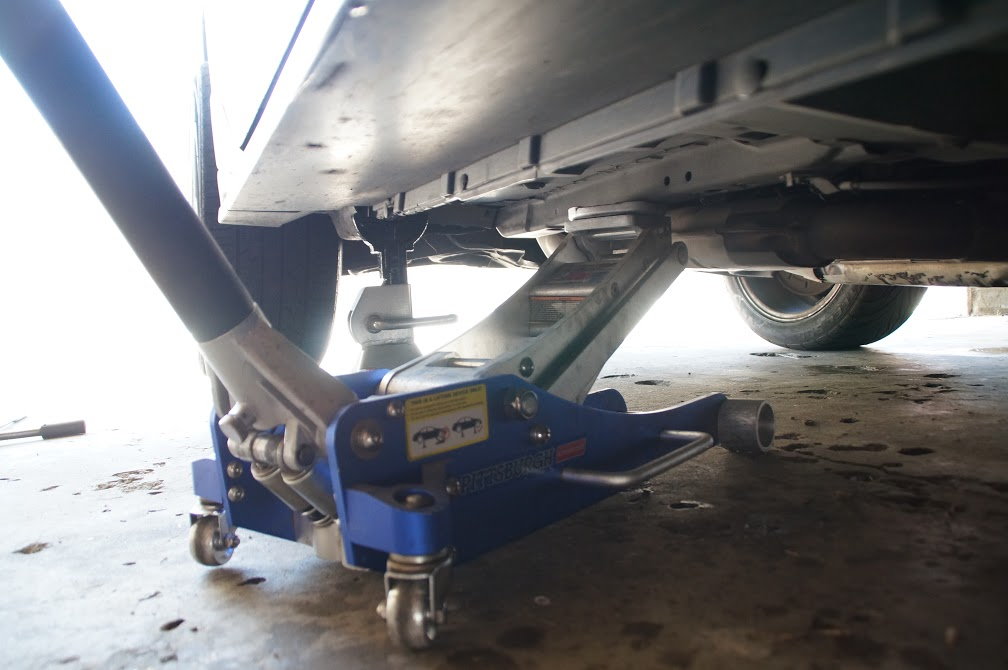
Figure 2. Front jacking point. 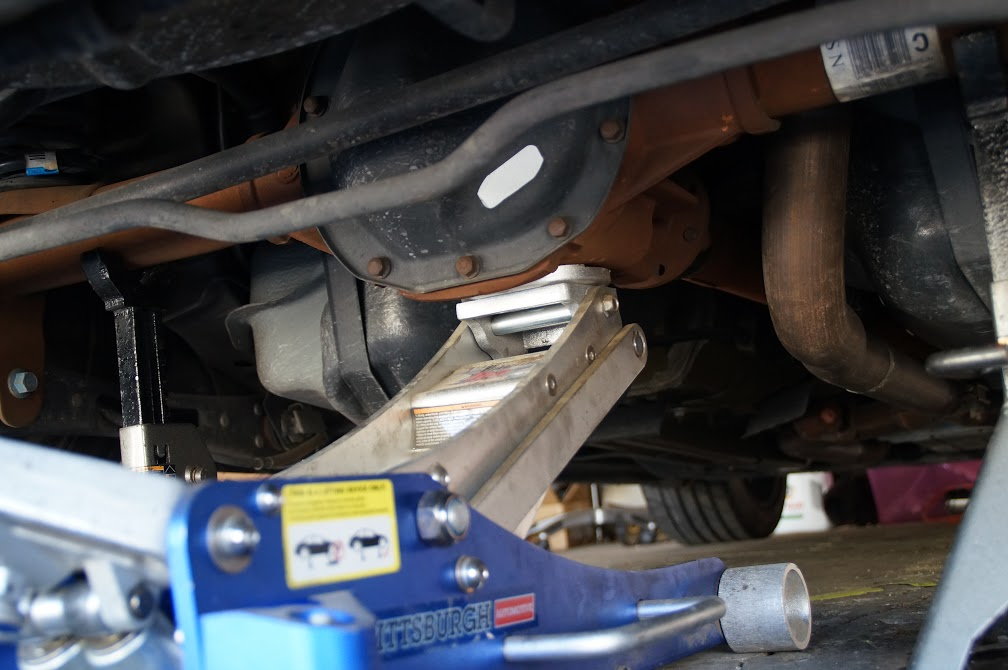
Figure 3. Rear jacking point. 
Figure 4. Rear jack stands.
Step 2 – Replace brake pads
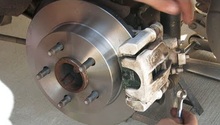
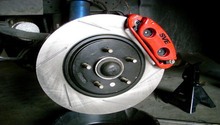
After you've removed the wheel, use your 12mm socket to remove the two bolts holding the brake caliper in place. There will be one on the top and one on the bottom. Pull the brake caliper out, and place it somewhere safe. Don't let it hang from the brake line. The brake pads will stay on the rotor in their bracket, tilt it up and remove it. Install the new brake pads, and if you're not replacing the caliper, use your C-clamp to compress the caliper's piston, so it fits on top of the new, thick brake pads. Install the caliper over the pads and rotors, then tighten the two 12mm bolts.

Figure 5. Caliper's bolts. 
Figure 6. Replace pads. 
Figure 7. Compress piston.
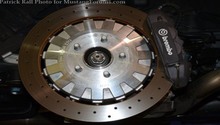
Step 3 – Replace rotor
If you're replacing the rotor, don't tighten the caliper back on. Instead, with the caliper out of the way, pull the rotor out. The rotor most likely won't come right off, so tab it gently with a rubber mallet to wiggle it in place. When it comes loose, simply pull it out and install the new one in its place.

Step 4 – Remove caliper
If you're removing the calipers, bring the other caliper close to you, then remove the bolt connecting the brake line to the old caliper, and install it onto the new caliper immediately. Tighten the bolt and install the caliper on the rotor. Tighten the two bolts on the top and the bottom of the new caliper. Be sure to wipe any brake fluid that spilled because brake fluid is corrosive to paint.

Step 5 – Bleed the brakes
Anytime you remove the brake line, you must bleed your brakes. Any air in the brake system will affect your brake's feel and performance.
Start by bleeding the passenger's rear caliper, the passenger's front caliper, the driver's rear caliper, and end with the driver's caliper.
Connect a clear hose to the bleeder screw on the caliper, and connect the other end of it into a bottle. Ask a friend to pump the brake pedal a few times, then keep it pressed down. Loosen the caliper's bleeder screw and watch the brake fluid drain. As soon as you stop seeing bubbles in the fluid, tighten the bleeder screw and ask the friend to let go of the brake pedal.
Top off the brake reservoir with brake fluid between each caliper, and repeat for the rest of the calipers.

Figure 10. Bleeder screw. 
Figure 11. Bleed brakes.
Related Discussions
- Changing Brake Pads - MustangForums.com
- Brake Rotor Installation - MustangForums.com
- Caliper Piston Issues - MustangForums.com