Ford Mustang GT 2005-2014: How to Replace Ignition Coils
Replacing the ignition coil packs on your Mustang is a simple job that you can do in a matter of minutes.
This article applies to the Ford Mustang GT (2005-2014).
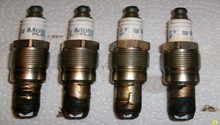
If your engine is running rough, you have a loss of power, or hear an odd ticking noise, you may have a bad coil pack. Your Mustang has a coil on pack or COP ignition system. This allows more efficient running and a very precise spark timing. The good news is that when one goes bad, you won't necessarily be stranded, but you will have a misfire situation that can be damaging. You will want to rectify this situation as soon as possible. Coil packs are relatively inexpensive and if one goes bad, it is easily replaced; however, the others may soon follow, so it is a good practice to replace them all at once. While you are in there, you might want to replace your spark plugs as well. You could take your Mustang to a professional to do the job for you, but for as easy as a job this is to do on your own, why spend the extra money taking it to a shop? You can do this in the comfort of your own garage in well under an hour and save yourself some big bucks from having a pro do the job for you.

Materials Needed
- 1/2 drive ratchet with 8mm socket and extension
- Plug socket (if you will be replacing your plugs as well)
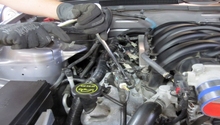
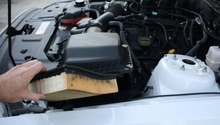
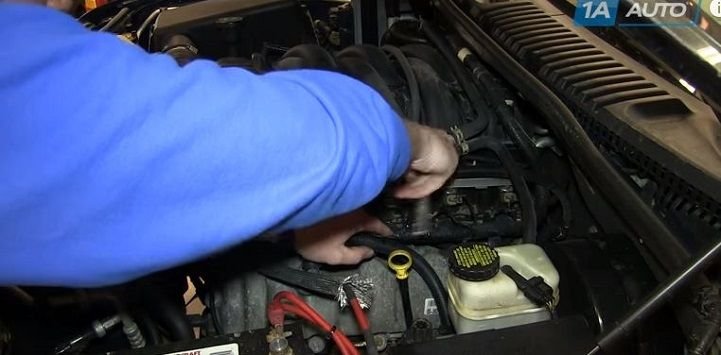
Step 1 – Lift hood and locate your coil packs
The coil packs are located on either side of the engine next to the plugs. There will be four on each side and they are extremely easy to get to.
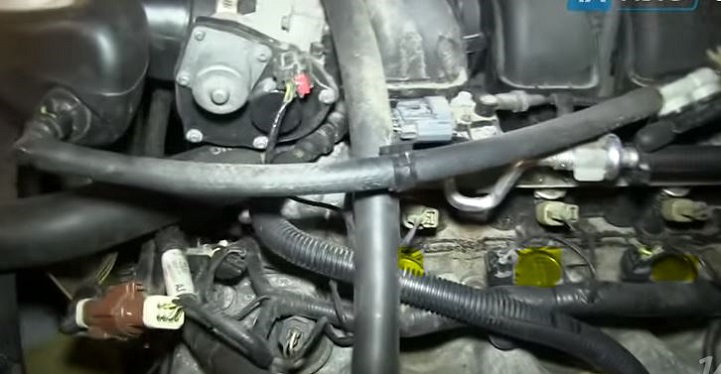
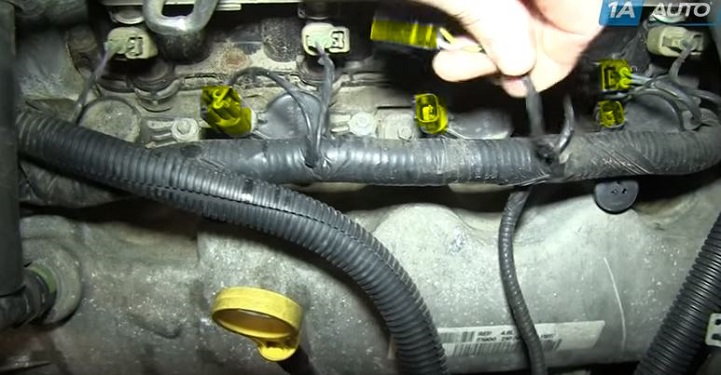
Step 2 – Disconnect the wiring harness at each pack
Each coil pack has an associated wiring harness. Simply press in on either side of the harness and wiggle, then pull until it disconnects.
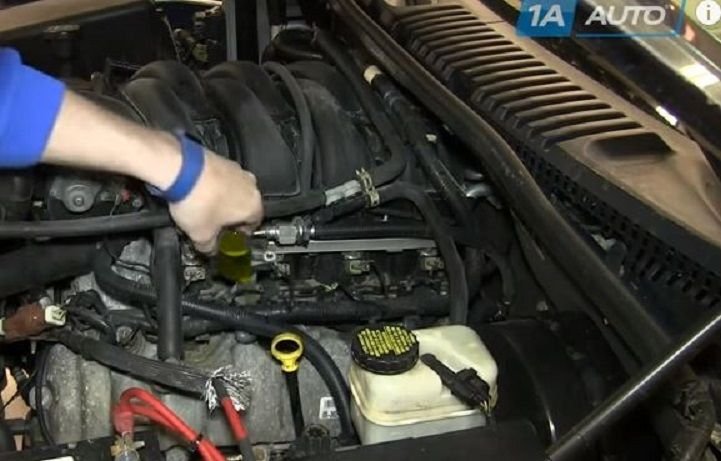
Step 3 – Remove the coil pack bolt
Locate each 8mm bolt on the side of the coil pack. Use a ratchet with extension and an 8mm socket to remove the bolt. Save the bolt because the replacement packs likely did not come with a replacement.
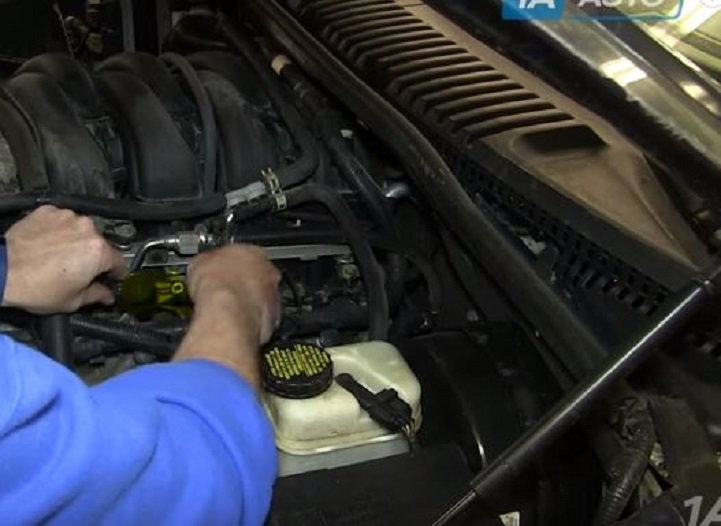
Step 4 – Remove the coil packs
Once the bolts have been removed, the coil packs will come out super easy with just a half-turn and a little yank. Remove the coil packs and replace one at a time.
Step 5 – Insert new coil packs
The new coil packs will go in even easier than the old ones came out. Be sure to line up the bolt holes before proceeding. Replace the 8mm bolts and reconnect the wiring harnesses. Start her up and make sure all is well. Drop the hood and take off.
Featured Video: How to Replace Ignition Coils
Related Discussions
- Lots of Questions - CAI, Ignition Coils, Plugs, etc - MustangForums.com
- Loose Coil Pack Cause Ticking Sound? - MustangForums.com
- Ignition Coil? Fuel Injection Issue? - MustangForums.com
- 2005 Mustang GT Misfire #6 problem - MustangForums.com