Ford Mustang V6 and Mustang GT 2005-2014: Why is My Check Engine Light Blinking
When you see a blinking check engine light, it means something bad has happened to your engine. This article will show you what to do when that happens.
This article applies to the Ford Mustang V6 and GT (2005-2014).
If you noticed your check engine light blinking, it's probably been accompanied with the engine running rough. This means that your Mustang has detected an engine misfire. Engine misfires are not the easiest things to diagnose, since there are many things that can cause an engine misfire. However, most of these issues are easy to check. This diagnostic will take you through some of more common causes of engine misfire.

Materials Needed
- Replacement parts
- Ratchet with socket set
- Multimeter
- Spark plug gap tool
- Spark plug tester
- Fuel injector cleaner kit
- Dielectric grease
- Carb cleaner
Step 1 – Have you recently put in gas?
Sometimes poor quality fuel will fail to ignite and trigger a misfire code. This can be fixed just by filling the tank with a different brand of fuel, or by getting higher octane fuel. Alternatively, if you've recently been driving the car hard, it can trigger a misfire if the engine isn't running right. This usually manifests itself as a fan of smoky burnouts. Sitting on the rev limiter or even spiking beyond it on accident can cause misfires. If the light blinks for about thirty seconds before shutting off, you can probably safely ignore the warning. However, if it gets triggered again, then you have a different problem on your hands.

Step 2 – Check the spark plugs
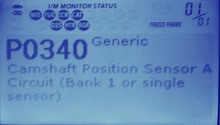
The leading cause of an engine misfire is a failure to create a spark. This leads us to suspect the spark plugs and the ignition coils. If you can get access to a code reader. It would be helpful in determining which cylinder had the misfire, so you can narrow down the number of suspects. Otherwise, you'll have to check the spark plugs and ignition coils one-by-one.
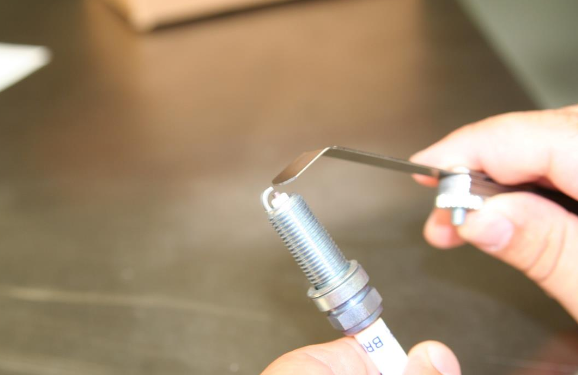
Starting with the spark plugs. Pull them out and inspect them for any signs of damage. Check the gap to ensure that it's wide enough to create a spark. There are spark plug testers you can plug to the boot of the spark plug, which will light up to tell you when you are getting a spark. If you've discovered a spark plug that's corroded or fails to spark, replace it. Actually, you should replace them all because your other spark plugs could be close to failure, as well.
Pro Tip
Putting a little dielectric grease on the contacts of the spark plug boot will help ensure a electrical connection.
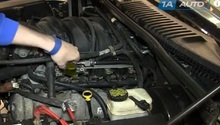
Step 3 – Check the ignition coils
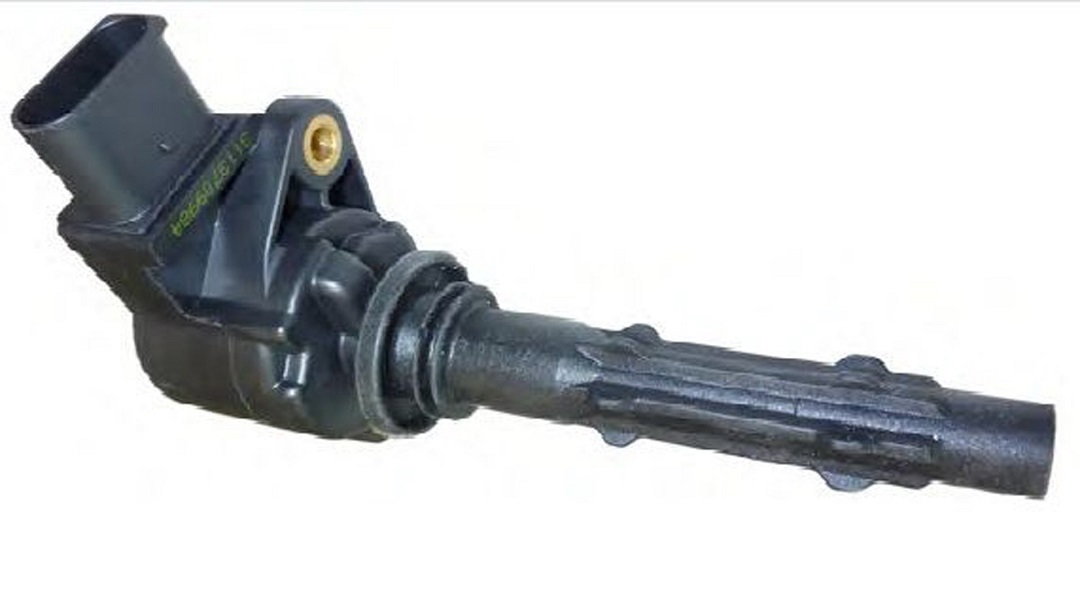
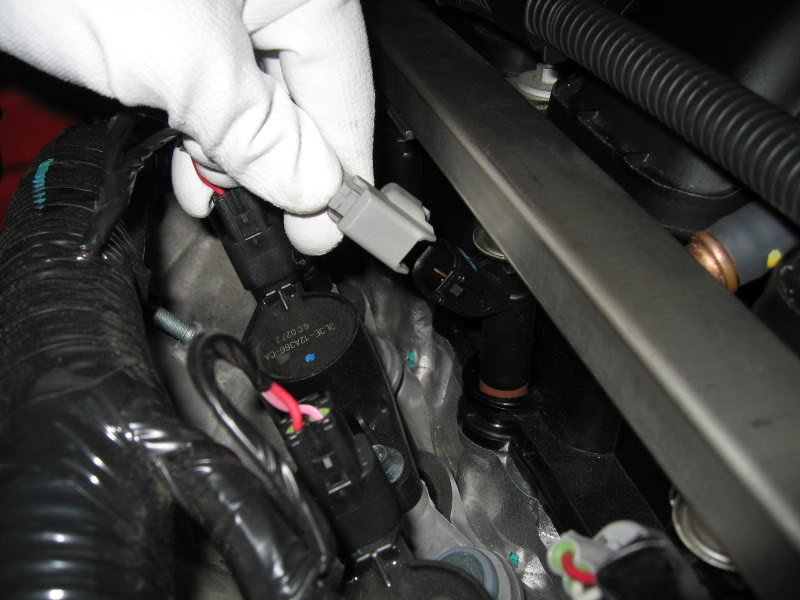
The second leading cause of a failure to spark are the ignition coils. One way to check the ignition coils is to have the car running as you unplug the electrical connector for one of the coils. You should notice a reduction in the RPMs of the engine and that it's running a little rougher. That means that coil is still functional. If you find a coil that does not cause a reduction in RPMs, then that coil wasn't working and your car was running on less than full cylinders.
If that check didn't find anything, there is another way to test ignition coils. You'll need to unplug and remove the coil from the engine. Then test the coil for resistance using a multimeter. Set your multimeter to measure ohms. Touch the probes of the multimeter to the pins of the coil's electrical connector. If the resistance measured in your multimeter shoots up, it means that the ignition coil is still good.
One last thing to check before moving on are the spark plug wires. Giving them a quick visual inspection should be enough. Look for any kind of fray or corrosion on the wires. Don't forget to check under the spark plug boots where there could be hidden damage.
Step 4 – Check the crankshaft position sensor
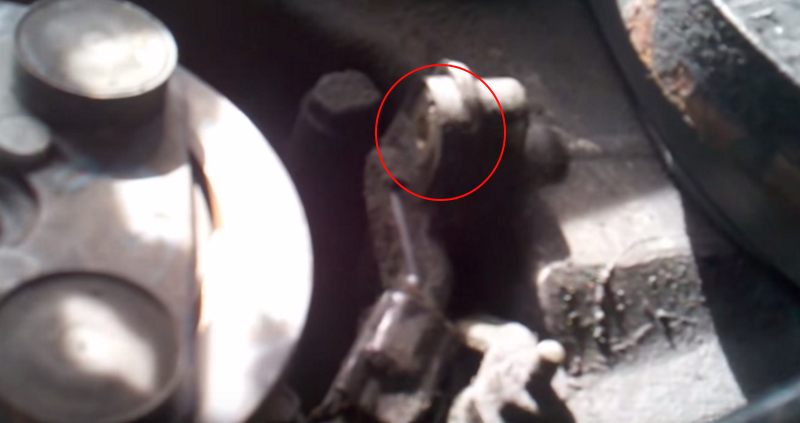
The crankshaft position sensor or crank sensor detects the position of the pistons on the crankshaft. This helps with timing cylinder ignitions. A common symptom of a faulty crank sensor are random engine misfires. You can check the crank sensor the same way you check the ignition coils, by testing it with a multimeter set for ohms. A working crank sensor should have somewhere between 300 and 800 ohms of resistance.
Step 5 – Check the fuel injectors
Sometimes a bad fuel injector can get clogged and not put in enough fuel. This forces the cylinder to run lean and can cause a misfire. Similar to the crank sensor and ignition coil, you'll want to remove the troublesome fuel injector out of the engine and test it with your multimeter. You'll also want to inspect it for any clogging. If your fuel injector is clogged, it's possible to get it cleaned using a special fuel injector cleaner kit.
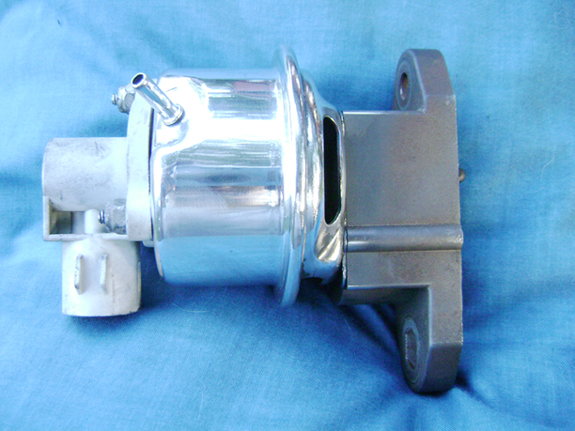
Step 6 – Check the EGR valve
The EGR valve redirects some of the exhaust gases back to the intake. This helps to reduce emissions and prevents the engine from overheating. Sometimes the EGR valve will get stuck because of a buildup of oil and other gunk. Spraying the valve with carb cleaner should help to break up any buildup and get it working again.
Related Discussions
- Blinking Check Engine Light - MustangForums.com
- '07 Shelby Misfiring - MustangForums.com
- Cylinder 1 Misfire, Trouble Idling - MustangForums.com