Ford Mustang V6 and Mustang GT 1994-2014: Why is My Car Leaking Inside?
Over time, rubber degrades and cracks. This can and normally will lead to water intrusion when you wash the car or during a heavy rain.
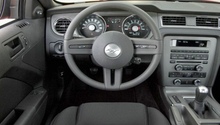
This article applies to the Ford Mustang V6 and Mustang GT (1994-2014).
There are various reasons why you can have a leak in your Mustang. Normally, the first sign that you have a leak in your vehicle will be seeing or hearing or feeling a drip. There are also instances where it'll be less obvious because it could be leaking from somewhere under the dash and firewall or even the trunk. Keep reading to diagnose interior leaks in your Mustang.

Materials Needed
- Plastic trim removal tool
- Flashlight
- Screwdrivers
- Rags and fans
- Replacement rubber weatherstipping
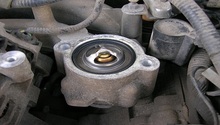
Step 1 – Check the A/C dryer unit
Where is the water coming from? Sometimes, knowing this is easier in theory than in reality and may require recreating a rainy condition to be able to see where it's coming from. Let's start by checking the A/C dryer unit that channels the built-up condensation from the air conditioning and runs it outside the car. If that line gets plugged, it can overflow into the car, although this is a rare scenario.
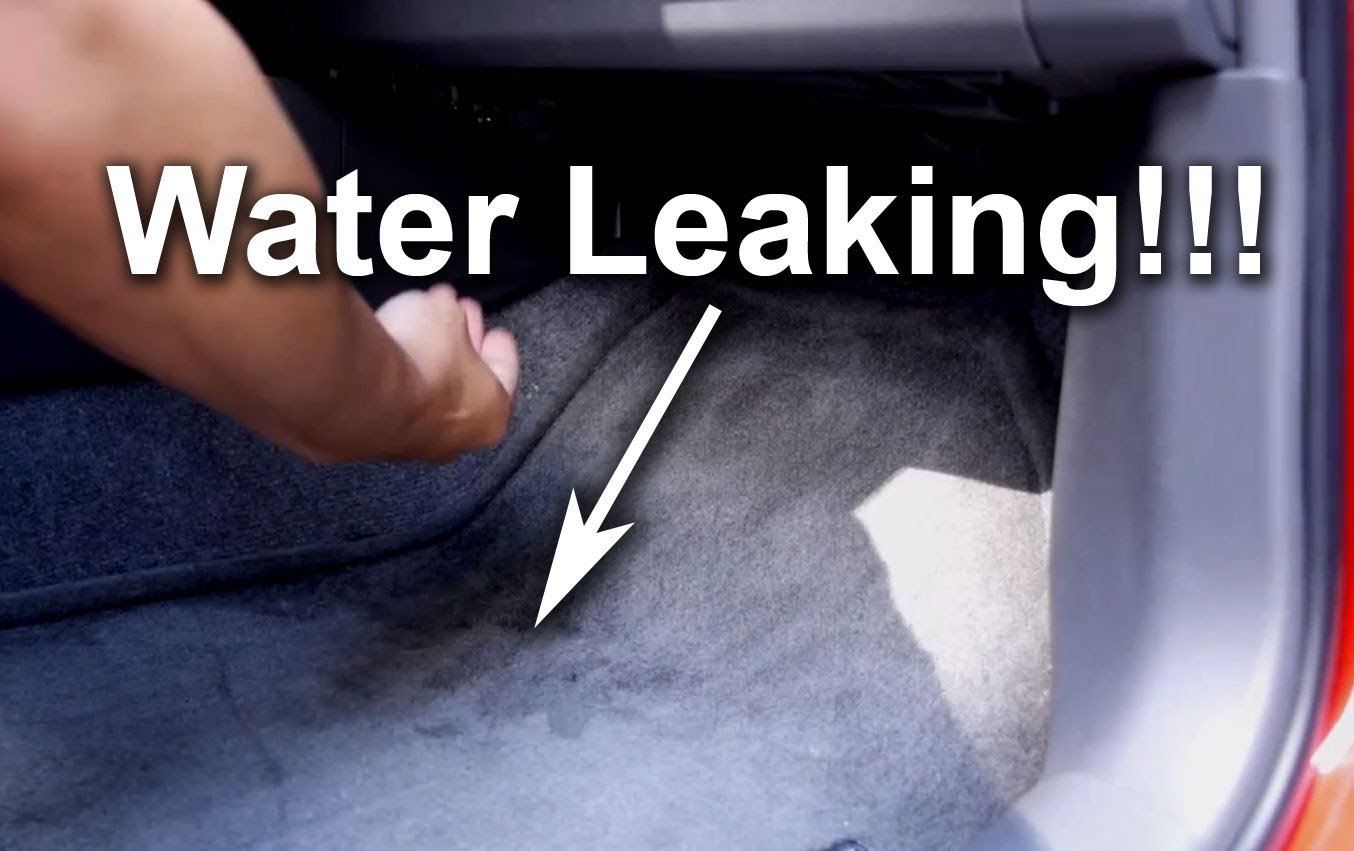
- Is the water on the passenger floor board? The first thing to look for and feel for is a wet carpet or musty smell. Sometimes you can even find small plants growing in the carpeting.
- Look up under the passenger dash with the A/C running and try and see if you see anything dripping. If you do, you may need to have the A/C system looked at by a professional and have the dryer portion and lines cleared out.
Pro Tip
Air conditioning systems are expensive and often difficult to work on. If you encounter an issue with leaking due to this, it's recommended consulting a professional with the tools to deal with refrigerant.
More than likely this will not be the source of your leak, so let's move on.
Step 2 – Check the door and trunk seals
Over time, the rubber seals that keep the elements out may have been damaged or even just dried up or cracked. If you've found that your water is in the trunk spare tire well, or the floor board of the vehicle, it more than likely is making its way past the rubber door/truck seals. They are really the first and ONLY line of defense built into the car and require good, rebounding rubber pressed together by the pressure of the door and trunk to keep a watertight seal.
- Check where your leak is and follow it to the door seal. You could go sit in the car during a heavy rain, or have someone douse the car with the hose while you sit in it and explore where the leak is springing from.
- Follow the door seal and look for a break in it. If the condition of the rubber is not good, then you can skip checking it and replace it.
- Follow the same logic with the trunk; if it's in a bad condition, go ahead and swap it out.
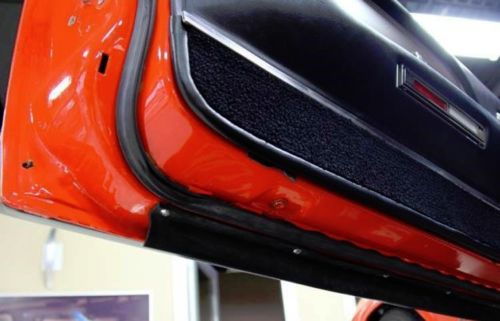
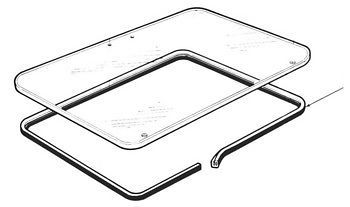
Here you can see the door side of the weatherstripping, and there is also a continuous rubber strip that runs around the entire door side. When they press together, the water doesn't get in.
Here's a picture of the trunk weatherstripping, which is also necessary to check for leaks or worn down conditions.

Pro Tip
Shop around because you will find a huge difference in pricing. If you're changing out the one that is damaged, if your budget allows, go ahead and change all of the rubber seals. More than likely, if the rubber on one seal has perished enough to allow a leak, it won't be long before another one does, too.
If your weatherstripping is in good condition, take a good look at your windows.
Step 3 – Check the windows
Is there a chance your windows aren't closing all the way? This is just another place to look, although rain coming through a slightly opened window would likely have alerted you to a leak before anything else.
- If your windows are not closing tightly against the weatherstrip either, then the solution entails the same process of changing out the weatherstrip. Most Mustangs had frameless windows though, so the replacement of the door seals would have likely addressed this issue as well.
- The assumption here is that your windows are going all the way up and down. The same logic would apply to the sunroof too, if you have one. Ensure the integrity of the rubber on it and replace as necessary.
If the leak isn't coming from any of the above, there is one last place you can check!
Step 4 – Check the firewall
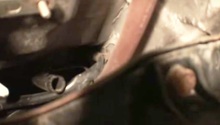
The same applies to the rubber grommets that line the firewall. A lot of the wiring that runs from the engine into the cabin of the car runs through rubber grommets in the firewall. They can also get brittle and break down over time, especially since they are exposed to the heat of the motor in addition to the elements.
- If your leak stems from here, it'll likely be a smaller leak since you'd have to run through pedals and splash water up onto it instead of the rain landing directly on it.
- With your flashlight, take a close look up under the dash or even on the engine firewall side. Specifically, you'll want to look for dry water spots to help identify which grommets have failed.
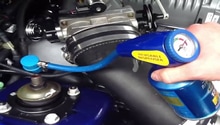
- To deal with a failed grommet, cut and remove the old grommet, and then cut and slide the new one over the wiring to push into place. The assumption is that most wires will not be easy to get to to run them through an unbroken grommet to remove and reinstall.
Pro Tip
When dealing with the silicone to seal up, be sure to keep a wet rag handy because it has a tendency of making a mess of your fingers.
Related Site
- Weatherstrip Product - Ebay.com