Ford Mustang V6 and Mustang GT 1994-2014: Why is My Battery Not Charging?
The battery is a highly important component that is responsible for providing power to start the vehicle. A faulty charging system or a bad battery that is unable to maintain a charge can leave you stranded and feeling helpless. Ensuring your charging system is functioning properly and your battery is maintaining a full charge can give you peace of mind knowing that you will have adequate juice to crank the starter whenever you are ready to go.
This article applies to the Ford Mustang V6 and Mustang GT (1994-2014).
The battery is a crucial component of a vehicle, as its power is used to start the car and is also a backup power source in case of a charging system failure. A battery that is not being properly charged can leave you high and dry when you need it the most. While the thought of diagnosing the charging system can be a bit frightening to some, there are relatively few components that can be quickly inspected to determine the problem. While there may be little to no warning that the battery is not properly charging prior to experiencing a dead battery, a bit of probing will often reveal a faulty battery, dying alternator, or an excessive current draw when the car is parked. This article will provide a walk-through for diagnosing battery charging issues for the 1994 to 2014 Mustang V6 or GT models.

Materials Needed
- Digital multimeter
- Battery load tester
- Metric and American wrench and socket sets
- 3/8" drive ratchet and extension
Step 1 – Check the battery
A bad battery is one of the most common reasons why a battery will not charge. Batteries vary in quality, but generally speaking, a battery usually has a service life of two to five years. That being said, it is not uncommon for new batteries to occasionally fail and leave owners searching elsewhere in the charging system for the potential issue. The first step in diagnosing why your battery is not charging is to inspect the battery itself.
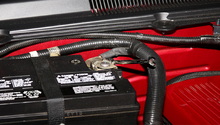
- Before getting too deep into testing the battery, visually inspect the battery for bulging, splits, crack, or electrolyte leakage. While a damaged or leaking battery may still function, it should be replaced if any of these signs are present.

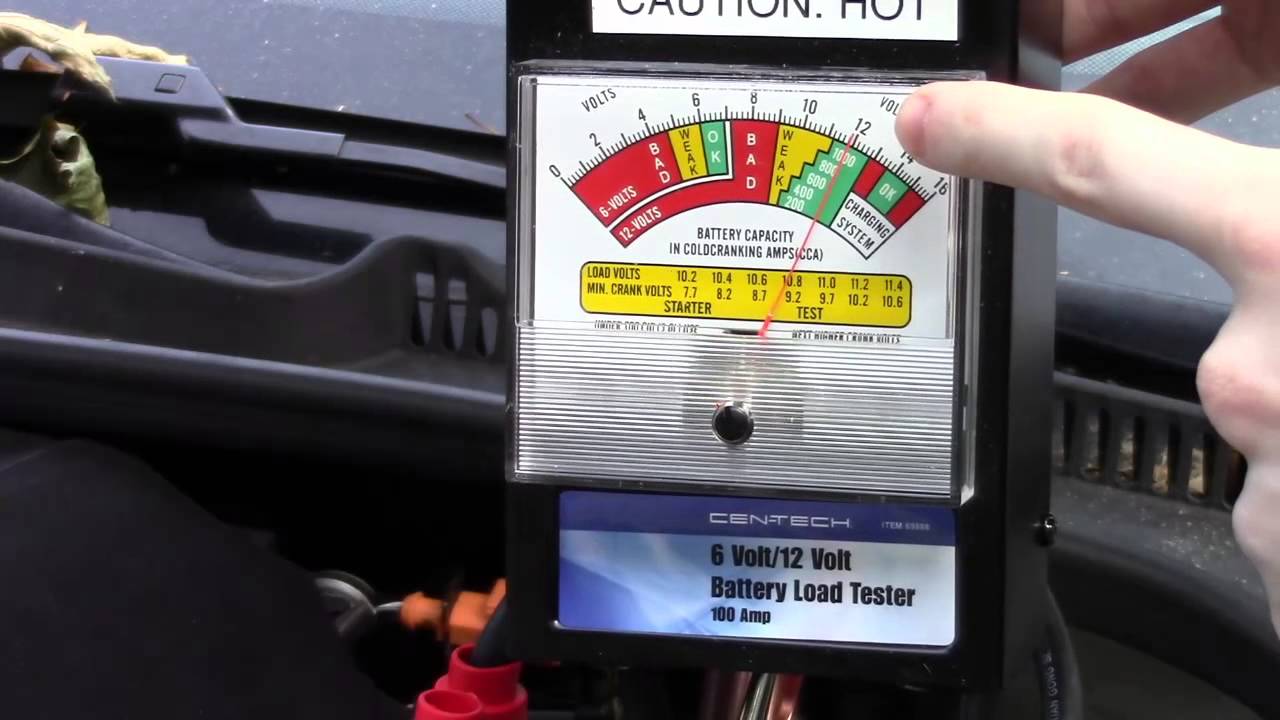
- Using a digital multimeter or battery load tester, connect the leads to the battery posts to test the battery's voltage (red lead to positive (+) battery terminal and black lead to negative (-) battery terminal). A fully charged battery in good working order should have a voltage reading of 12.6 volts. With the small parasitic drain of modern vehicle computers, it is common to have battery voltage readings of 12.2 to 12.4 volts. A battery with a voltage reading below 12 volts is a cause for concern and should be charged. Similarly, placing a load on a charged battery with a load tester can quickly identify if the battery is bad and needs replacing. If the battery is completely dead (0 volts), the battery is unlikely to recover from charging and should be replaced.
- If the battery voltage was low, attempt to charge the battery. For a low maintenance style battery, be sure to check the electrolyte level before charging. Depending on the level of charge in the battery and the amperage at which the battery is charged, it can take anywhere from one hour to 24 hours to fully charge. Generally speaking, a few hours on the charger at 10 amperes should give you a rough idea if the battery is able to take a charge or if it is bad. If the battery becomes hot to the touch at anytime during charging, stop charging it immediately.
- If the battery was able to take a charge, is holding voltage, and reads over 9.6 volts when a load is applied to it, the battery can be deemed good and other areas of the charging system can be inspected. It is worth noting that batteries can have an internal cell short that causes rapid self-discharging. A battery with a short will typically lose its charge in 6-12 hours. Additionally, if a battery can only be charged to 10.5 volts, it has a shorted cell.
Pro Tip
If you do not have the tools available to test the battery yourself, most auto parts stores can test the battery for free.
If the battery checks out okay, proceed with inspecting the charging system.
Step 2 – Inspect the alternator
If the battery is in proper working order, the charging issue likely lies with the alternator. With the engine running, be sure the serpentine belt is not slipping on the alternator pulley and preventing it from operating a full capacity before proceeding with the tests below.
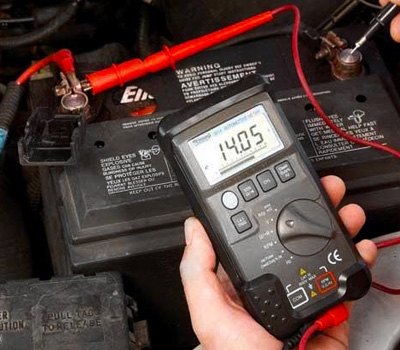
- Similar to testing the battery, the alternator charging output can be tested by starting the engine and measuring the voltage at the battery terminals with a digital multimeter or battery load tester. With the engine running, the measured voltage should should read approximately 14 volts; anywhere between 13.5 to 14.4 volts is considered a normal alternator output value. The alternator should maintain a charging voltage when accessories such as the headlights, stereo, or air-conditioner are switched on.
- If the alternator is charging at 15+ volts, the voltage regulator is likely bad and can overcharge the battery to the point the electrolyte solution is boiled dry, thus ruining the battery. Conversely, an excessively low reading can indicate a faulty regulator that will allow the battery to go flat from simply driving the car.
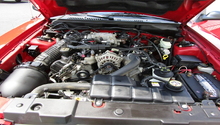
- Voltage regulators on various mustang models are typically located inside the alternator housing, While they can be replaced by a specialty shop, it is generally recommended to replace the whole alternator, as an alternator with high mileage is more susceptible to bearing or insulator winding failure.
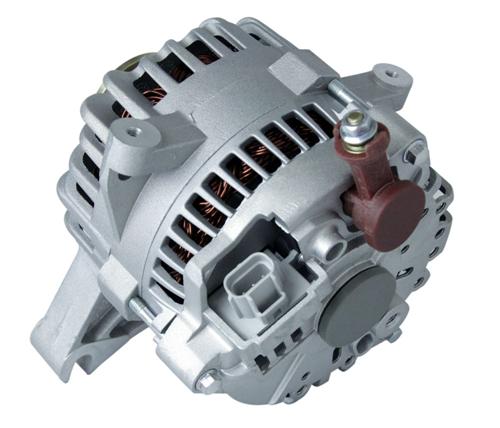
Figure 5. Typical Mustang alternator.
Pro Tips
- If the alternator becomes extremely hot, emits a burning smell, or is making an abnormal noise, it is likely failing and you should consider replacement even if it may be charging correctly.
- Auto parts stores are also able to bench test alternators free of charge.
If the charging system is fully functional, proceed with testing for an excessive parasitic draw.
Step 3 – Check for excessive draw on battery
In some cases, the battery and charging system may be perfectly functional, but an excessive parasitic draw somewhere in the electrical system will drain the battery when the vehicle is not running.
- Inspect the car to make sure no interior or trunk lights are staying on after it has been parked and the doors closed. Many times, a faulty door switch or similar component will fail and allow a light to stay on and drain the battery overnight.
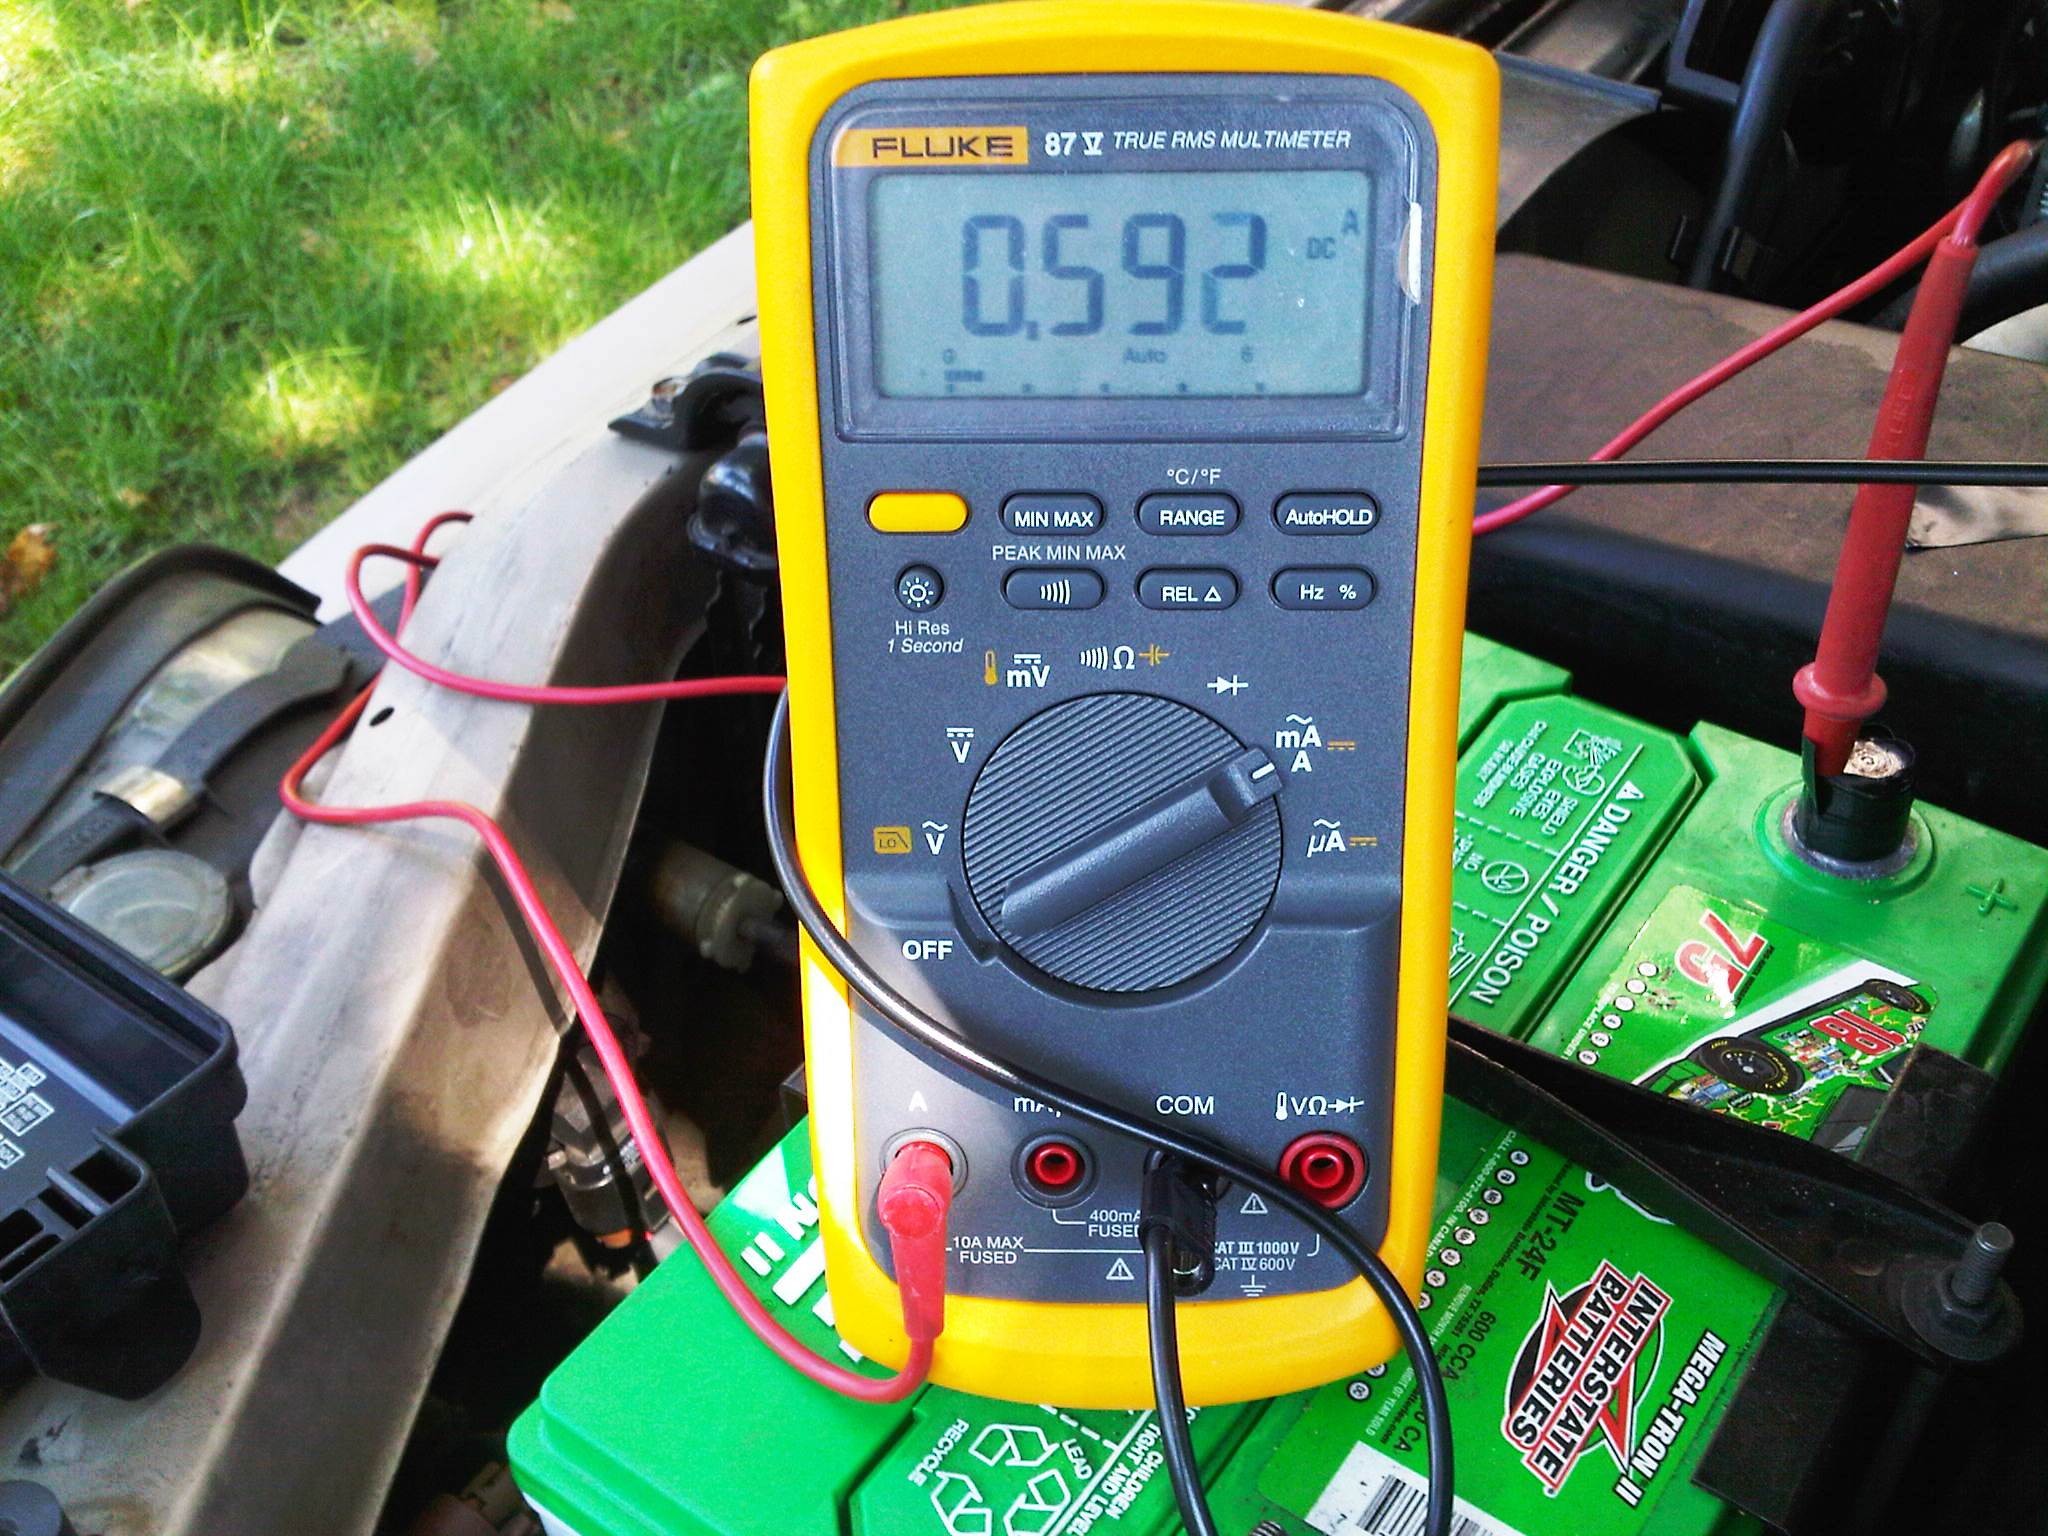
- If no apparent sources of the current draw are discovered, proceed with testing for parasitic draw by hooking a digital multimeter in series with the electrical circuit and following the steps below.
-
Disconnect the negative (black) cable from the battery.
-
Set the multimeter to measure amperage at its highest setting (typically 10A or 200mA depending on the multimeter). It is best to start with a higher setting and work your way down to a lower setting to prevent damaging the multimeter.
-
Connect one oft the multimeter leads to the negative battery cable and the other lead to the positive terminal (red cable, +) on the battery. The current draw will now be displayed on the multimeter. The setting can be adjusted if needed to get a more accurate reading of the current draw. Generally speaking, normal current draw should be somewhere between .30 to .50 milli-amps to keep juice flowing to the powertrain control module.
-
You can now begin to remove fuses from the fuse box. Remove one fuse at a time and monitor if there is any change in the amperage reading. When the circuit that is causing the excessive draw is located, replace the component and recheck current draw to ensure it is within spec.


Related Discussions
- Battery Not Charging - MustangForums.com
- Help - Battery Not Charging - MustangForums.com