Ford Mustang GT 1996-2004: Battery Diagnostic Guide
If your battery is dying overnight, something in the vehicle is draining current. A little investigative work will help to figure out what's going on.
This article applies to the Ford Mustang GT (1996-2004).
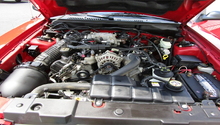
The engine in your Ford Mustang GT is a thing of beauty. Although, without a good battery, it's just metal, wire and plastic. You need a strong battery with a good charge to spin the starter and get those Pony's running. When the engine won't start, the battery should be your first stop. But what if the battery continually dies whenever the vehicle sits for a while? It could be a parasitic battery drain, and this guide will walk you through the process of diagnosing the battery issue.

Materials Needed
- Ratchet with extension
- 5/8" spark plug socket
- 10mm socket
- Flat head screwdriver
- Multimeter with 10A DC minimum
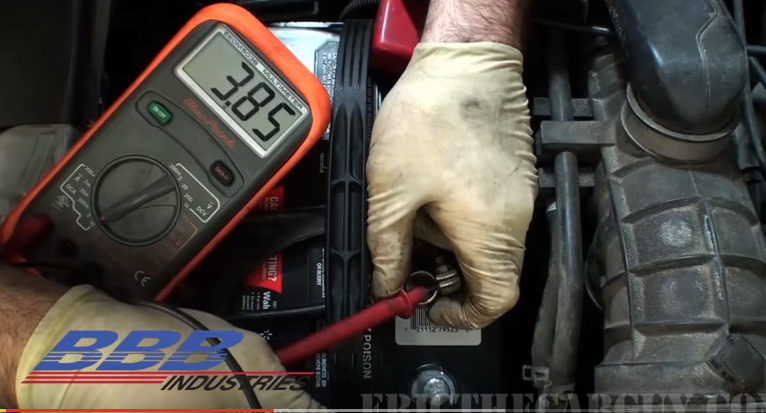
Step 1 – Fully charge the battery
Before beginning the tests, you need to start with a fully charged battery. If the battery is drained, be sure to get it fully charged first as shown in Figure 1. You are looking for a voltage reading of around 12.6 volts. If charging it is not a possibility, swap it out with a fresh one for this test.

Step 2 – Get a multimeter
Preferably one that can handle up to 20 amps of current (10 minimum). It should also be able to read currents as low as 200 milli-amps to check for smaller current leaks.
Step 3 – Verify all electronic components are off
Yes, this sounds simple, but you need to go all through the vehicle and make sure that every last device is off. This includes making sure the doors, trunk and glove box are all closed, as they too can trigger a number of electronic processes beyond the lights turning on. Also, remove the key from the ignition to get your car in the state it would be when you go to bed at night.
Step 4 – Check for the parasitic draw
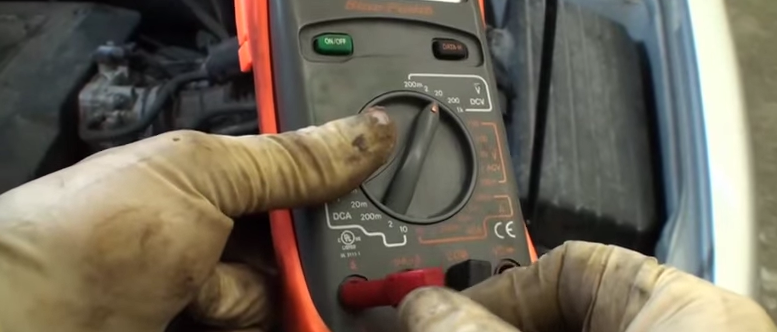
Now it's time to check for a current. First, your multimeter may require that you move the red lead to the highest amp scale connection on the device as shown in Figure 2. Set the meter to read DC current starting with the highest amp scale setting.
Next, disconnect the ground cable, as we will need to get the meter connected in series with the battery. Hook your red probe to the ground cable and your black to the negative terminal of the battery. The highest current reading you should see right now is 50 milli-amps, which would hardly register on a 10 or higher amp setting. If you see a one or more amp reading, you've got a serious current drain on the battery. You can step the amp level down on the multimeter to pick up the smaller draws as you continue to test.
Step 5 – Pull fuses to find the source of the draw
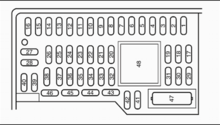
Assuming you have a current draw greater than 50 ma, the only way to find out what's draining the battery is to pull out fuses one by one until the current drain stops. Have someone hold the probes in place while you remove the fuses one by one until you see the current reading drop, as shown in Figure 4.

Start with the under hood fuse box, and if none of those stop the current draw, then move to the fuses under the dash. Be sure to disconnect your meter before opening the door because it could cause a current surge that could damage the meter. You want to disable the door switch also, so that you don't have to worry about that current surge while you continue your testing.
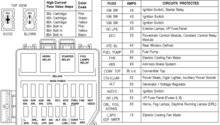
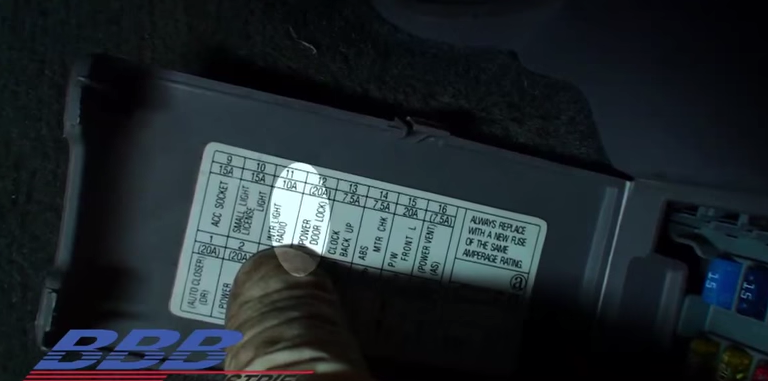
Once you pull a fuse and the current drops, note what circuit that fuse controls in the diagram as shown in Figure 5.
Step 6 – Analyze the circuit
Now that you know which circuit is causing the current draw, it's time to find out why. The drain can be from a number of sources, including:
- A switch left in the "on" position.
- A bad relay stuck in the "on" position.
- A wiring issue or a faulty component in the circuit.
A wiring diagram is the best way to analyze the circuit and find the culprit.
Featured Video: How to Test and Find Parasitic Battery Drain
Related Discussions
- Battery Keeps Dying - MustangForums.com
- Battery Drain Problem - MustangForums.com