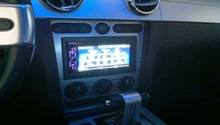
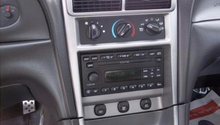
Ford Mustang V6 2005-2014: How to Install Amp
An amplifier boosts up the sound in your Ford Mustang. Read on to learn how you can install it yourself.
This article applies to the Ford Mustang V6 (2005-2014).
An amplifier is designed for those who want to boost up their sound system. So if you want to drive down the street with pumping music, this is a DIY you should consider doing. The installation isn't easy; however, it is doable and it just needs patience. Mounting the amplifier will require some creativity, as there is no real technical way of mounting it. Some people like to create a bracket for it, while others find a spot in the trunk that they could attach it to. You will need to remove some trim to route the power wire from the battery under your hood and all the way to your trunk. Read on to learn a lot about your car, while installing an amp that will beast up your sound.

Materials Needed
- Socket set
- Phillips head screwdriver
- Wire cutter
- Electrical tape
Step 1 – Disconnect battery
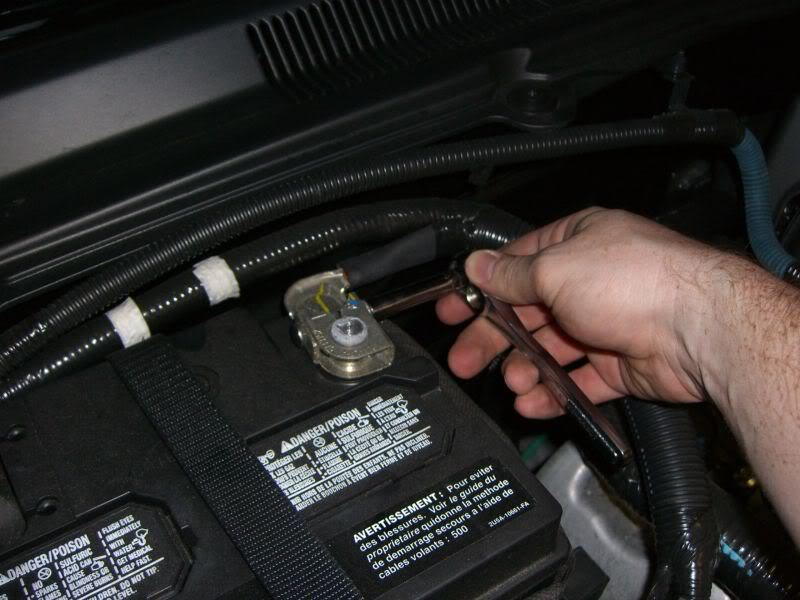
Disconnect the negative battery terminal (black), then wrap it in a towel so it doesn't touch any metal around the hood.
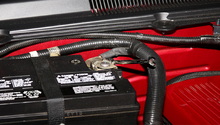
Step 2 – Install amp power wire
The amp power wire will need to be installed to the positive battery terminal. To do so, remove the positive battery terminal bolt, but don't remove the clamp. Put the power wire over the bolt and tighten it back to the battery using your 10mm socket.
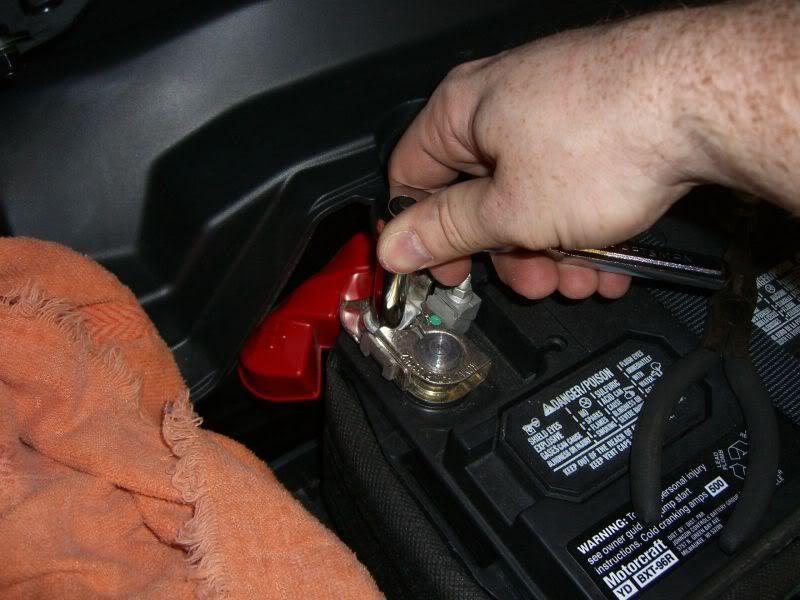
Figure 2. Disconnect positive terminal bolt. 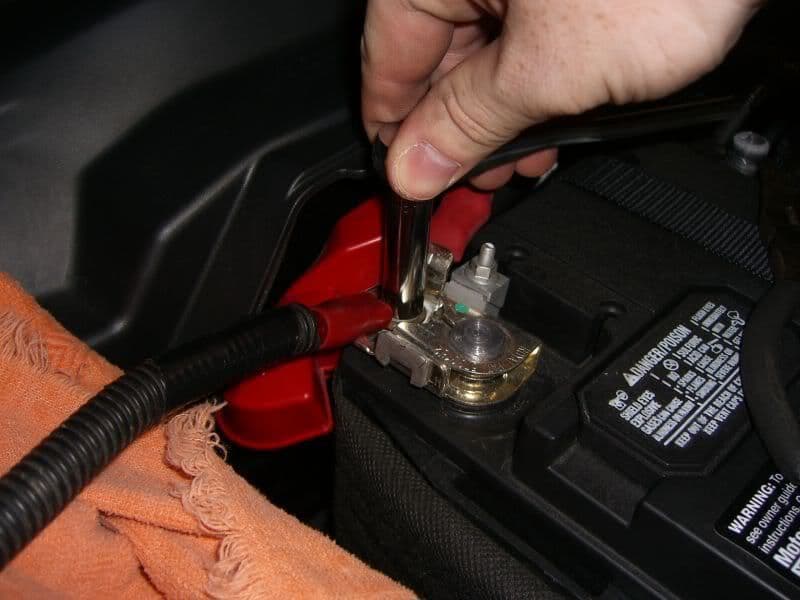
Figure 3. Connect power wire and tighten bolt.
Step 3 – Route power wire into wheel well
To route the power wire from the battery and into the wheel well, you will need the screws on the back of the passenger's side wheel well. There are four Phillips head screws that require one counterclockwise turn to remove. Remove the back half of the wheel well cover, and route the wire from the battery and into the wheel well. Connect the power wire you routed to the wire you attached to the positive battery terminal.
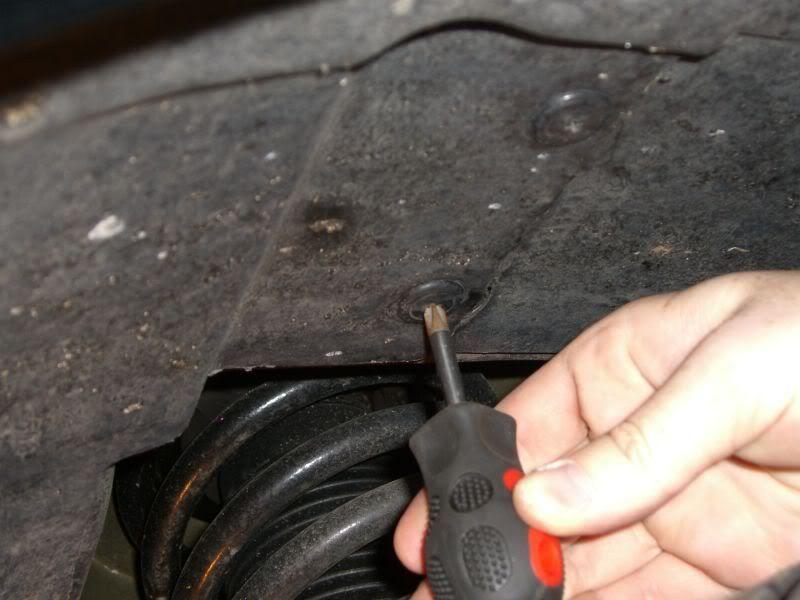
Figure 4. Remove back side of passenger's wheel well cover. 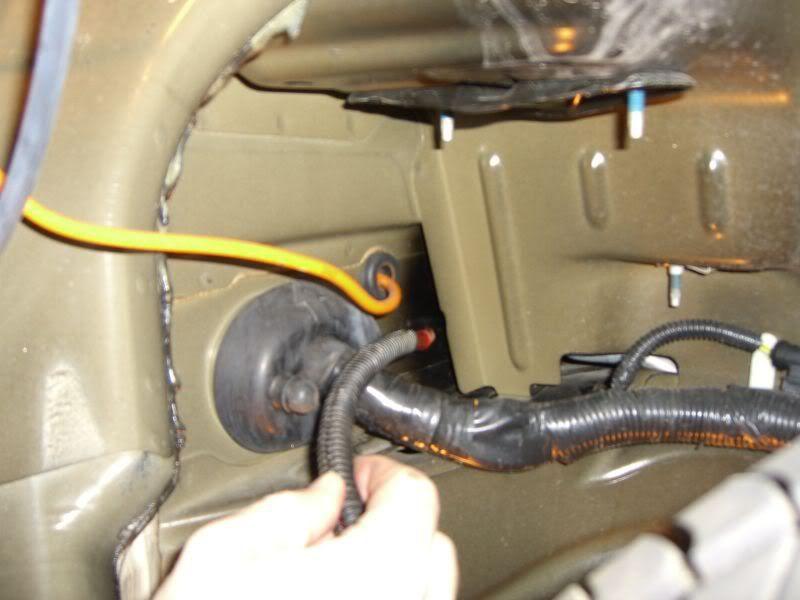
Figure 5. Route the wire from the battery to passenger's firewall.
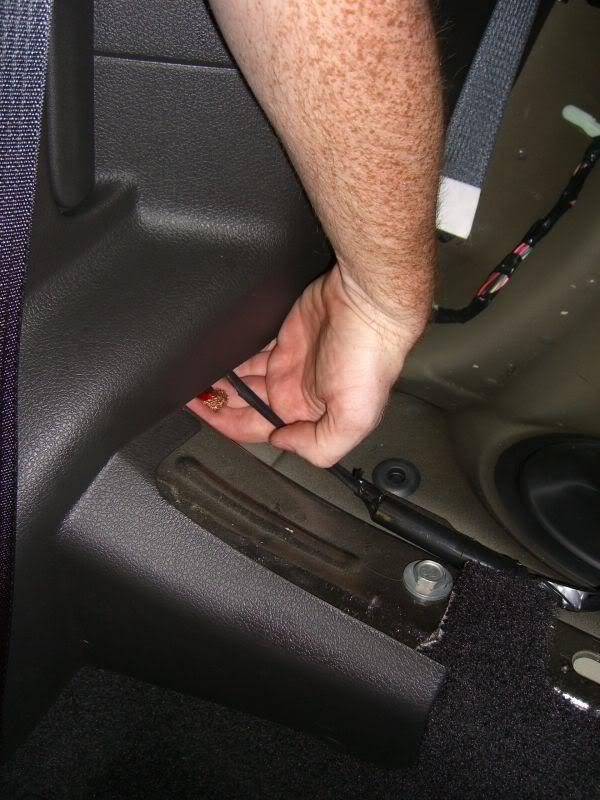
Step 4 – Remove trim to access the wire
Remove the passenger's side rocker panel molding. You can do so by gently pulling it up and away from its clips. Remove the fuse plate to pull the passenger's kick panel out, and it will come off the clips. Finally, remove the rest of the kick panel by pulling it backwards, away from the front of the car, and it will come off its clips.

Figure 6. Remove rocker panel molding. 
Figure 7. Remove kick panel.
Step 5 – Route the wire into the cabin
Route the wire through the gromet in the firewall. You can drill it so it fits the wire, or you can cut part of it to make some room for the wire to go through. Route the wire through that hole and tape it to avoid water from entering into the cabin.
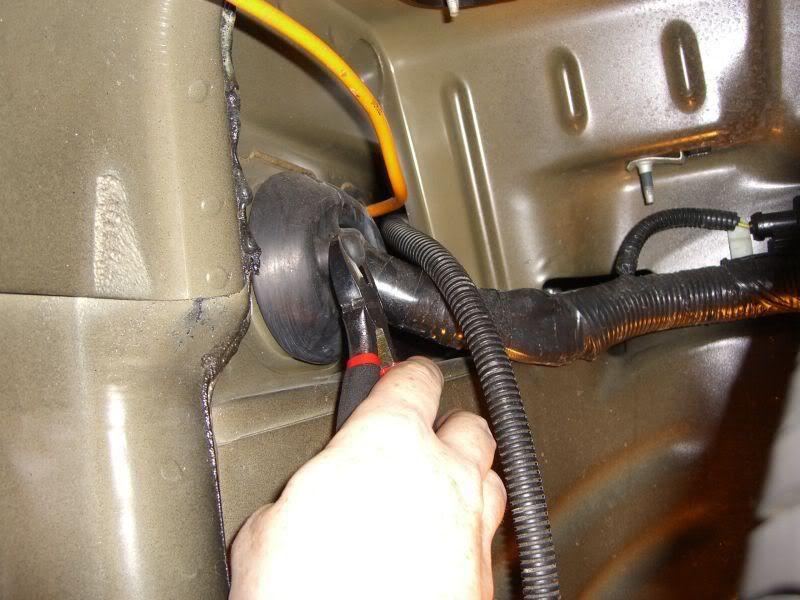
Figure 8. Make room for the wire. 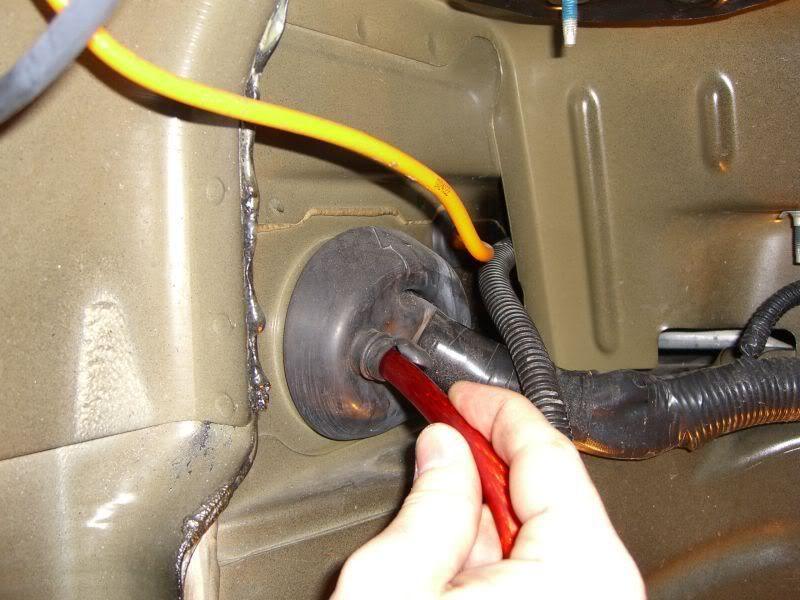
Figure 9. Feed the wire through.
Step 6 – Remove the rear seat
Now you need to route the wire into the trunk where the amp will be located. Press the tab under the seat and lift it up to remove.
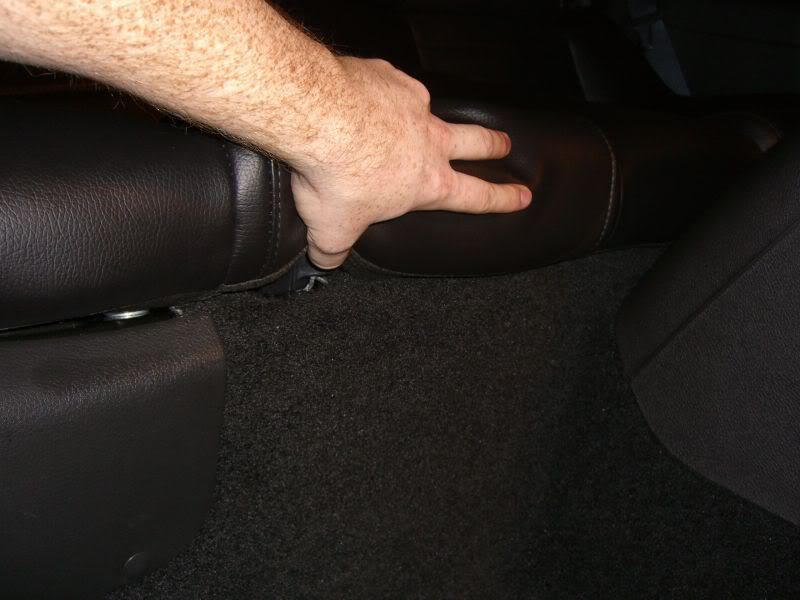
Figure 10. Press the tab and pull the seat up. 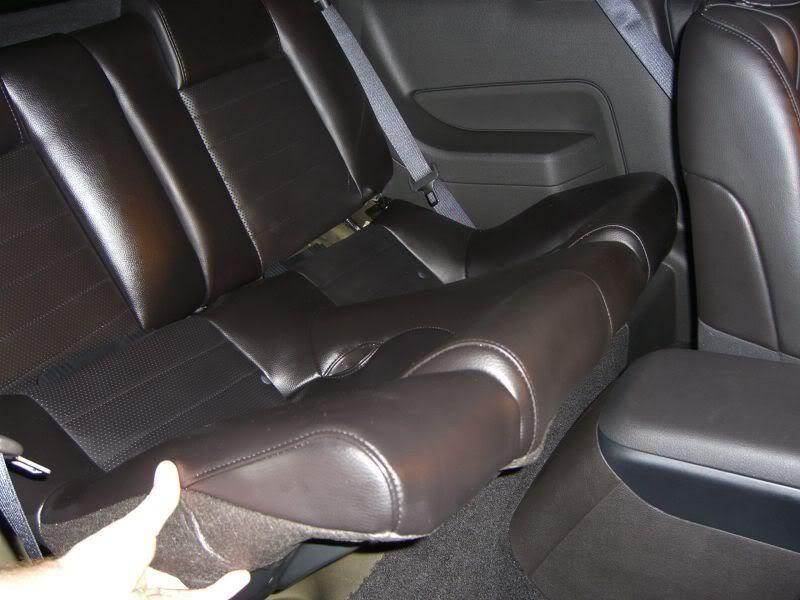
Figure 11. Remove rear seat.
Step 7 – Route the wire to the trunk
Feed the wire through the rocker panel and under the carpet. Keep feeding it through the rear quarter panel, then grab the other end from the rear seat. The power wire should go under the back seat and into the trunk.
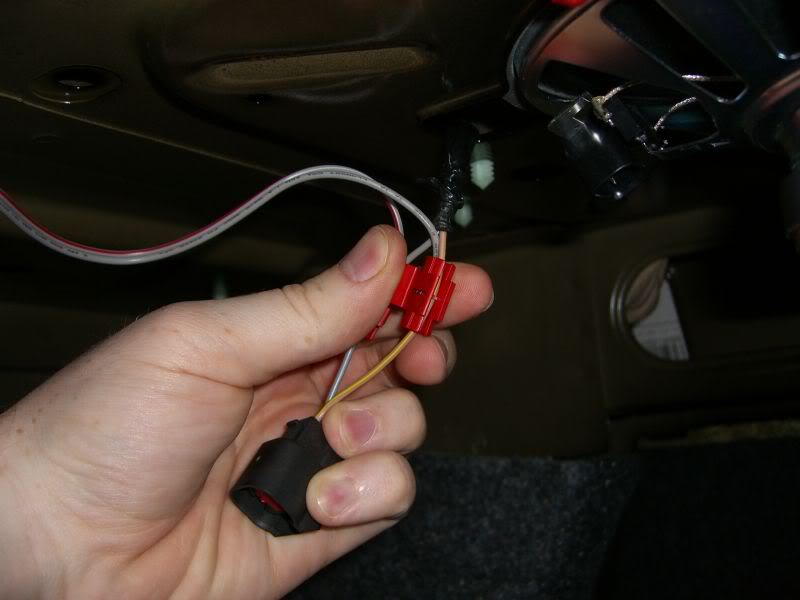
Step 8 – Connect the amp
Pull the speaker level inputs from the two rear speakers, then run them into a line converter. Attach the power wire to the amp. Install the negative battery cable, and test the new amp.
Pro Tip
There is no real way of mounting the amp. Some people drill it to a piece of wood, while others create a special mount for it.
Step 9 – Reassembly
- Reinstall the interior trim and trunk trim.
- Reinstall rear seats.
- Reinstall wheel well covers.
- Connect battery.
- Enjoy!
Related Discussions
- How to Install Amp - MustangForums.com
- How to Add a Sub - MustangForums.com
- S197 Amp Install - MustangForums.com