Ford Mustang GT 1996-2014: Why is My Brake Light On?
Your brake warning light is there to warn you that something is wrong somewhere in the brake system of your Ford Mustang GT. Don't ignore it and learn how to diagnose it here.
This article applies to the Ford Mustang GT (1996-2014).
Your Ford Mustang GT has a complicated computer system that is designed to communicate with you. The only language this computer can talk to you in is by turning warning lights on. When it comes to brakes, you never want to drive and ignore an issue. A brake warning light can be as simple as a worn brake pad, or as complicated as a faulty brake booster. The diagnosis is not a complicated matter, it just requires you to know basic brake components. Read on to learn why your brake light is on.

Materials Needed
- Jack and jack stands
- Tire iron
- Flashlight
- Brake fluid (if needed)
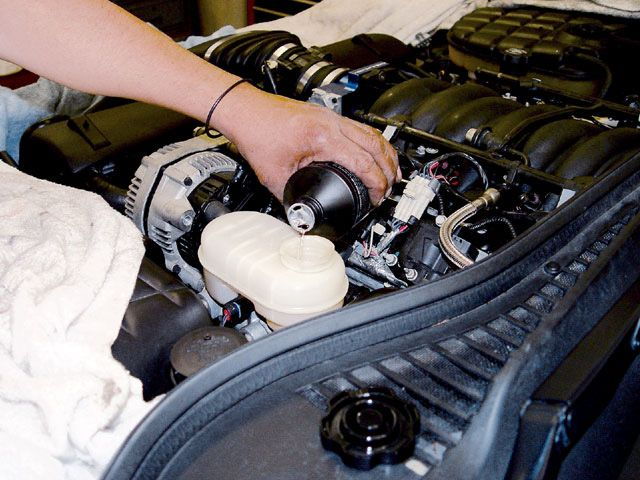
Step 1 – Check your brake fluid
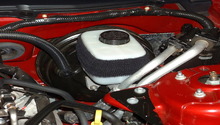
Your fluid could be low.
The first and easiest cause to a warning brake light is low brake fluid. Open your hood, locate the master cylinder, and look to see if the fluid is lower than the "max" line. If it's low, add brake fluid and check it often. If it gets low again, you probably have a leak.
If the brake fluid's level is proper, proceed to Step 2.
Step 2 – Visually check for leaks
Your brake line could be worn or cracked.
Use your flashlight to look for any brake leaks. Start by the master cylinder, and make your way under the car. Check the connections between the brake lines and the calipers, then follow the lines and look for any wet spots.

If you don't see any leaks, move on to Step 3.
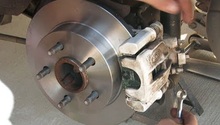
Step 3 – Check brake pads and rotors
Your brake pads or rotors could be worn.
Your car could be sensing worn brake pads or worn rotors. The first sign is usually brake noise, but to be sure, you can remove remove the wheels to check the pads and rotors. If you can see through the wheels, you don't need to remove them.
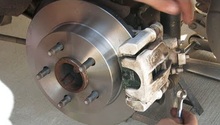
Loosen the lug nuts on your wheel, raise the car and secure it with jack stands. Remove the wheel. Then remove the caliper and check the brake pads as well as rotor to see if they're worn.
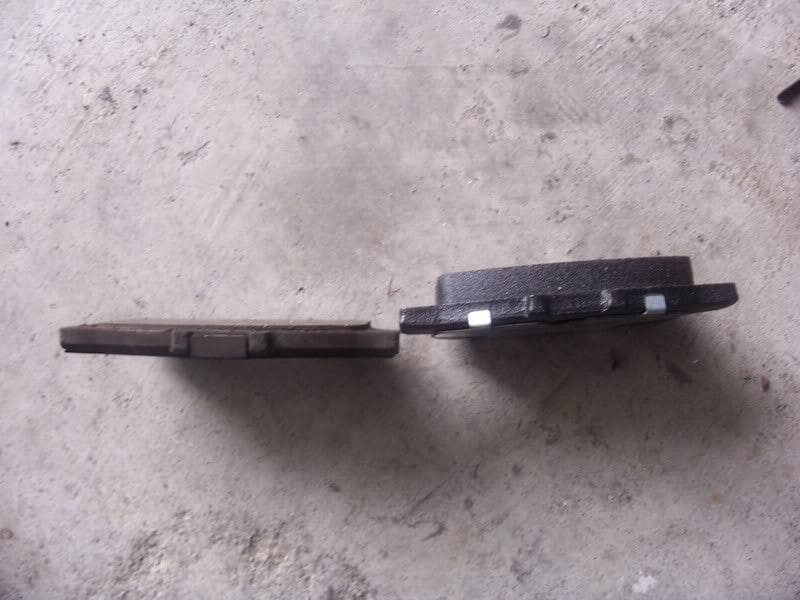
Figure 3. Minimum thickness for most pads is 3mm or 1/8th". 
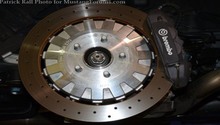
Figure 4. Notice the grooves on this worn rotor.
If your pads and rotors are thick enough, jump on to Step 4.
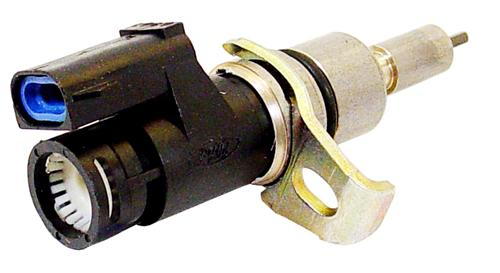
Step 4 – Check the speed sensor
Speed sensor could be faulty.
The speed sensor could affect your brake light. If you notice your speedometer acting strangely and erratically, you may need to replace it. Take your car in to an auto shop; they can connect it to the computer and find out if this is the culprit.
Related Discussions
- Warning Brake Light - MustangForums.com
- Brake Light On - MustangForums.com
- Flashing Brake Light - MustangForums.com