Ford Mustang GT 1996-2014: How to Replace Brake Master Cylinder
Fixing that spongy brake problem is not as hard as you might think. Read this article to learn how to replace the brake master cylinder in your Ford Mustang.
This article applies to the Ford Mustang GT (1996-2004).
The master cylinder is a special component that converts non-hydraulic pressure into hydraulic pressure. It takes the force from your foot pressing the brake pedal and multiplies it through the use of its piston, along with the car's brake booster. The most common problem that occurs on a master cylinder is an internal leak, which causes it to lose force, resulting in a weak and spongy brake system. When one starts to weaken, it is important to replace it as quick as possible; otherwise, it can fail while the vehicle is in motion. Use these following instructions to replace the brake master cylinder in a Ford Mustang.

Materials Needed
- SAE socket set
- 3/8" ratchet
- Brake fluid
- Bench bleed kit
- Rags
- Brake bleed kit
- Jack
- Jack stands
- Turkey baster
- Clear tube and catch can
Step 1 – Drain and remove the master cylinder
The first thing you need to do is remove the excess brake fluid from the master cylinder reservoir. You can do this quick and easy by using a turkey baster to suck out the fluid. With the reservoir dry, loosen the brake lines and mounting bolts that hold the cylinder in place. Disconnect the brake switch and remove the brake master cylinder.

Figure 1. Location of the master cylinder mounting bolts. 
Figure 2. Loosen and remove the brake lines. 
Figure 3. Disconnect the brake switch. 
Figure 4. Remove the brake master cylinder.
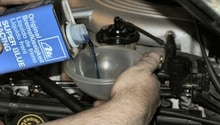
Step 2 – Bench bleed the new master cylinder
Bench bleeding is a simple way to remove the air out of a new master cylinder, prior to its installation. Most new master cylinders will have a bench bleed kit included, but if for some reason yours did not come with one, they are readily available for under $10 at most auto part stores.
- Assemble the bench bleed kit by threading the two valves into the brake line ports.
- Take the tubes and place them inside the reservoir.
- Fill the new reservoir with brake fluid.
- Submerge the lines through the top of the reservoir.
Grab a screwdriver and push the piston into the cylinder assembly, while keeping the lines submerged. Keep pushing the piston inwards until there are no more air bubbles coming from the tubes.
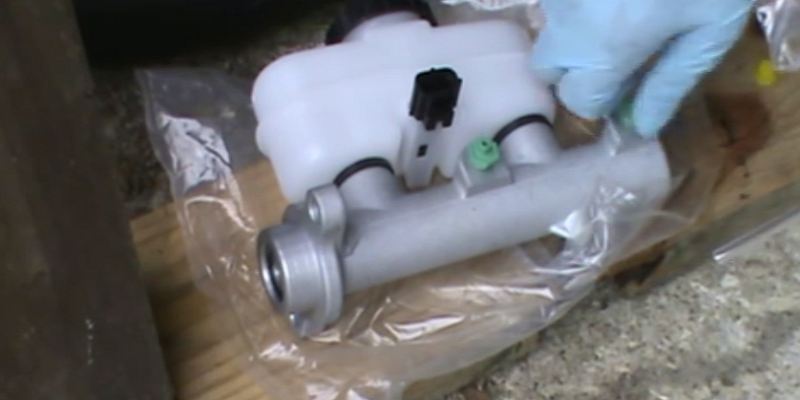
Figure 5. Assemble the bench bleed kit. 
Figure 6. Bench bleed the master cylinder.
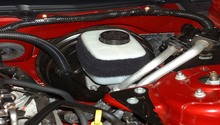
Step 3 – Install the newly bled master cylinder
- Place a rag under the master cylinder and remove the bench bleed kit.
- Install it on the car's firewall using the mounting studs.
- Thread the brake lines back into place.
- Tighten the mounting nuts.
- Reconnect the brake switch.

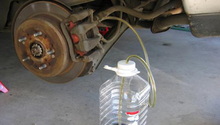
Step 4 – Bleed your brakes
- Jack your car up and place a jack stand to support the weight of the chassis.
- Remove the front passenger's side wheel.
- Locate the bleeder screw on your caliper and loosen it.
- Place a piece of clear tubing on it and let it flow into a catch can fill with some brake fluid.
- Keep the tube submerged under the brake fluid.
- While keeping the reservoir full, pump the brake pedal until air bubbles stop flowing from the bleeder valve.
- Repeat these steps for all the brakes on your car.

Featured Video: Ford Mustang Master Cylinder
Related Discussions
- Clutch Master Cylinder - MustangForums.com
- Master Cylinder Bleeding - MustangForums.com
- Master Cylinder Pushrod - MustangForums.com