Ford Mustang V6 and Mustang GT 2005-2014: How to Remove Decklid Trim Panel
People have their different tastes, and if you don't think the decklid panel trim on your Ford Mustang is nice looking, here's how to remove it.
This article applies to the Ford Mustang V6 and Mustang GT (2005-2014).
The Ford Mustang comes with a decklid panel that many agree is ugly looking. A lot of the Mustang models come with a plastic piece that go on the trunk, right on top of the bumper. The trim piece is designed to give the car a meaner look rather than a smooth one. Many people prefer the smooth look, and that's what this how-to is for. Removing it isn't hard; however, it requires patience to do it right. The idea is to remove it without leaving any streaks from the old adhesive. When you remove it, you will be left with a fake gas cap looking design in the rear, so be prepared to cover it with something. Some people like to paint it, while others use the part of the trim that goes on top of it and glue it back on.


Materials Needed
- Hairdryer
- Fish line
- Plastic trim removal tool
- Adhesive removal
Step 1 – Apply heat
Use your hairdryer and apply heat to the corners of the trim. Start with one side.
Step 2 – Remove the trim
Try to pry it off very gently by hand. If it's not coming off easily, insert a fish line from one of the sides to slowly start pulling from the top and the bottom to the other side. Ask a friend to hold the hairdryer and move with you as you go. The best way to do it is to pry it off using a plastic trim removal tool and a towel, so you don't scratch the paint.

Step 3 – Clean the adhesive
After you've removed the trim panel, use adhesive removal to clean the leftover adhesive. Install a new badge on the fake gas cap to cover the messy one that used to be covered by the panel.
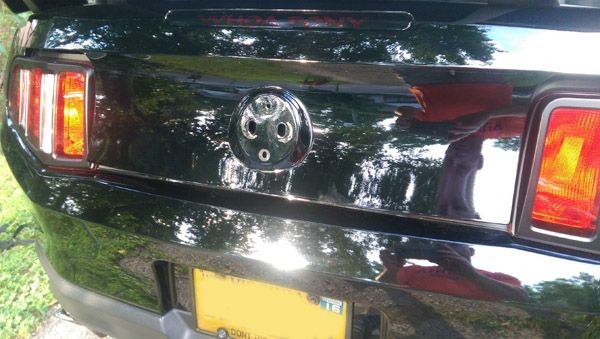
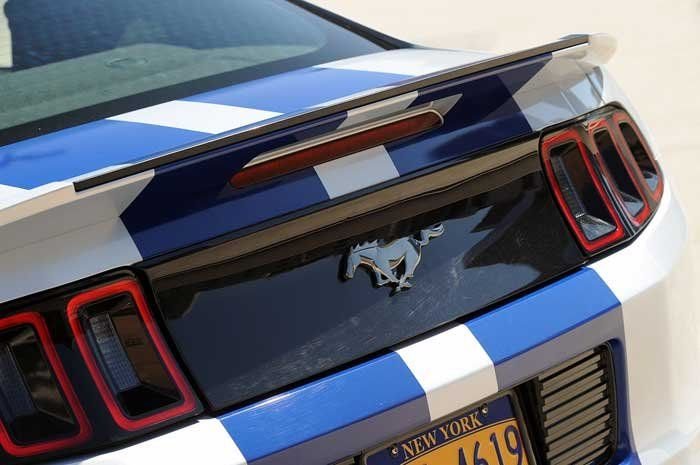
Figure 4. Trim piece removed. 
Figure 5. Surface cleaned. 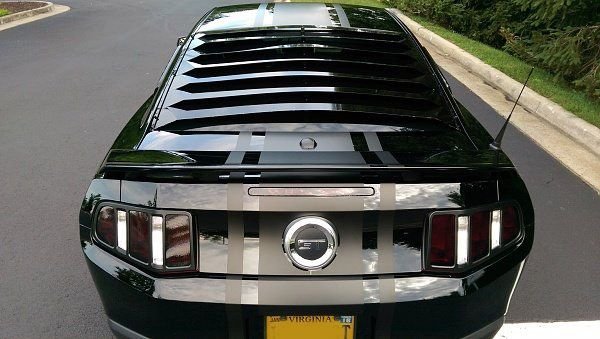
Figure 6. Final product with badge on and stripes done.
Related Discussions
- Remove Decklid Trim Panel - MustangForums.com
- 2010-2014 CDC Decklid Trim Panel - MustangForums.com
- Looking For Flat Decklid Trim Panel - MustangForum.com
- Remove Trim - TheMustangSource.com