Ford Mustang GT 2005-2014: How to Replace Starter
If your starter is shot, lucky for you it is an easy repair.
This article applies to the Ford Mustang GT (2005-2014).
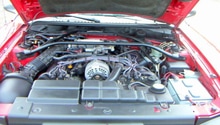
The starter is exactly what it sounds like, a mechanism attached the the engine's flywheel that has a powerful motor to spin the flywheel and force the motor into life. When the starter wears out, so does your ability to have a turn key Mustang. Replacing the starter on your Ford Mustang is one of the easiest jobs you can handle. Just a couple of connections, a few bolts and it's off in no time. The most difficult aspect of the job is getting your hands up in there to remove the mounting bolts. Other than that, it is really a straightforward job that should take you less than an hour in the comfort of your own garage. Spare the extra expense of taking your pride and joy to the professional to have it done. Read on to learn exactly how to do this job yourself and be proud of your accomplishment, as well as cost savings, from doing this yourself.

Materials Needed
- Ratchet and 8mm socket with extension
- Power driver (optional)
Step 1 – Disconnect your battery
You will definitely need to disconnect your negative (black) battery terminal before starting work on your starter.

Step 2 – Remove plastic boot from the starter
Pop or pry off the plastic protector from the starter posts.
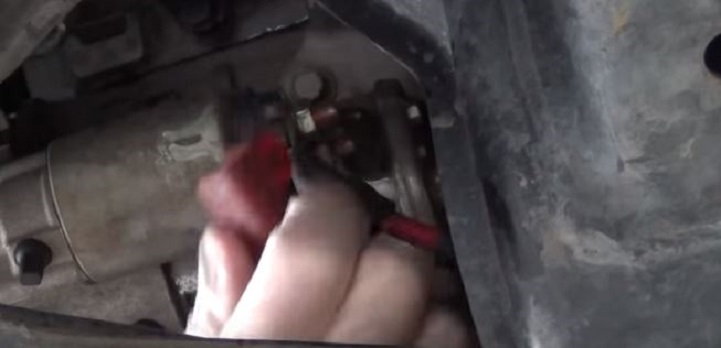
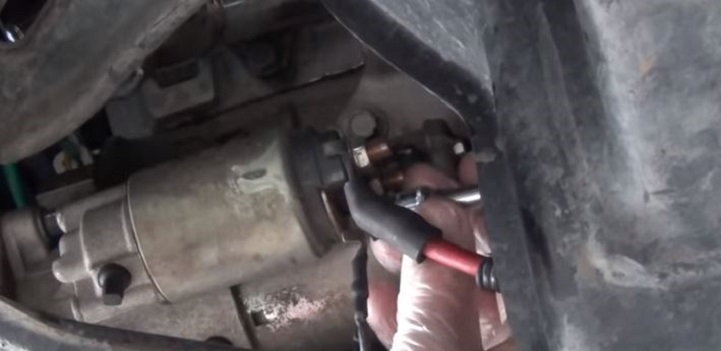
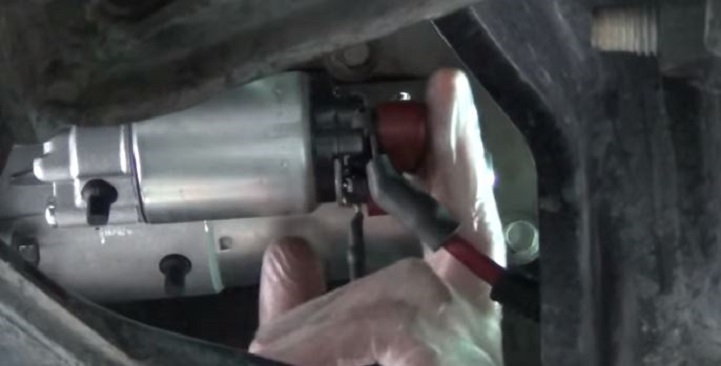
Step 3 – Disconnect trigger and positive terminal wires
Use a ratchet or bit driver to remove both the black trigger wire and the red positive wire from the starter posts.
Step 4 – Remove three mounting bolts from bell housing
This is the most difficult step only because these mounting bolts are a little tricky to get into. It's a bit of a squeeze and you'll be working blind for at least one of the bolts. There are three bolts total.
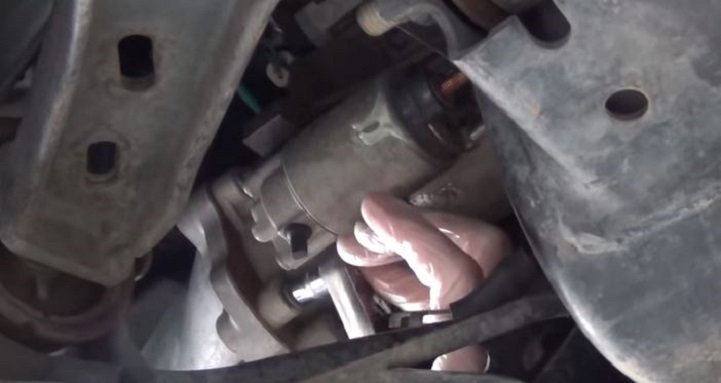
Step 5 – Remove the old starter
Once the three mounting bolts are removed, the starter will come right off. Be sure to support the starter before removing the last bolt.

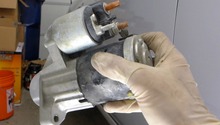
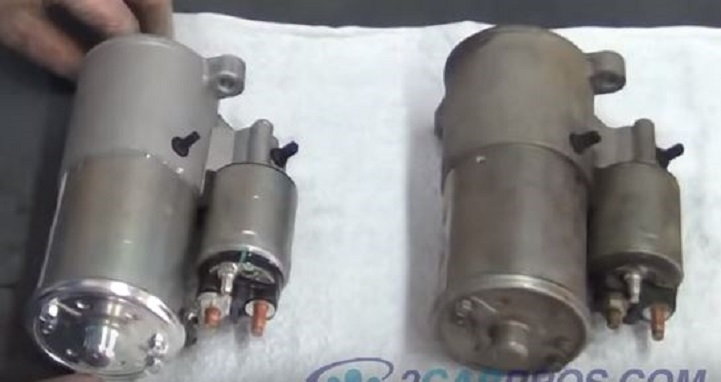
Step 6 – Compare the old starter with the new one
Take a look at the two starters side by side to avoid any fitment issues that will cause you undue pain and suffering. If they are a good match, proceed with installation.
Step 7 – Mount the new starter
Install the new starter and re-mount with the three original mounting bolts.

Figure 7. Install the new starter to the bell housing and re-use the three original mounting bolts. 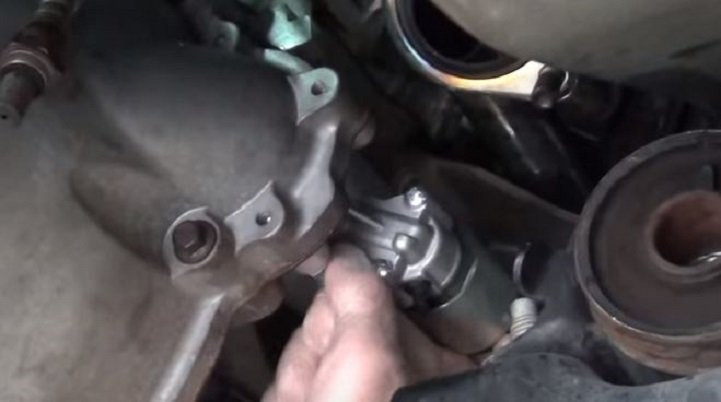
Figure 8. Replace the starter mounting bolts. Tighten securely, but they do not need to be torqued.
Step 8 – Reattach the trigger and positive wires
Reattach the trigger wire and then the positive wire to the starter posts.

Step 9 – Replace plastic boot and reconnect battery
Reattach the plastic boot protector to the starter posts. It should easily snap back into place. Before reattaching the negative terminal on the battery, tap it against the post and make sure there are no sparks. If it does spark, you may have crossed the trigger and the positive wire on the starter posts.
Featured Video: Starter Replacement
Related Discussions
- Where is the Starter on the 2005-2006 MustangGT? - MustangForums.com
- Remote Starter for Manual? - MustangForums.com
- New Starter at 21,000 miles - MustangForums.com