Ford Mustang GT 2005-2014: How to Install Underdrive Pulleys
Upgrading to an aftermarket underdrive pulley will give you a slight HP boost that you have been yearning for.
By Jeffrey Smith - November 5, 2015
Contributors: TacoBill
This article applies to the Ford Mustang GT (2005-2014).
Swapping out your stock underdrive pulley with an aftermarket high performance pulley is a good DIY job for the highly skilled home mechanic. This isn't an undertaking for the complete novice; although, it can be done, but a helper would certainly be in order. Taking your car to a professional to get this job done is a great option if you don't feel up to the task, but considerable labor charges will make this a hefty bill. There are several parts to be removed and some special tools are required to avoid serious damage and very costly repairs. If you are ready for such an undertaking, read on to learn how to change out your underdrive pulley.
Materials Needed
3/4 drive ratchet and socket set
Harmonic balancer install tool (make sure to use one for Chrysler products)
Crank pulley removal tool
RTV sealant
Plastic putty knife
Shop rags
Flat head screwdriver
Catch pan for radiator fluid (optional)
Replacement coolant (optional)
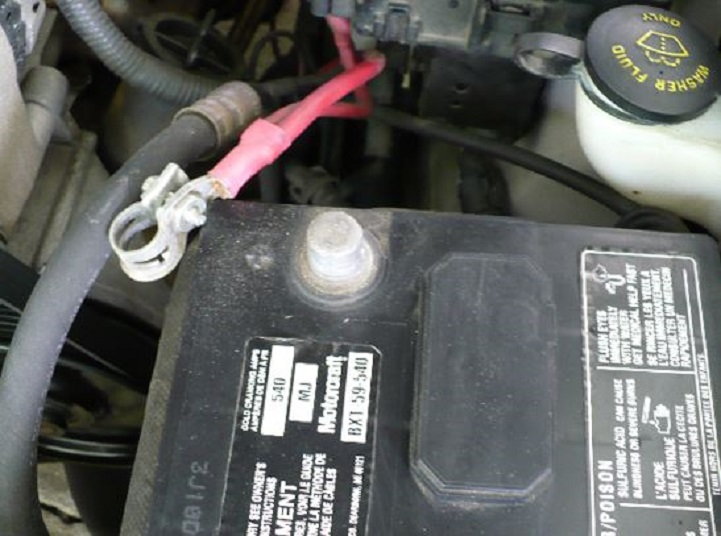
Step 1 – Disconnect your battery
You should consider disconnecting your battery before starting any work in the engine compartment, especially around the fan and various pulleys.
Figure 1. Disconnect the battery before working under the hood.
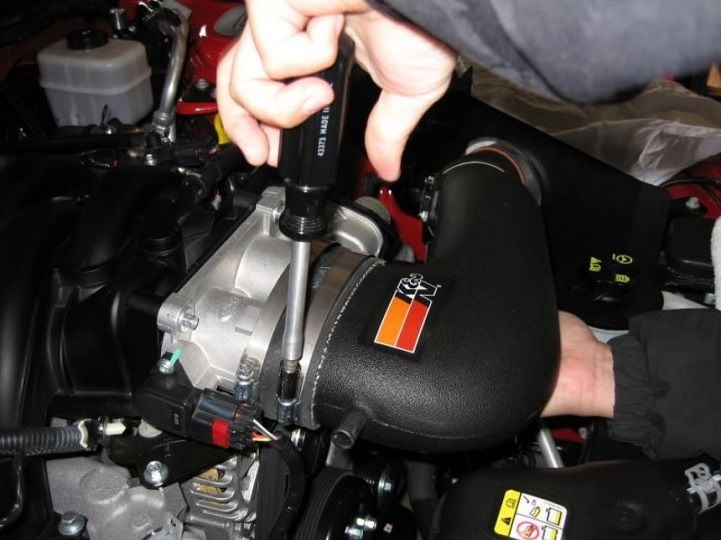
Step 2 – Remove the airbox or cold air intake
Use a flat head screwdriver or socket to remove the airbox or filter housing from the engine in order to get access to the belts below.
Figure 2. Remove the CAI or airbox first to gain access to the belts and pulleys.
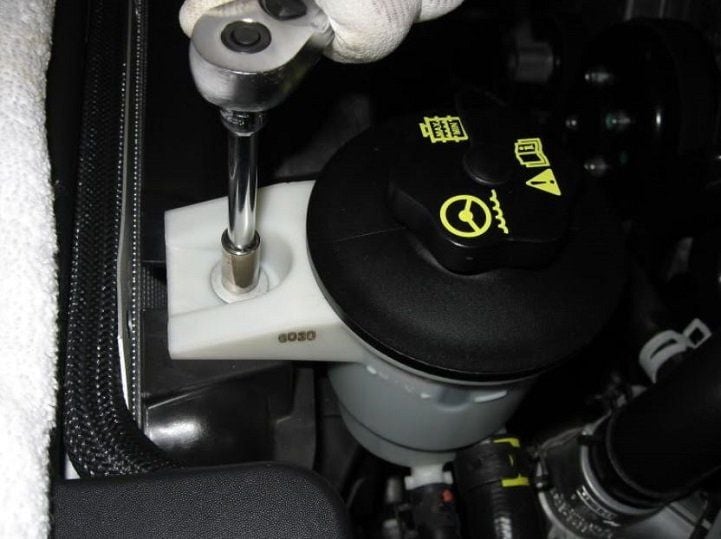
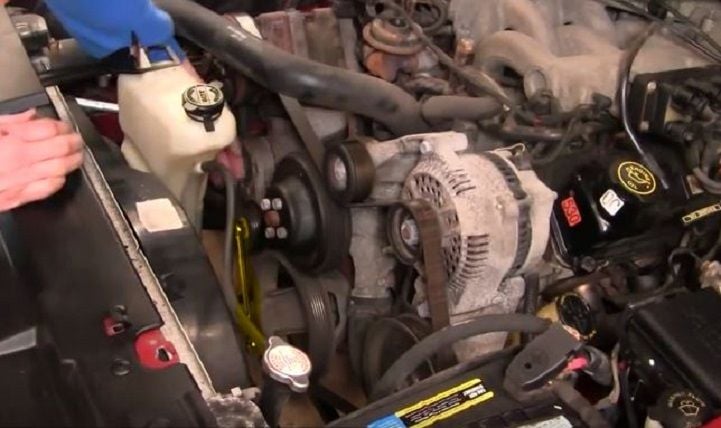
Step 3 – Remove power steering and coolant tanks
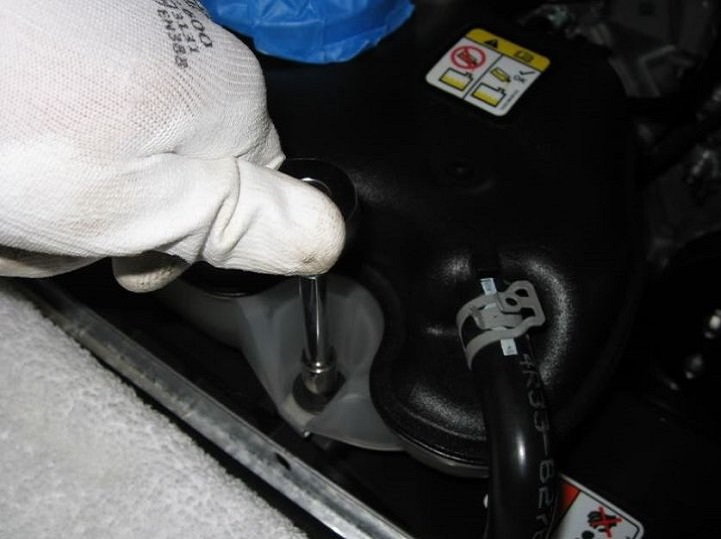
You'll need to pull the fan, and in order to do that, you'll have to get the power steering tank and the coolant reservoir tank out of your way. A ratchet and socket will do nicely here. You'll probably need a medium sized extension to facilitate easy removal. Once the bolts are removed, both tanks should pull straight up and out. You may have to disconnect the return line on the coolant tank to make enough slack to set it out of the way.
Figure 3. Remove the power steering tank first and set aside.
Figure 4. Remove the coolant reservoir tank next and set aside.
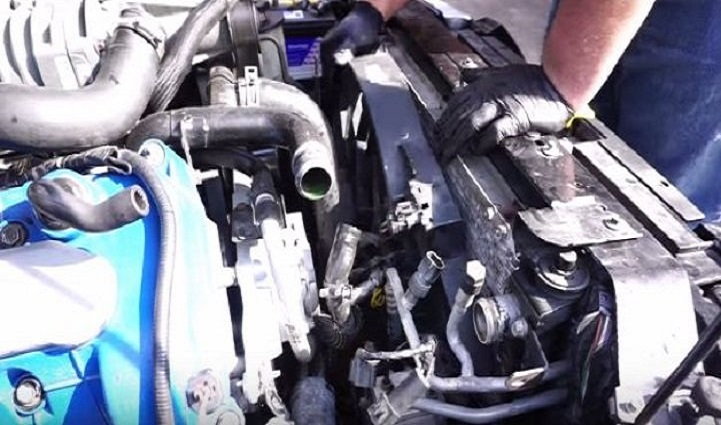
Step 4 – Remove the fan
In order to make the job go by quicker, you can remove the fan without draining the radiator fluid and disconnecting the upper radiator hose. If you have the time, removing the fan will be easier if you remove the upper radiator hose first. Otherwise, you will see the electrical quick connect wiring harness on the top of the fan housing on the passenger's side. Push in on both sides of this connector simultaneously and wiggle it until it comes free. Do not use any tools to pry on it, as it can easily break. Once the wiring harness is disconnected, you can start to remove the fan. There are two bolts on the top of the fan assembly that need to be removed. A ratchet and socket with extension will do the trick. Remove the two bolts and the fan will pull straight up and out. If you did not remove the upper radiator hose, this will take some patience because you need to move the hose out of the way as much as you can.
Figure 5. Remove the two bolts that mount the fan to the front of the chassis frame. Once these are removed, the fan can be lifted out.
Figure 6. With the bolts out, the fan can be lifted straight up and out. The upper radiator hose has been removed in this picture.
Warning
If you drained your radiator to remove the upper fan hose, be sure to dispose of the old fluid properly because it is extremely toxic to animals.
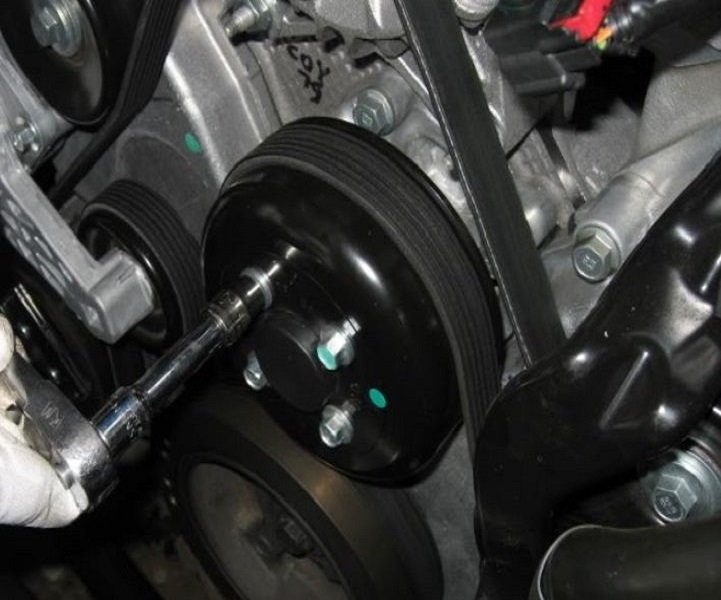
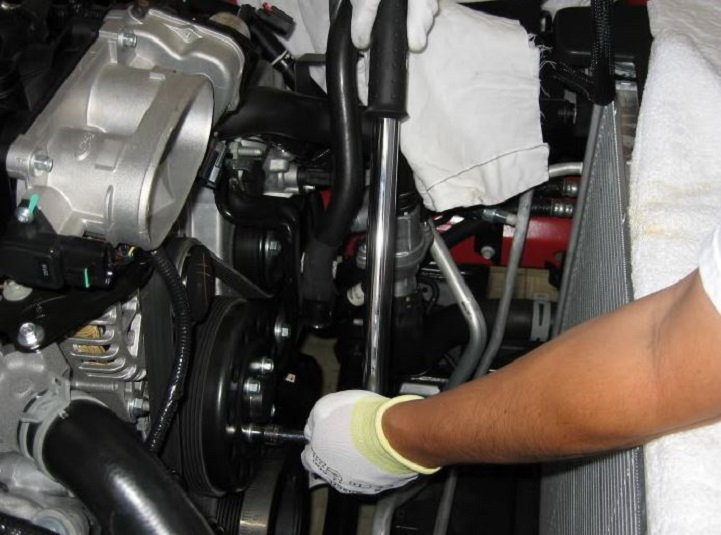
Step 5 – Loosen the water pump pulley bolts
Use a ratchet and socket to loosen the water pump pulley bolts. Only loosen them up a bit and do not remove them. This can be a real bear using a ratchet, but it is the safest method over using an impact wrench. You don't want them to come off, just loose. Once they are loosened, you will move on to the crank shaft pulley and remove that bolt, which is going to be very difficult.
Figure 7. Loosen the four water pump pulley bolts, but don't remove them entirely.
Figure 8. There are various methods to removing the crank pulley bolt. A breaker bar is the most painful, but an impact wrench can make the job much easier.
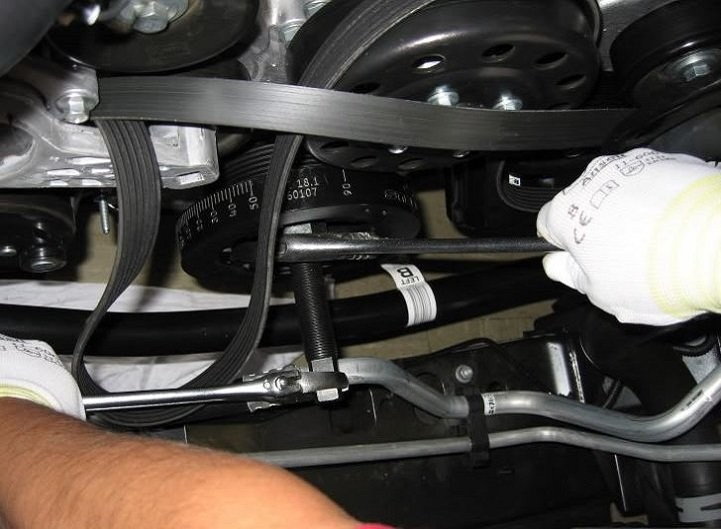
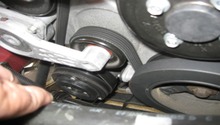
Step 6 – Remove the serpentine belt
Find the tensioner pulley for the serpentine belt. It will be just south of the alternator pulley and will have a square hole in the center. Using a long handled ratchet or breaker bar, push down on the tensioner to create slack in the belt. Slide the belt off of the alternator pulley first and then release the tensioner. The belt can then be removed from the rest of the pulleys. Now is a good time to carefully inspect the belt for wear and replace if needed.
Figure 9. Use a ratchet or a breaker bar to adjust the tensioner to create enough slack to slip the belt off over the alternator pulley.
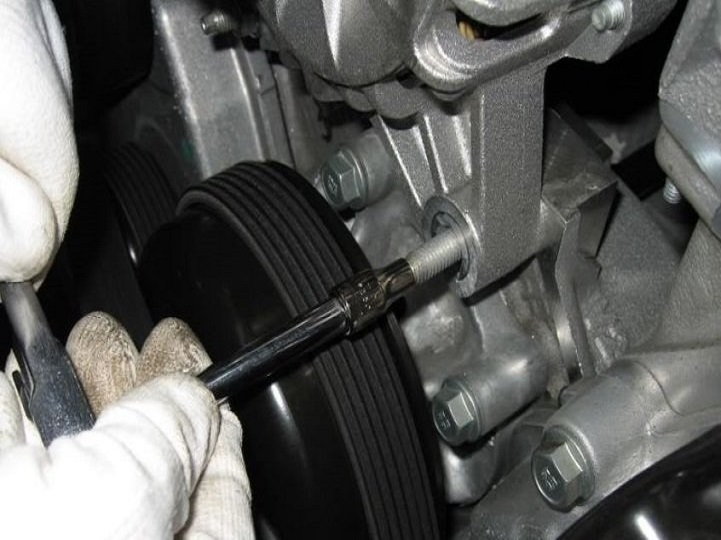
Step 7 – Remove alternator bracket support stud
Remove the nut from the alternator bracket support and then pull out the stud. Replace the stud with the new one that came with your kit. This example shows the stud that came with a Steeda underdrive pulley. Once this stud is replaced, you can then remove the water pump pulley that you previously loosened. It should pull right off.
Figure 10. Remove this alternator bracket support stud. You will replace it with the one that comes with your new pulley.
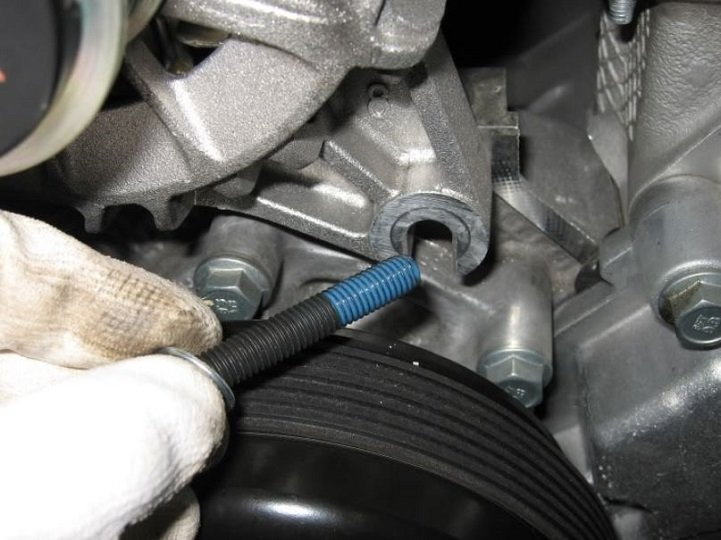
Figure 11. Replace the OEM stud with the new one that came with your new underdrive pulley kit.
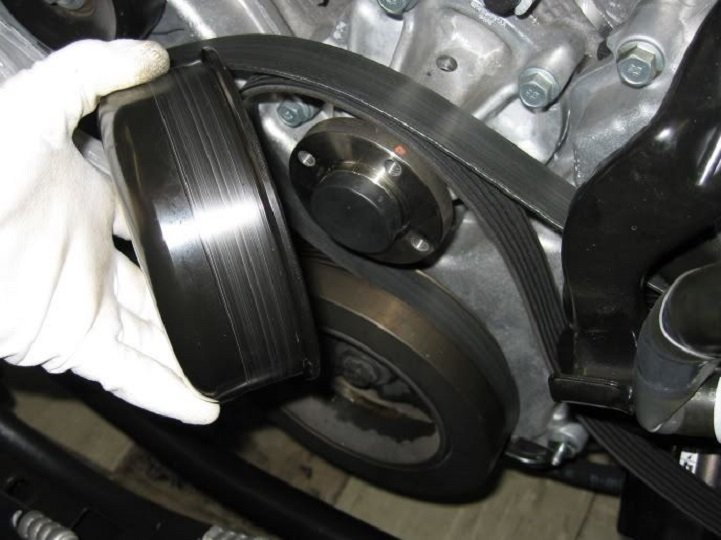
Figure 12. The water pump pulley should pull right off with no problems.
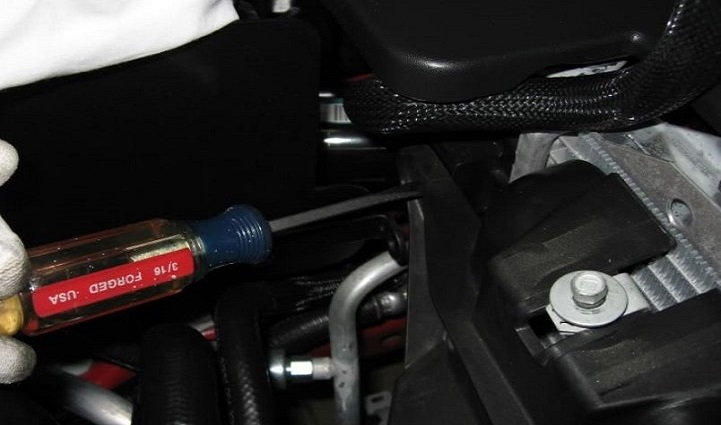
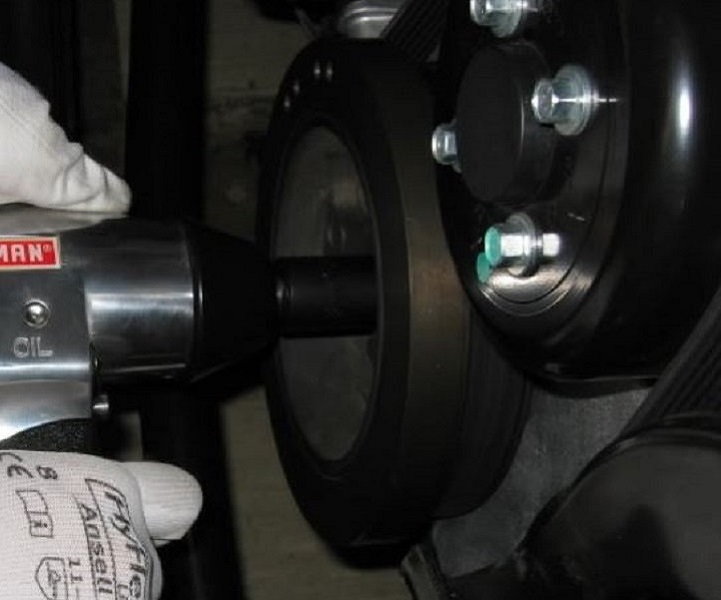
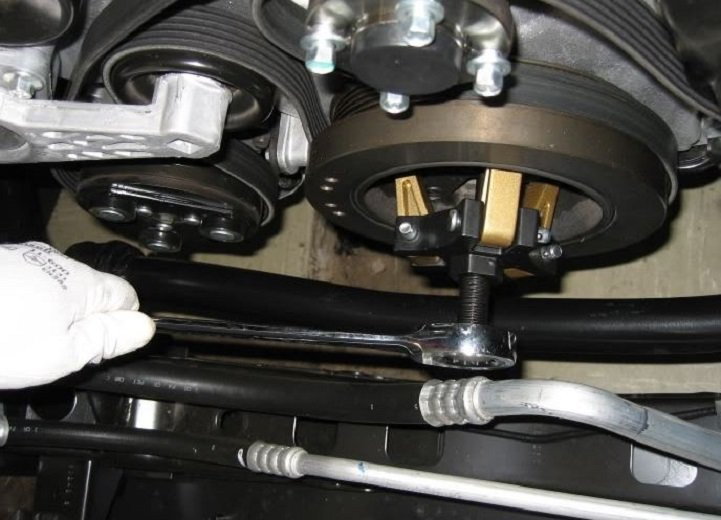
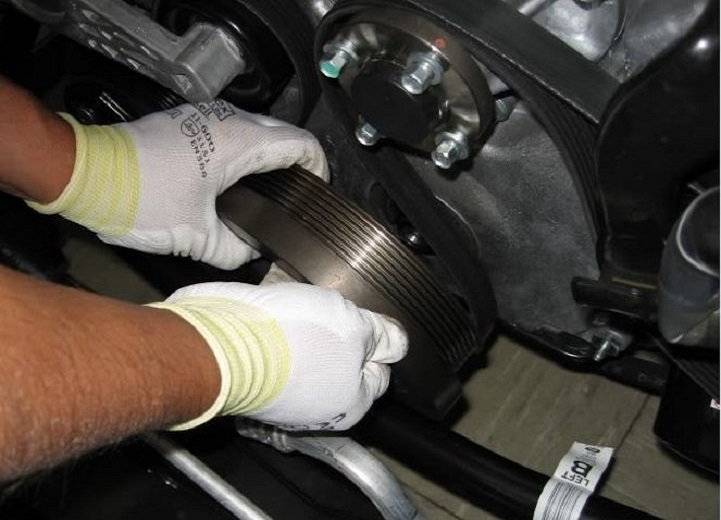
Step 8 – Remove the crank pulley
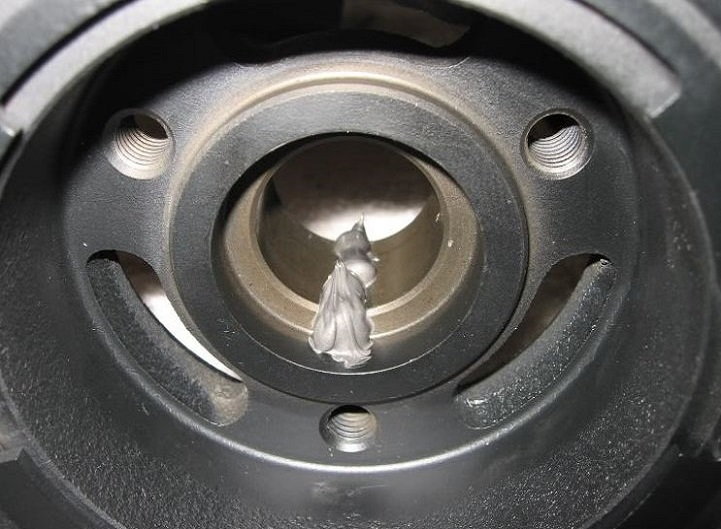
You will need a special crank puller to remove this crank pulley. Any other attempt can damage the gears and you'll have a serious repair to make. Your local auto part store may rent a puller or let you borrow one. Make sure that you get one for a Chrysler model, as it is the easiest and safest to use in order to avoid damaging the gear splines. Once you get it out, be sure to clean off the old gasket material, but be careful that you do not gouge the steel. Use a plastic putty knife to avoid damage.
Figure 13. Use a special tool to remove the crank pulley.
Figure 14. Crank pulley should pull right out with relative ease when using the special tool for the job.
Figure 15. Make sure you clean off all the old sealant residue.
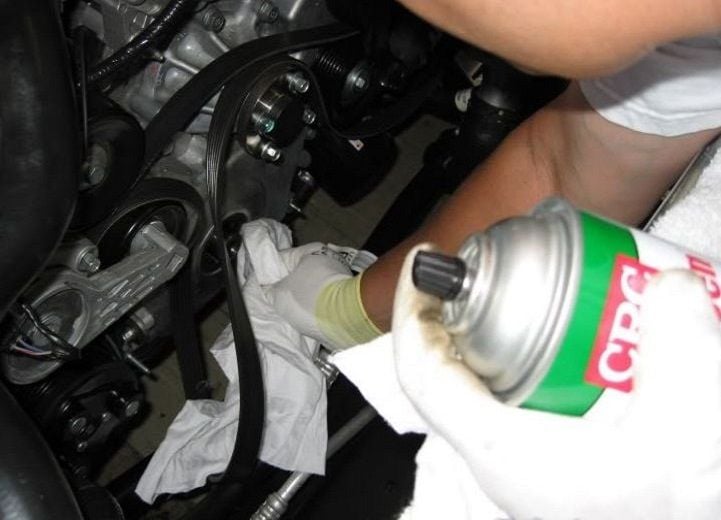
Step 9 – Install the new pulley
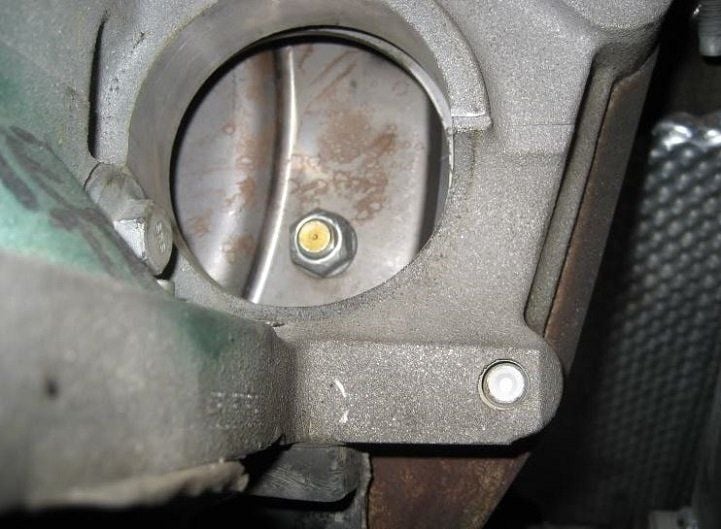
There are many aftermarket pulleys that you can use. Mustang owners have had great results using the Steeda, JDM and UDP brands. Follow the installation directions closely, and the use of a harmonic balancer install tool will make life much easier for you. (Again, you may want to inquire about borrowing or renting one from an auto parts store near you.) The aftermarket pulley that you purchase may come with an installation bolt to use. You can use this to install it, but you will want to put a large washer under the head and take care not to damage the threads using this method. Make sure that you are in 4th gear to prevent the pulley from turning (on automatic transmissions, you will need to remove the torque converter plug and hold the converter in place with a 14mm wrench to prevent the engine from turning over). You should use a new Ford crank bolt when you are ready to complete the install after the pulley has been completely seated. You must follow the proper torque sequence that Ford uses for the crank pulley:
Torque to 66 ft pounds.
Loosen one turn.
Re-torque another 37 ft pounds.
Tighten another 90 degrees; no more, no less. Marking the bolt head is priceless to ensure proper tightening.
Figure 16. Use a generous bead of RTV sealant on new pulley.
Figure 17. Using a harmonic balancer install tool will aid in the install of the new pulley a great deal.
Figure 18. Put a 14mm wrench on the torque converter bolt to prevent the engine turning over on automatic transmissions.
Pro Tip
If you do have an automatic transmission, you will most definitely need a second person to help hold the 14mm wrench while you torque down the crank shaft pulley.
Step 10 – Reinstall the water pump pulley and belt
Replace the water pump pulley and snug the bolts on, but don't wrench on them just yet. Start putting the new belt on (or use the existing belt if it is still in good shape). Use the tensioner again to create enough slack that you can slip the belt back on over the alternator pulley. Once the belt is in place, crank the water pulley bolts back down. These bolts should be torqued to 18 ft pounds.
Figure 19. Make sure you torque the water pump pulley bolts to 18 ft pounds.
Step 11 – Reinstall the rest of the components
Reinstall the fan first, making sure that you get the mounting bolts back on tight, and then reconnect the wiring harness. It should pop back in and click into place.
If you removed the upper radiator hose, replace that now. You should also inspect this for wear and replace it with a new one if needed.
Reinstall the coolant reservoir and make sure to reconnect any additional hoses if you removed any.
Reinstall the power steering tank, and then the airbox or cold air intake.
Reconnect the battery and make sure the curing time for any RTV sealant that you have used has passed.
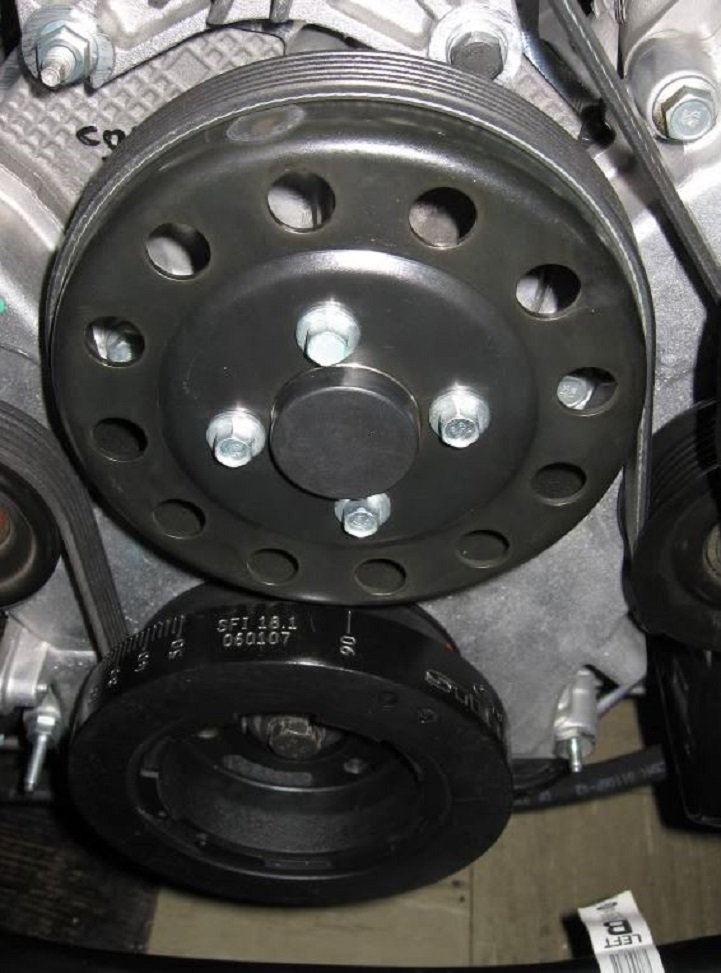
Start her up and check leaks as well as any CEL if any has come on. If she looks as well as sounds great, take her for a test spin and enjoy the new HP output.
Figure 20. Admire your new underdrive pulley install and take it for a test ride.
How to Replace Water Pump
Your water pump is one of the most important parts in your car. If you’ve done an initial diagnosis and determined it needs to be replaced, you can do so yourself at home following these ...
How to Replace Serpentine Belt
Replace your serpentine belt before it lets you down.
This article applies to the Ford Mustang V6 (1994-2004).
As part of your routine maintenance plan, checking the condition of ...
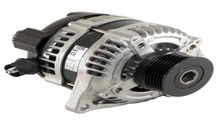
How to Replace Alternator
Replacing the alternator in your Mustang is a lot easier than it sounds.
This article applies to the Ford Mustang V6 (1994-2004).
If it's time to change your alternator, you better do it ...
How to Replace Water Pump
One Eyed Willy
Your water pump is no longer pumping?
This article applies to the Ford Mustang GT (2005-2014).
The water pump is a device driven by a belt, so as the engine rotates, the ...
How to Replace Serpentine Belt
Do you have a squeaky noise under the hood?
This article applies to the Ford Mustang V6 (2005-2014).
Replacing your serpentine belt becomes necessary over time, as the grooves in ...
How to Replace Alternator
Rough idle, flickering lights, and a dead battery? Eliminate your Mustang's power issues by installing a new alternator.
This article applies to the Ford Mustang 4.0L V6 ...