Ford Mustang GT 2005-2014: How to Install Ford Racing Valve Cover
Do you want to jazz up the look of your engine? Installing a set of Ford Racing valve covers is a great way to make your engine bay stand out from the rest.
This article applies to the Ford Mustang GT (2005-2014).
Ford Racing Performance Parts (FRPP) makes a lot of awesome stuff for your Ford Mustang. From mild to wild, they have it all, and you get the peace of mind knowing that the performance and fitment of Ford Racing products will be of the same quality as the OEM equipment.
Valve covers and predominantly valve cover gaskets can wear out with age and begin to leak oil. Not only do they seep oil onto the outside of the motor, which forms nasty grimy buildup on the engine, but it can also leak inside the combustion chamber and cause serious issues. If left untreated for too long, oil can coat the spark plugs and cause misfires. So, whether you're upgrading or just doing some preventative maintenance, we have the DIY skills to show you how to replace your valve covers.

Materials Needed
- Ratchet and assorted common socket sizes and extension
- Non-metallic scraper
- RTV sealant
- Torque wrench
Step 1 – Gain access to valve covers
Begin by removing the factory air intake, then disconnect the passenger's side PVC hose and MAF sensor plug.
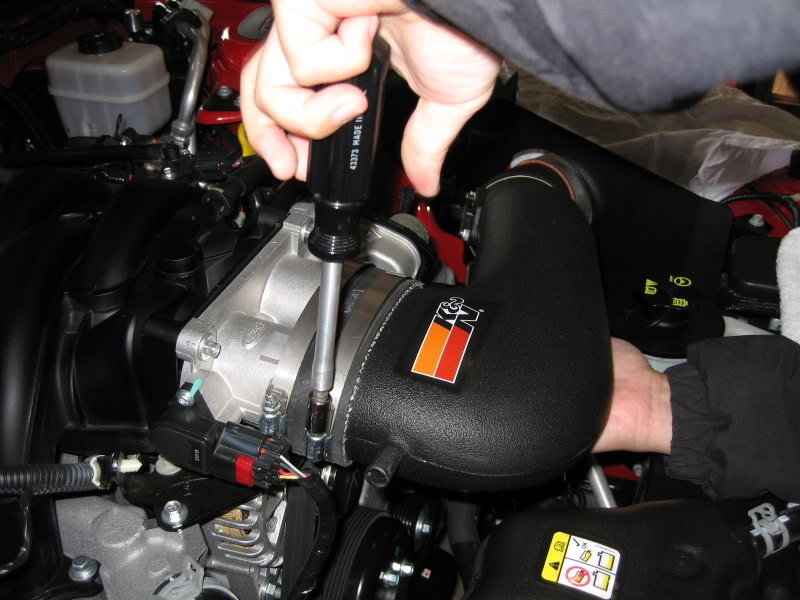
Figure 1. Remove the factory or aftermarket air intake. 
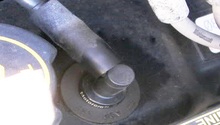
Figure 2. Remove the PVC hose.
Use a 7mm socket and extension to remove the bolt, which holds down the coil on plug to the cover. Disconnect the plug from the variable camshaft timing oil control solenoid and pull the wiring coil off of the support studs, then off of the cover.
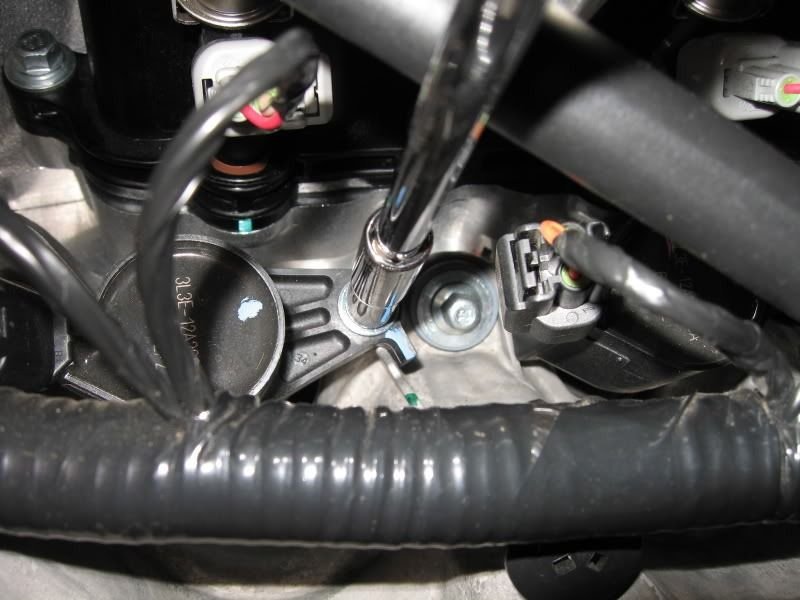
Figure 3. Remove the coil on plug bolt. 
Figure 4. Disconnect variable camshaft timing oil control solenoid plug.
From here, unclip and remove the wiring harness from atop the valve cover.

Step 2 – Replace the driver's side valve cover
Place a rag on top of the exhaust manifold to catch any oil that might spill when you remove the valve cover. Loosen the 15 8mm bolts that hold the valve cover on the head. You do not have to completely remove these bolts, as they have a rubber bushing that will hold them in place. Carefully pull the valve cover out of the car, making sure that you don't catch it on anything on the way out.
The Ford Racing valve covers come with new gaskets, so you don't have to worry about accidentally damaging the old gasket. Use a non-metallic scraper to carefully remove the sealant where the head meets the front engine cover, being careful not to let any of the sealant chunks go into the head, then wipe the surface clean.

Figure 6. Remove the valve cover bolts. 
Figure 7. Remove the valve cover. 
Figure 8. Scrape off the factory sealant.
Set the new gasket onto the new valve cover, carefully pressing it until it is completely seated. Apply a bead of RTV sealant in the same location as the factory sealant. Once you apply the sealant, you have four minutes before it sets to install the new valve cover. Once in place, reinstall the 15 bolts and tighten them to 89 ft/lbs using a torque wrench in the order shown in Figure 11. Reconnect the components removed in Step 1.

Figure 9. Install new gasket on valve cover. 
Figure 10. Apply a new coat of ATV sealant. 
Figure 11. Torque the valve gasket bolts in the order shown to 89 in/lbs.
Step 3 – Replace the passenger's side valve cover
Remove the battery and tray. Disconnect the plug from the main harness as shown in Figure 13. Unbolt the valve cover and remove it, then scrape off the factory sealant. Install the new gasket on the new valve cover, then apply a new coat of RTV sealant. Install the new valve cover and torque as shown in Figure 14 to 89 in/lbs. Reinstall the battery, tray and main harness plug.
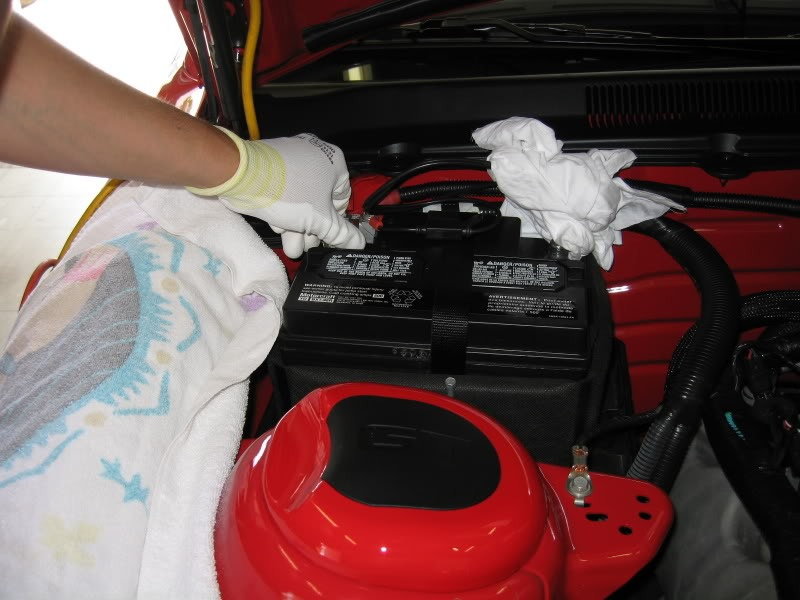
Figure 12. Remove the battery and tray. 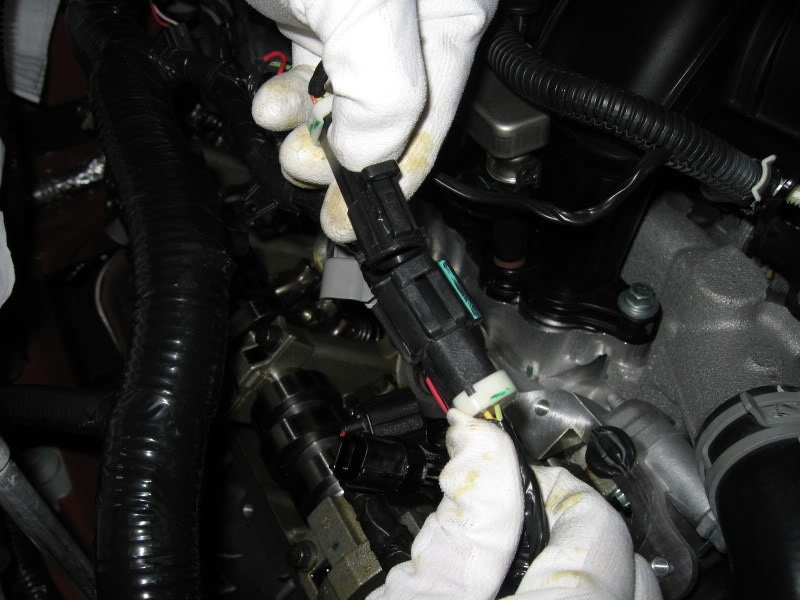
Figure 13. Remove the main harness plug. 
Figure 14. Torque the passenger side valve cover in the order shown to 89 ft/lbs.
With the new valve covers installed, simply reconnect the wiring harnesses, reassemble the PCV system to the valve cover and reinstall the air intake to the throttle body. You are now done!
Related Discussions
- Ford Racing Valve Cover Installation - MustangForums.com
- Painting Valve Cover Pics - MustangForums.com
- First Time Painting Valve Covers - MustangForums.com