Ford Mustang V6 and Mustang GT 1994-2004: How to Replace Struts and Shocks
A relatively easy operation that can improve your car's handling and performance. Continue reading to find out how to do it yourself.
This article applies to the Ford Mustang V6 and GT 4.6L V8 (1994-2004).
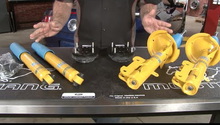
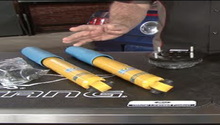
The Ford Mustang utilizes a strut-type damper up front, and a regular shock absorber in the rear of the car. These dampers control the rate of compression (down motions) and rebound (up motions) that the vehicle experiences. When the dampers wear out, your car will feel excessively bouncy or floaty. Replacing the front struts and rear shock absorbers can make wonders on your cars handling and performance. If your old shock absorbers have some years and some miles on them, they are most probably in need for a replacement. If you are using your car for occasional track driving, it could also make sense to upgrade your shock absorbers for some good aftermarket shocks.

Materials Needed
- Jack and jack stands
- Impact gun
- 14mm deep socket
- 15, 19, 21 and 24mm sockets
- Swivel
- Short extension
- 18 and 22mm wrench
Step 1 – Jack up the car and remove the wheels
Jack up the car and put it on jack stands. Only use factory assigned jacking points for the jack and for the jack stands to make sure not to damage the car. Then remove the wheels. To make it easier to remove the lug nuts for the wheels, you can loosen them while the car is still on the ground.
Step 2 – Replace the front end struts
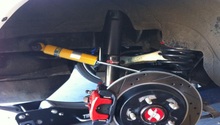
Start in the front end and put a jack under the A-arm on one side of the car to compress the spring slightly.
Remove the nut holding the bracket for the ABS line using the impact gun.
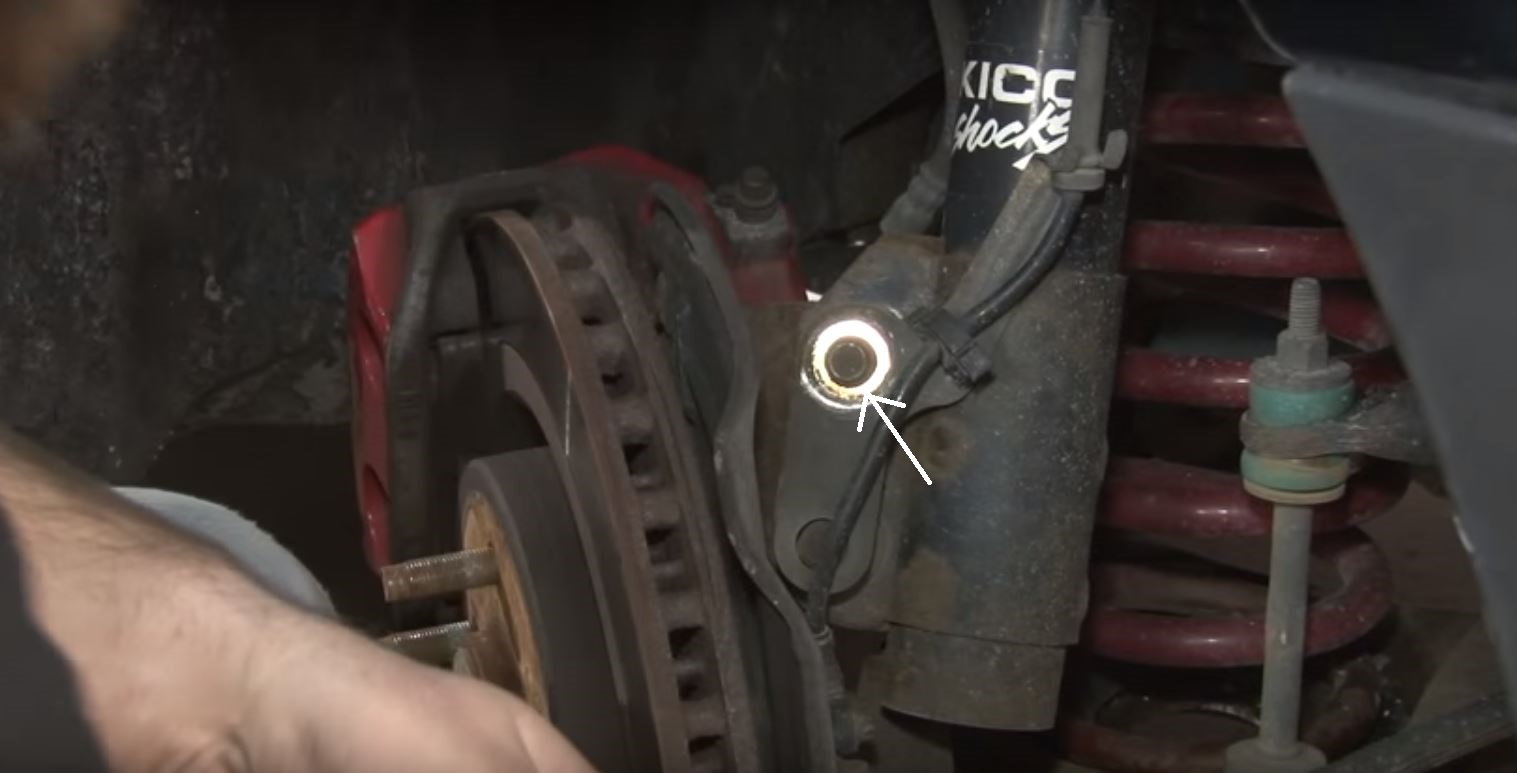
Remove the two nuts (underneath the ABS bracket) holding the strut using an impact gun. You probably have to hold another ratchet or a spanner on the bolt of the back side of the strut to prevent it from spinning around. Once the nuts are removed, also remove the two bolts.

Now pull the brake rotor to get the strut free from the A-arm.
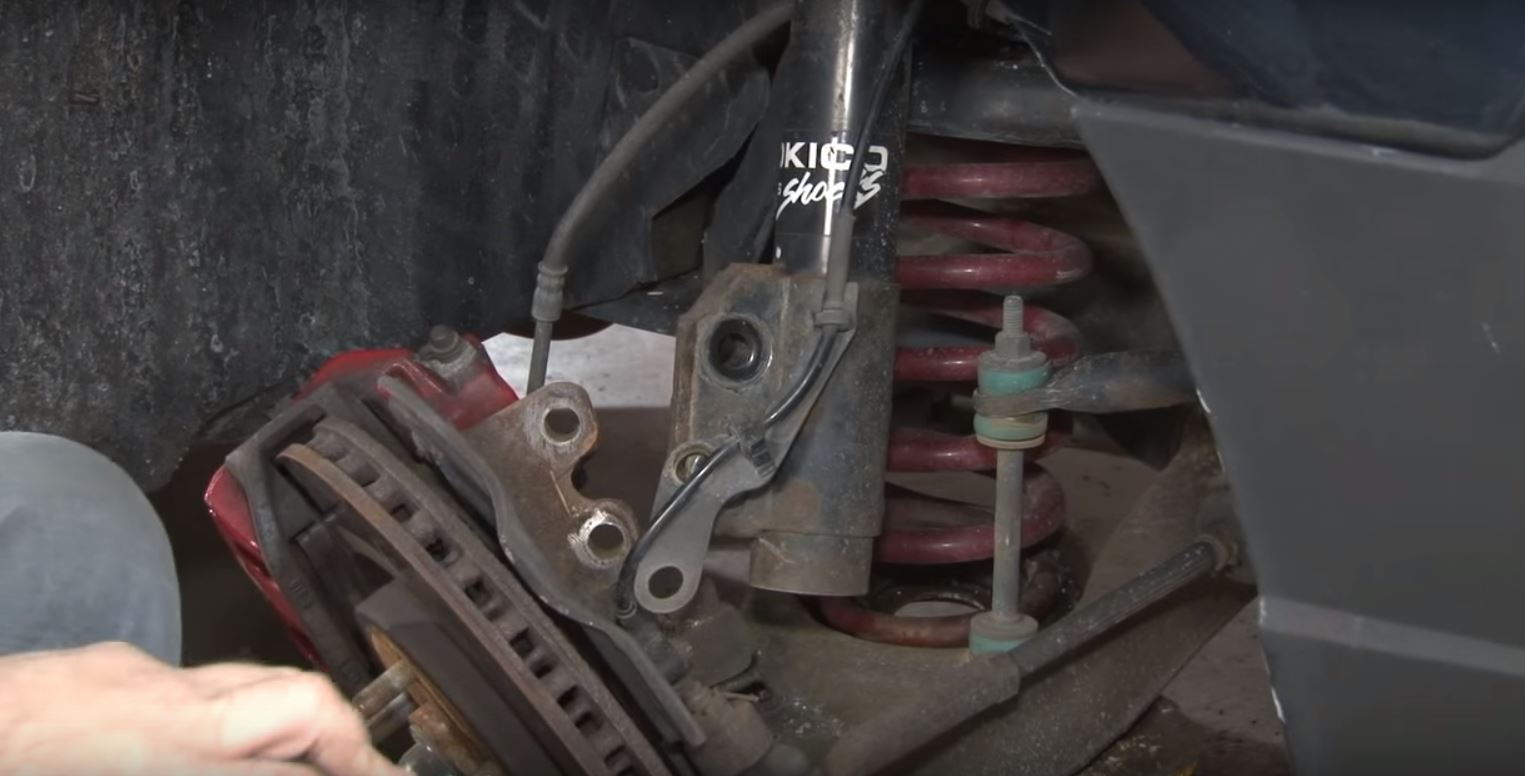
Next, move to the upper mount for the strut. Use an impact gun to screw the nut on the strut inside the engine bay.
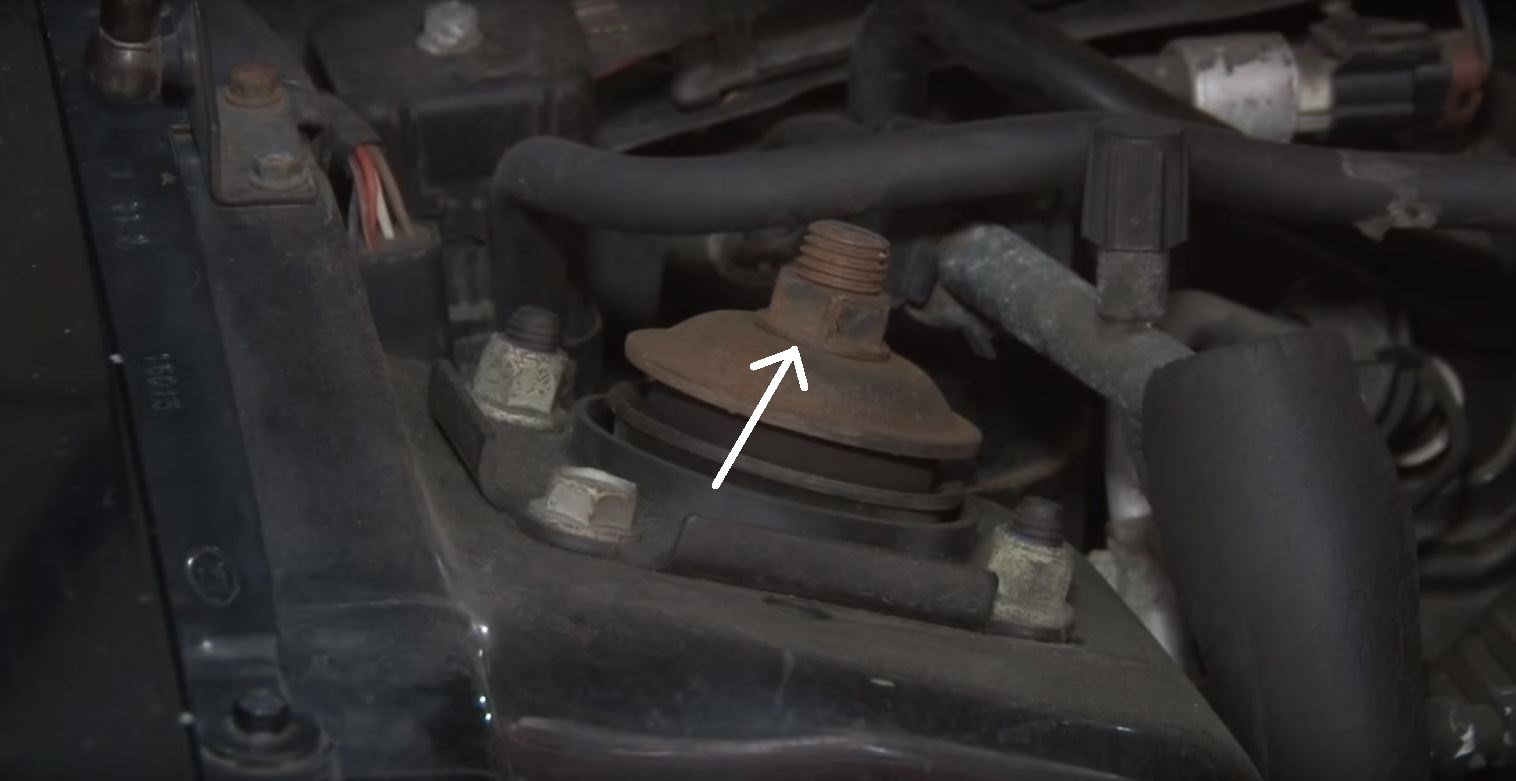
When the upper nut is removed, the entire strut can be removed down and out from the wheel well.
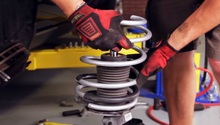
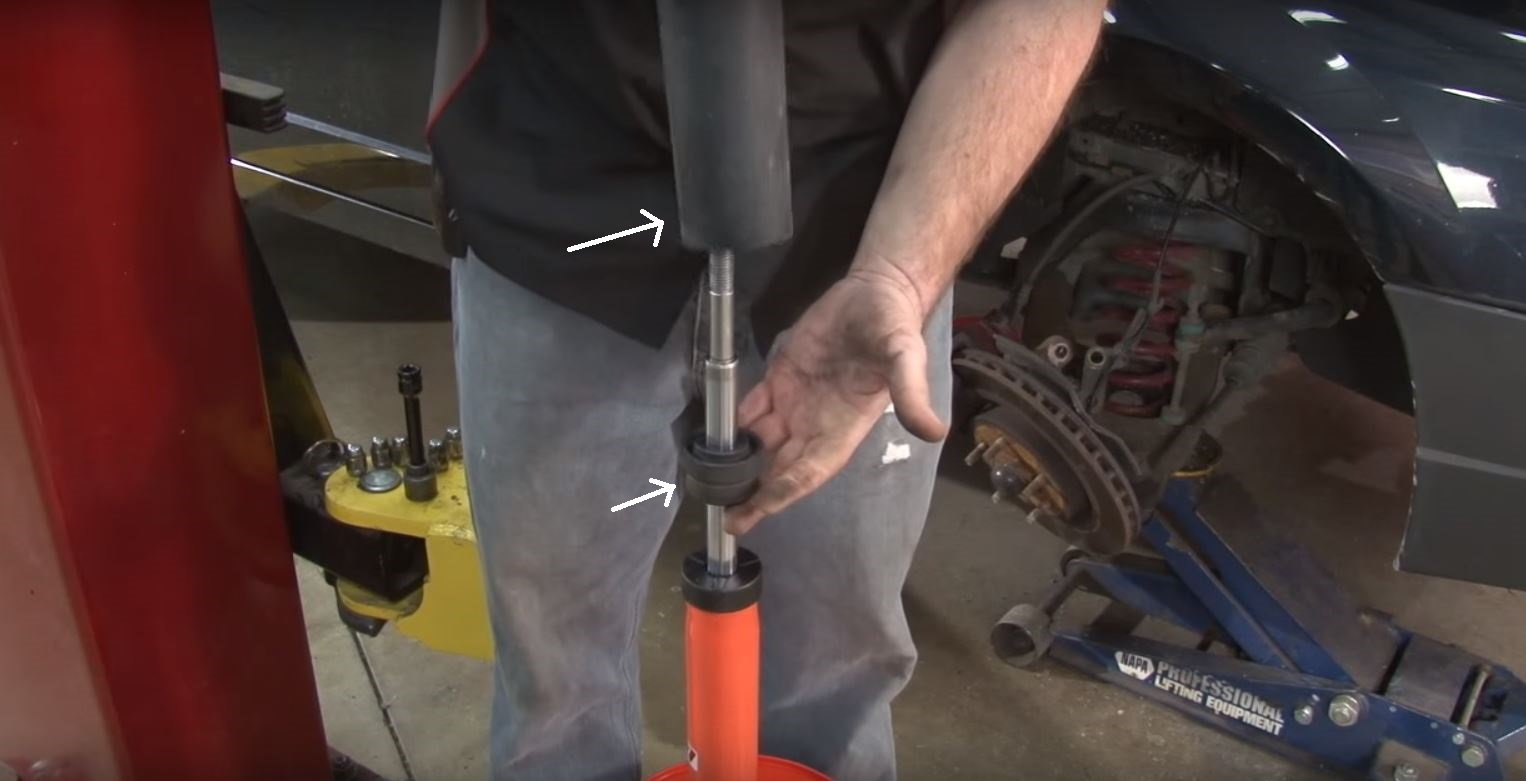
On the strut you just removed, slide off the dust boot and the lower bushing by pulling them upwards. If they look undamaged, they can be reused on the new strut.
Reassemble everything in the reverse order and then move to the other side of the car to perform the same operation on that side.
Step 3 – Replace the rear end shock absorbers
Remove the five trim panels from the trunk. That is, remove the bottom floor mat, unscrew the rear side panels (one plastic screw and one cover on each side of the car) and remove them. Then pull off the plastic plugs holding the front side panels (one plastic plug and one cover on each side of the car) and remove the front side panels, as well. With the side panels removed, the nuts holding the struts are exposed (one on each side of the car).
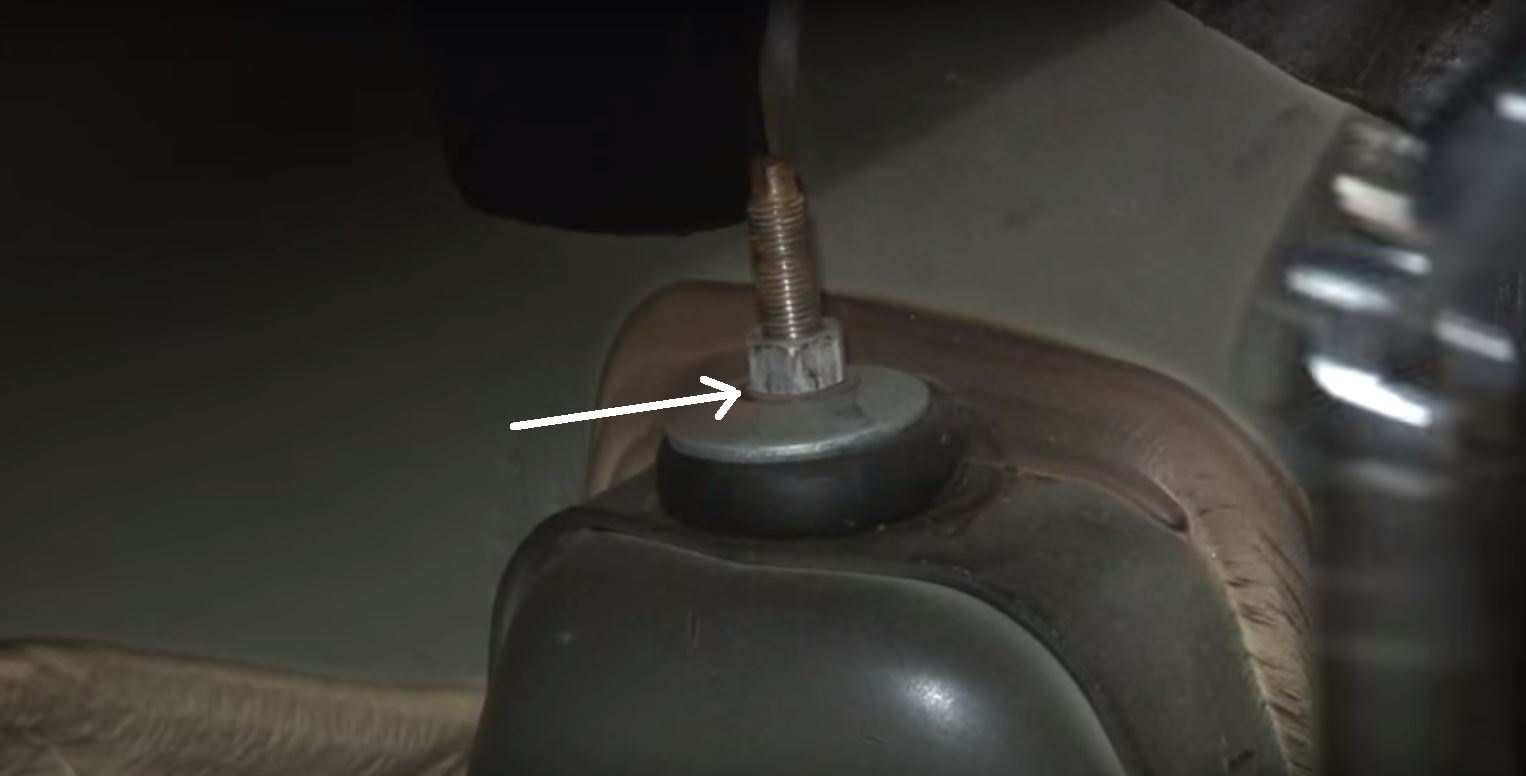
Starting on one side of the car, use an impact gun to remove the nut on the shock absorber sticking up inside the trunk. You probably have to use a swivel to reach the bolt.
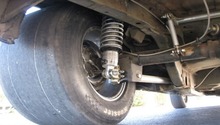
Now move out from the trunk and locate the lower bolt holding the shock absorber on the back side of the rear wheel. Remove the lower bolt using an impact gun on one side and a wrench on the other as shown in Figure 7. When the lower bolt has been removed, the shock absorber can be removed.

Move over the top plate and the bushing from the old shock absorber to the new one.
Reassemble in the reverse order.
- Compress the shock and slide it up into the shock tower, and loosely tighten the top nut.
- Line up the bottom shock shock bolt and tighten.
- Tighten the top nut to spec.
Remember to push the bushing and the washer onto the new shock absorber in the trunk before fastening the nut. When the bolts are fastened, move over to the other side of the car and perform this step once again.
Featured Video: Mustang Koni Shock and Strut Installation
Related Discussions
- Installing Struts and Shocks - MustangForums.com
- Replace Front Struts - MustangForums.com
- Coil Over Install - MustangForums.com
- How Much to Install Struts/Shocks - MustangForums.com