Ford Mustang 1994-2004: How to Replace Gauge Cluster
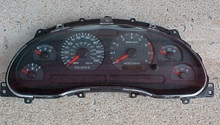
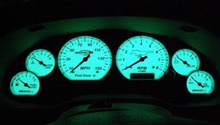
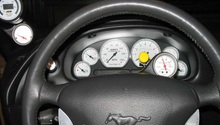
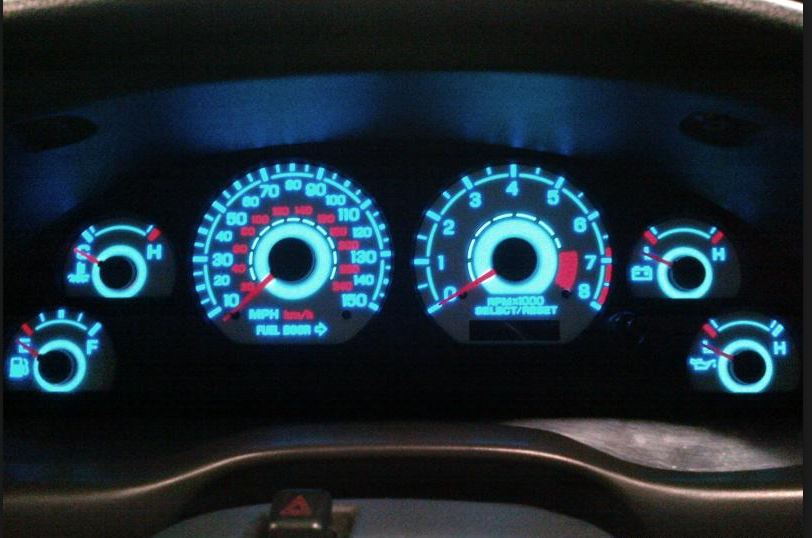
Upgrading your Mustang's gauges is a great way to accent its interior. Not only will it stand out, but it will also provide better visibility compared to the stock gauges.
This article applies to the Ford Mustang (1994-2004).
Dismantling the old gauges from the dash and installing new gauges are not difficult tasks. However, you will need to re-install the circuit board from the old gauges because the circuit board contains the Mustang's mileage information as well as the PATS (Passive Anti-Theft System)—but relax. Mustang owners who've made the switch report that it is easier than they thought it was going to be.

Materials Needed
- Small flat head screwdriver
- Needle nose or small pliers
- Long-handled T15 Torx screwdriver
Step 1 – Remove the dashboard screws
Let's start by dismantling the stock gauges from your car.
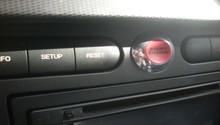
- Use a T15 Torx screwdriver to remove two screws from the panel surrounding the gauge cluster.

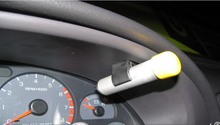
Step 2 – Remove the headlight knob
- Place a flat head screwdriver into the slot at the base of the headlight knob.
- Then lift the metal retainer clip up and over the notches.
- When you feel the clip go over the notches, pull the knob off the shaft.

Figure 2. Use a flat head screwdriver to unlatch the headlight knob. 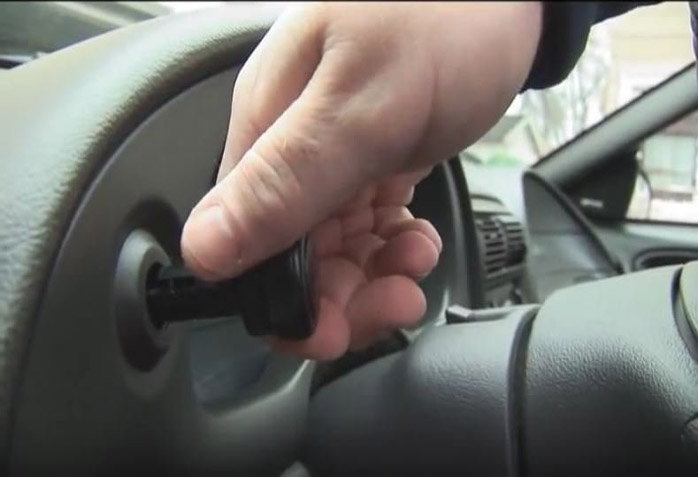
Figure 3. Pull headlight knob free from the shaft.
Step 3 – Remove the cluster bezel
Detach the cluster bezel from the clips starting from the left-hand side.
- Using a flat head screwdriver, pry off the bezel from the dashboard.
- Make your way to the right-hand side of the bezel, and then pull the bezel off.

Figure 4. Gently pry off the cluster bezel. 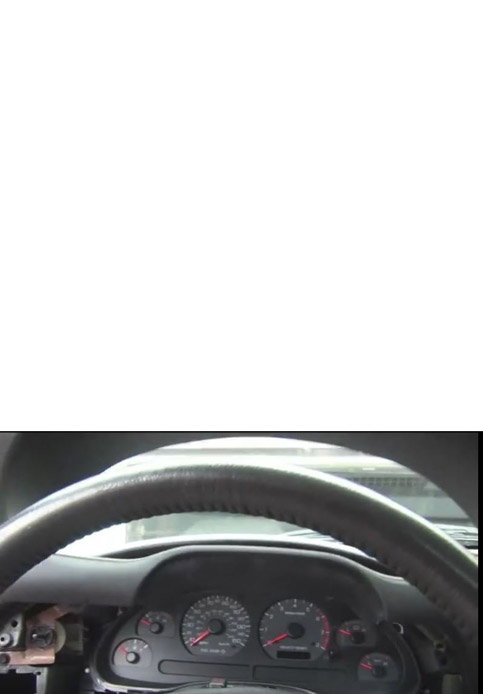
Figure 5. Gauge cluster bezel removed.
Step 4 – Remove the gauge cluster
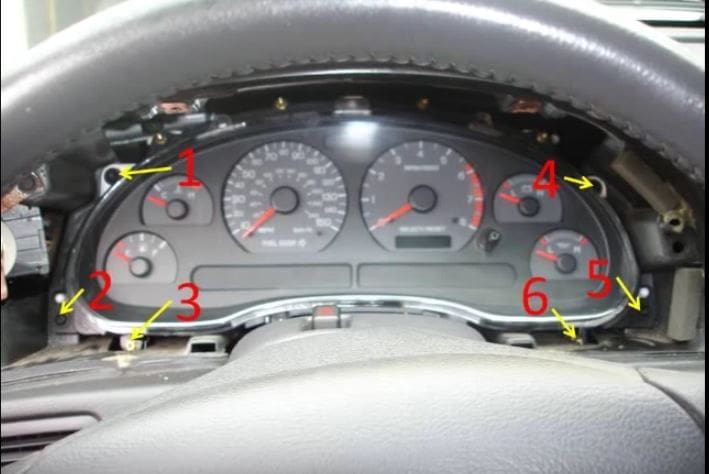
- Remove the six Torx screws securing the gauge cluster to the dash.
- Slide the cluster out of the dash, but do not pull it out completely. You will have to disconnect the wire harnesses.
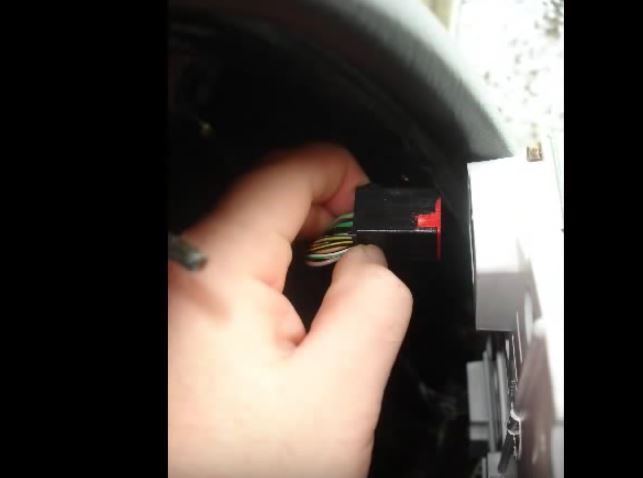
Step 5 – Unplug the wire harness connectors
- Pull the gauge cluster forward to where you can access the connectors on its back side. There is one connector on the left and right side of the cluster.
Step 6 – Swap the gauge cluster
It's necessary for you to install the stock circuit board to the new gauges because your car's mileage reading is stored in the old board.
- Remove the back cover of the stock gauge cluster.
- Slide the circuit board off the pins that hold the circuit board onto the cluster. Make sure not to touch the contact points of the circuit board or it may get damaged.
- Unplug the speedometer sensor connection located at the bottom of the circuit board.
- Transfer as well as install the circuit board onto the new cluster, and then plug in the speedometer sensor connector.

Step 7 – Swap the flexible circuit board
The Passive Anti-Theft System (PATS) module is part of the cluster electronics and is "married" to the Powertrain Control Module (PCM) via a security ID that Ford programmed into the parts. This means you must also swap the flexible circuit board.
Pro Tip
If you live in a place with low humidity, wear a wrist strap to protect yourself against static electricity.
Step 8 – Install the new gauge cluster
Install the new gauge cluster in reverse order to the removal process.
- Plug in the wire harness connectors to the back side of the gauge cluster and insert it into the dash.
- Secure the gauge cluster using the six Torx screws.
- Snap on the gauge cluster bezel and headlight knob.
- Fasten the two Torx screws to the panel surrounding the gauge cluster.
Featured Video: Gauge Cluster Removal
Related Discussions
- Finally Did the LED Gauge Cluster - MustangForums.com
- Switching Gauge Cluster - MustangForums.com